The short answer
- Save by hand
- Pause, Game, Save Game. Autosave only runs after a mission and there is no mission replay, so start a fresh slot each chapter.
- Bank your cash
- Pocket cash is lost when you die or get busted. Drop it in the stash under Jason’s bedroom floor, then into BuckMe once the Buck Me mission opens it.
- Buy your guns
- Only guns bought at Ammu-Nation come back after a death. Store pickups you like in the Ganado’s trunk.
- Fix the camera first
- Motion Blur Strength to 0, Look and Aim Sensitivity from 7 to 9 or 10, Movement Speed to Run.
- Chapter 1 runs out
- Ultimate Edition’s Enduro, Kayak and Ganado Retro Build are Chapter 1 only, and stash cash should not follow you into Chapter 2. Use both before Tourist Trap.
- 20
- Tips, in play order
- 15
- Manual save slots
- $999
- Most pocket cash a shop takes
- Ch 2
- Registering cars unlocks
- 8 min
- Read time
- Nov 2026
- Checked on
These are the things worth knowing on your first GTA 6 playthrough, in the order they come up. Most of them stop you losing money, guns or progress, which the game takes away without much warning.
Change three settings and finish the Prologue in one sitting
- Set Motion Blur Strength to 0 and raise the camera speed. Every console runs the game at 30 fps with no performance mode, and the default blur (3) smears it further. Under Settings, Display, drop Motion Blur Strength to 0. Under Controller, take Look and Aim Sensitivity from 7 to 9 or 10. Under Gameplay, set Movement Speed to Run so a full stick push runs without clicking L3. Our GTA 6 settings guide covers every other tab.
- Play the Prologue through without quitting. Save Game stays greyed out for the whole Prologue, so a crash or a switched-off console sends you back to its start. Make your first manual save the moment the option unlocks.
- Save in a new slot at the start of every chapter. The game autosaves only when a mission ends, you can’t save during one, and there is no menu to replay a finished mission. You get 15 manual slots under Pause, Game, Save Game, which is enough for one per chapter plus a few you rotate. A manual save from before a mission is also the only fix for some launch bugs. Our GTA 6 save guide lists them.
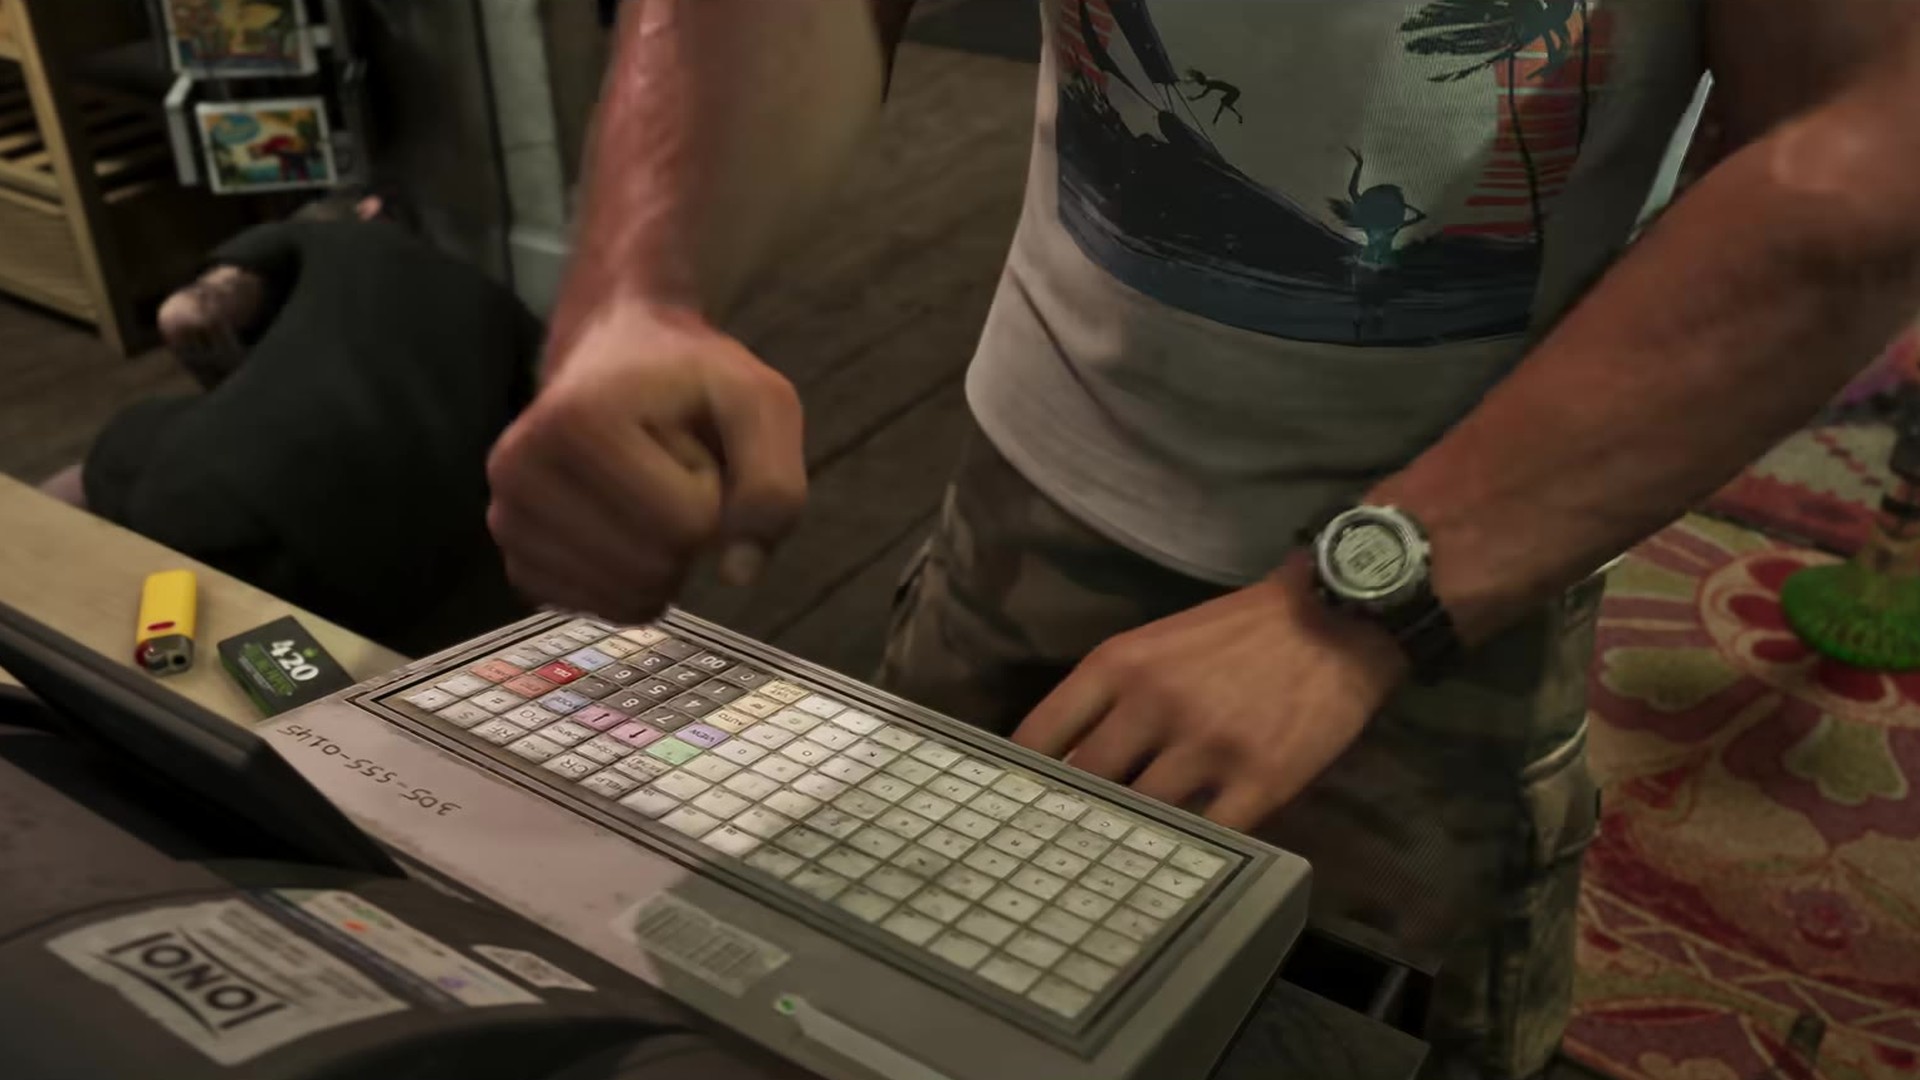
Cash you carry is lost on death or arrest, so stash it under Jason’s floor
- Empty your pockets at Jason’s house. Wasted or busted, Jason loses every dollar on him. His bedroom has a stash under the floor that takes deposits any time. Once the Chapter 1 mission Buck Me opens your BuckMe account, deposit at any ATM instead. Shops only take up to $999 in pocket cash, and anything dearer comes out of BuckMe.
- Check the mailbox every time you leave home. Mission pay and money from Brian and Donnie often lands in the mailbox outside Jason’s house, not in your hand. Brian’s lockup pays this way too.
- Click both sticks to search. L3 + R3 (both stick clicks on Xbox) turns on Focus, which highlights cash, loot and the beeping packages floating near wrecked boats. It saves a lot of walking around rooms.
- Start Kenton’s treasure dives after Island Dreams. They are the safest early money: no police, nobody shooting, and Kenton pays cash on the spot. Your first wreck should pay about $1,400. Dive sites show as purple chest icons on the map, and the boat at the dock behind Jason’s house works for them. Our GTA 6 money guide ranks the other early methods.
- Sell drugs, jewelry and marked bills at Brian’s lockup with code 7700. Most robbery loot goes into a stash bag, and the lockup you visit in Lab Fees keeps buying it afterwards. Drop the bag in Brian’s strongbox. He pays later, through the mailbox or stash.
- Do Get Shirley’s Rum as soon as it shows up. It’s one of the Chapter 1 errands that can be missed. Go round the left wall of the liquor store into the backyard, deal with the guards and check the parrot cage for about $1,300. Errands with an hourglass on their map icon expire if you leave them; main missions always wait.
Only guns you buy come back after you die
- Store a picked-up gun in your car’s trunk or expect to lose it. A gun taken off an enemy is unowned: drop it, die or get busted and it’s gone for good. Walk to the back of Jason’s ’70 Ganado, open the trunk and store it there. Guns you buy at Ammu-Nation are owned, and you take them back out of any store’s weapon locker. Jason and Lucia should share the same owned guns.
- Buy the long gun in Gear Up. Brian sends Jason to Chuck’s Tackle & Shot in Key Lento, the first Ammu-Nation. If you skip the purchase, the call that starts Feng Shui can stall until you go back for it. Have the gun ready as you walk out, because a truck of Kingfishers turns up. You carry two sidearms and two long guns at once; the rest waits in the trunk. Our GTA 6 weapons guide explains owned, unowned and gold unique guns.
- Holster with L1 (LB on Xbox) before you walk into a crowd. People who see a drawn gun call the police, and the police only come when someone reports a crime. Press the same button again to draw.
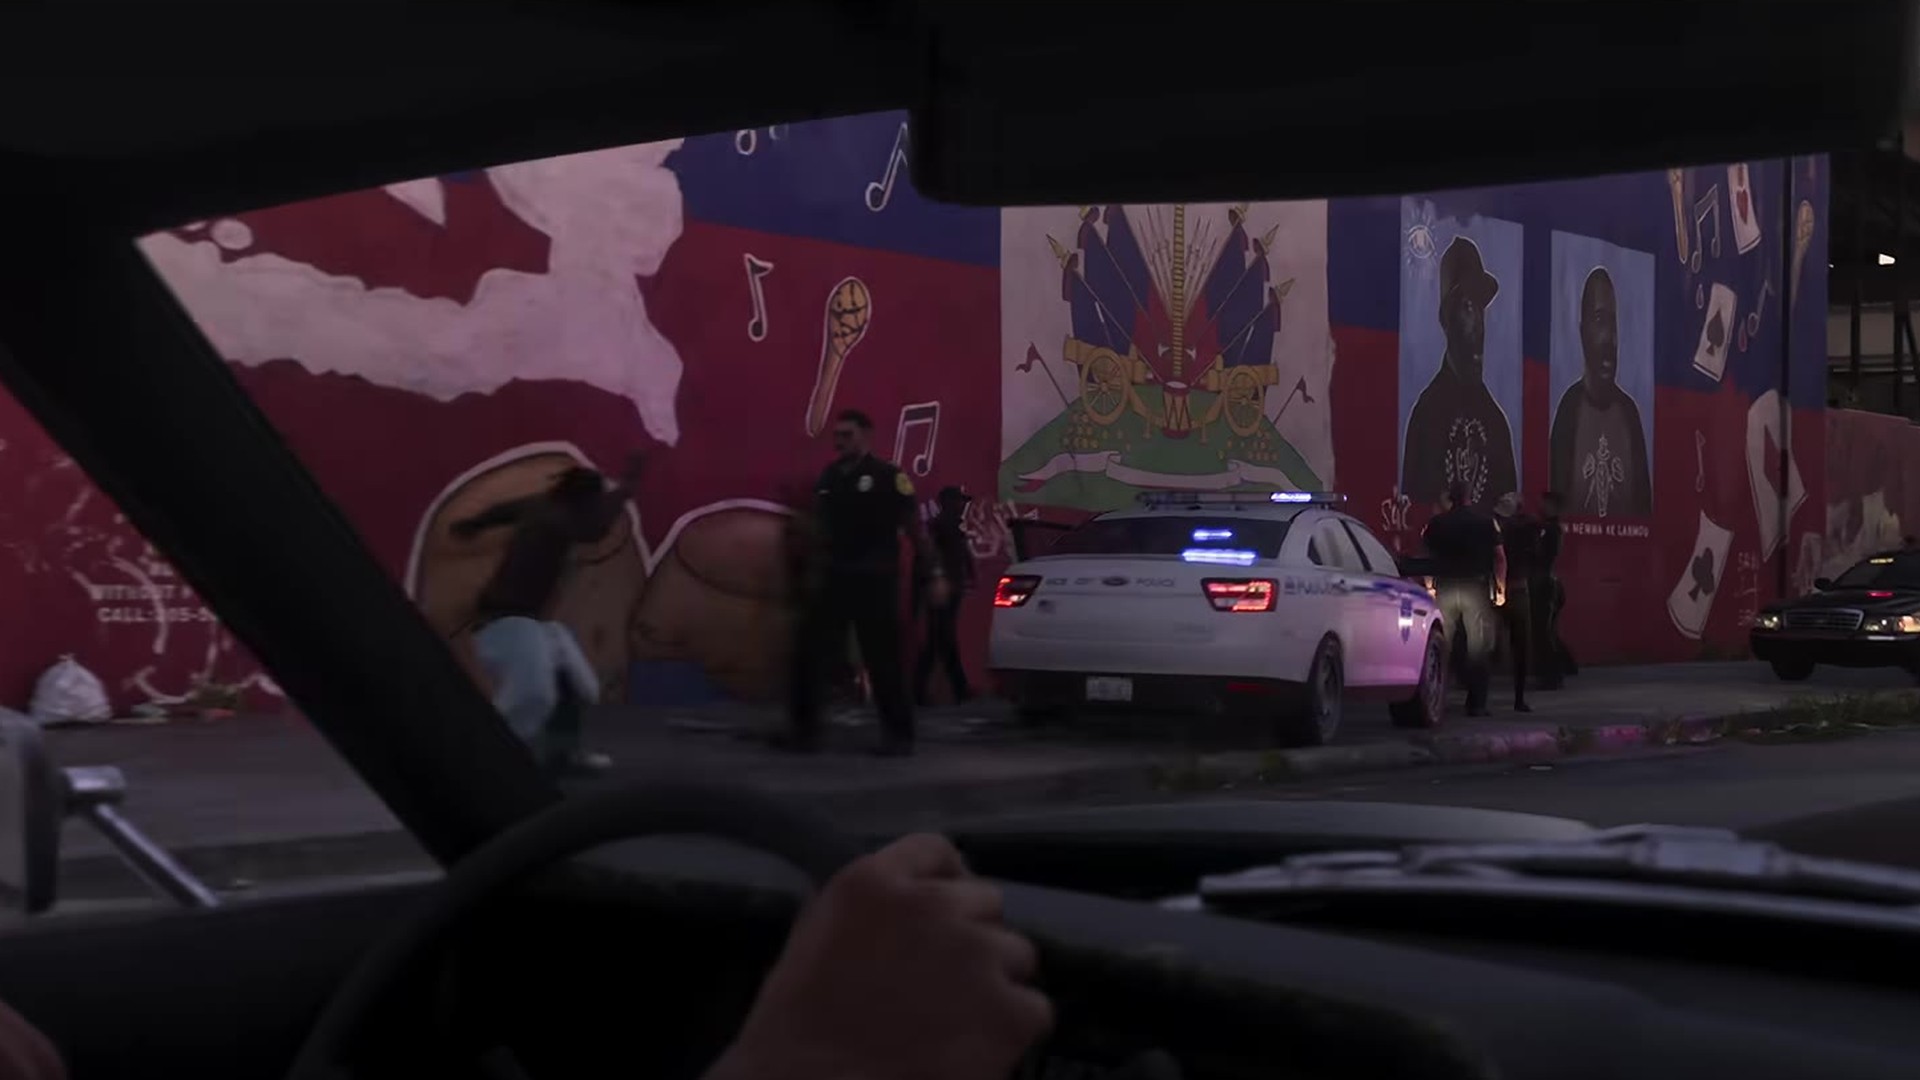
The police remember your outfit, car and gun, and kills shape your Criminal Profile
- Keep a spare outfit in the trunk before any job. The icons under the wanted stars show what officers know: your outfit, your face or your car. Get out of the search area, then change into a trunk outfit (it holds up to five), respray or swap the car and holster your gun. Drive back looking the same and they can pick the chase up again. Our guide to losing the cops has the full list.
- In a store robbery, cut the alarm and destroy the tapes. The alarm panel is in the back room. With it off, the police aren’t called at all, and destroying the security footage stops the camera identifying you. Knocking the clerk out instead of shooting them should also stop them calling it in. Our GTA 6 robberies guide covers safes and jewelry stores.
- Save before you go on a rampage. Each character has a Criminal Profile with five tiers, from Professional to Irredeemable. Killing civilians, police and animals pushes it down. From Psycho you can’t surrender, and Irredeemable is permanent for that character; only an older save undoes it. Takedowns and limb shots keep you at Professional, where non-lethal takedowns fill your Focus. The first big choice is whether to kill Arnold at the end of Hey Arnold!. Our Criminal Profile guide explains each tier.
Jason’s Ganado is the only car the game keeps until Chapter 2
- Call Joey instead of paying for repairs. Stolen cars disappear when you die, get busted or leave them, and parking one outside Jason’s house doesn’t save it. The Ganado is different. After Just a Scratch, call Joey at Coastal Auto Care from your phone contacts and someone delivers the car to you, repaired, at no cost, even after it went into the water. Pick its color carefully in that mission, because that respray is the only free one.
- Train at Jason’s house, then eat and sleep. Strength (max health) and Cardio (max stamina) have a daily cap, so lift on the deck gym and use the punching bag a little every day rather than all at once. Finish the workout, take a Protein Shake from the fridge, which halves the recovery time, then sleep in Jason’s bed. Focus has no cap: fish off the dock or shoot hoops. Each character trains separately, so Jason’s gains do nothing for Lucia. The four house repairs on the map (steps, roof, railing, wall) are free and raise Jason’s relationship with Lucia. See our Jason’s house repair guide.
Ultimate Edition vehicles and Lucia’s balcony meditation are gone after Chapter 1
Spoiler note: this section says roughly how Chapter 1 ends, without plot details.
- Finish your Chapter 1 checklist before Tourist Trap. Tourist Trap starts a run of story missions back to back to the end of the chapter, with no free roam in between. Before you take it:
- Ultimate Edition owners: use the Dinka Enduro under Jason’s house, the Crest Kayak by the water and the free Ganado Retro Build at Coastal Auto Care. Rockstar’s store text says they are for Chapter 1, and you lose the bike and kayak once Chapter 2 starts. Our editions guide lists when every other bonus unlocks.
- Do Lucia’s balcony meditation. Once Lucia is living at the house, check the kitchen in the morning (any morning after Down to Earth usually works), follow her to the balcony and accept the optional task. It counts toward the Positive Mental Attitude trophy and can’t be done later. Our trophy list has the details.
- Empty the floorboard stash and spend or bank the cash. Money sitting in Jason’s stash should not carry into Chapter 2.
- Make a manual save in a slot you won’t overwrite.
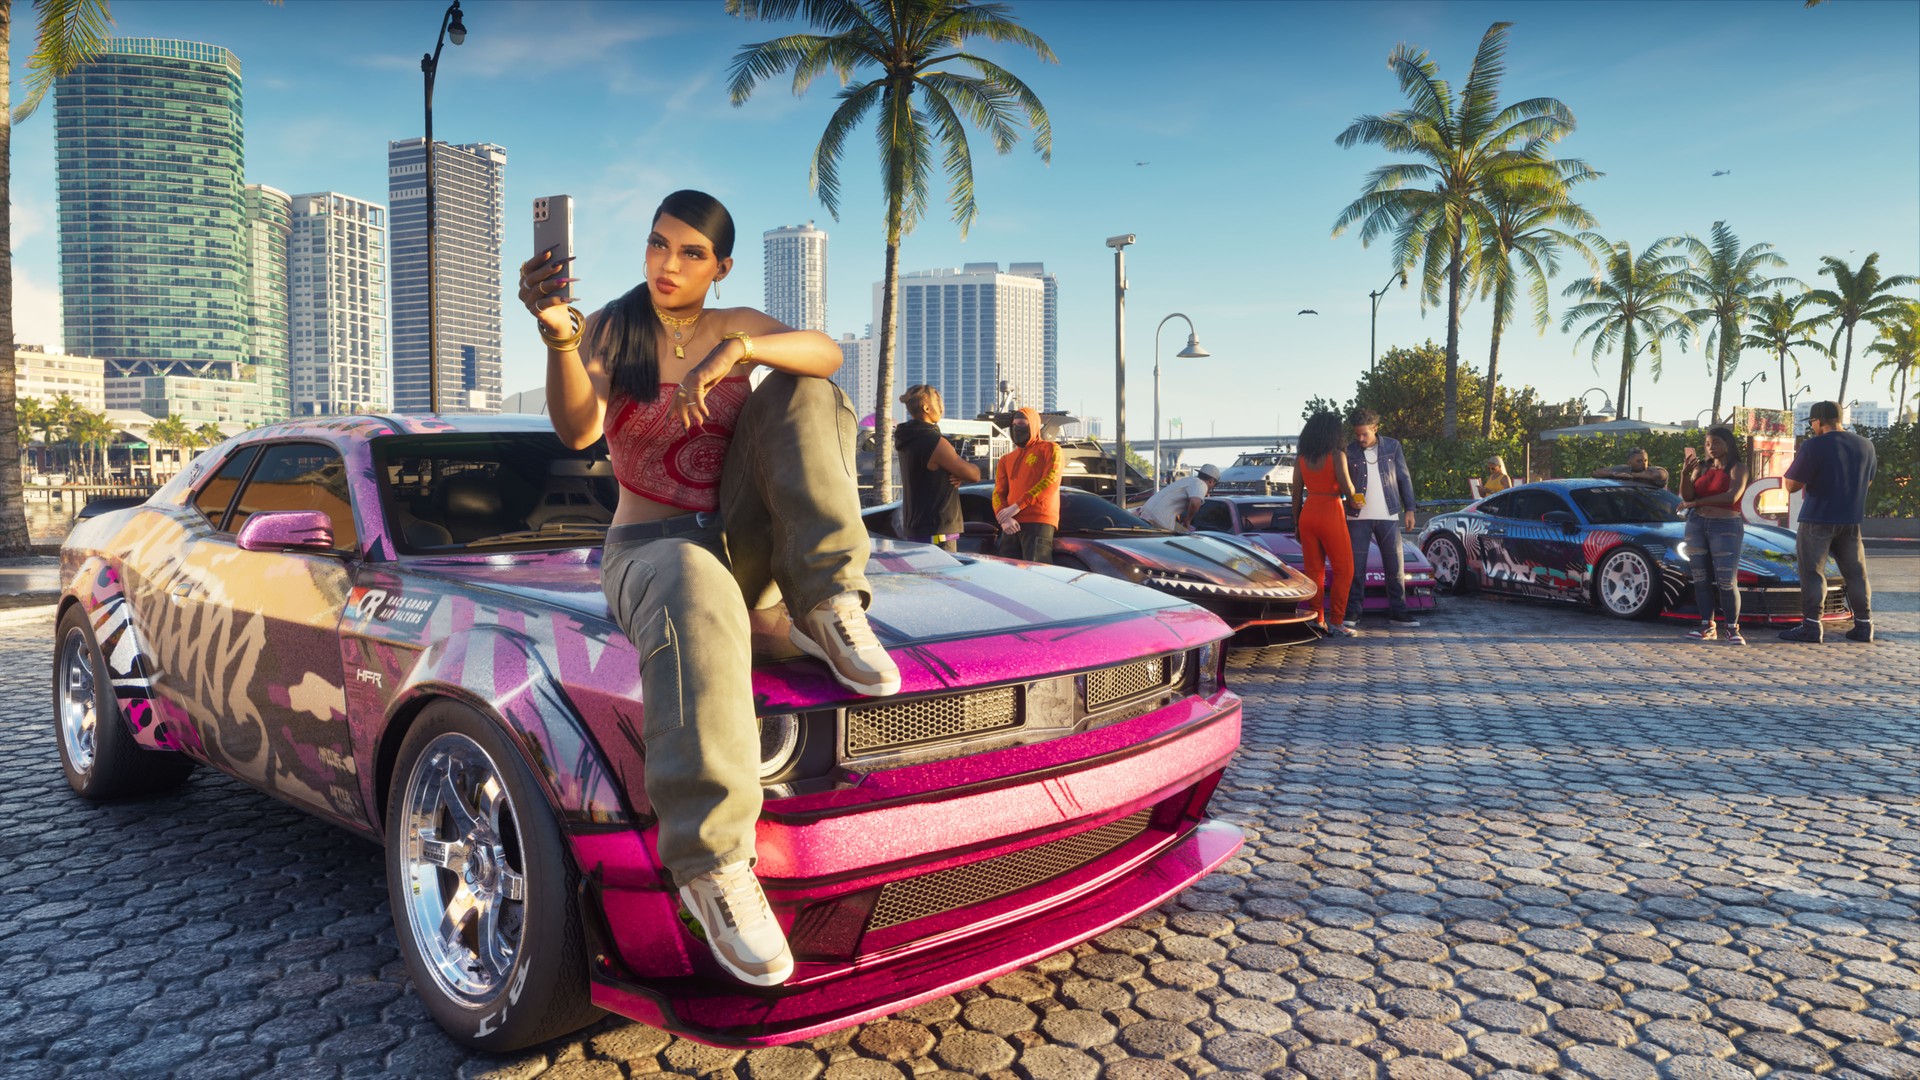
In Chapter 2, scan a car before you steal it and register only the ones you love
- Check the Cost to Register before you commit to a car. The Moses mission at Watkins Auto Parts in Port Gellhorn unlocks registering, and Lucia’s first car is free. After that, point your phone at a car and scan it with the WAiNK app: the card shows its tracker, sell value and Cost to Register, which runs several times the sell value. Moses won’t take a car with a tracker, and you need a free garage or parking space first. Buy garages in the Vice City Real Estate app after Daily Driver. Sell the cars you don’t keep to Moses. Our guide to keeping cars has every step.
- Switch characters and take taxis once Breakfast Run is done. Free switching between Jason and Lucia unlocks after Breakfast Run: hold d-pad right and press R1 (RB on Xbox). There is no fast travel menu. Call Paradise Taxi from your phone contacts and pick a destination such as your house or your car. A cab may not reach you on a small island, so get back to the mainland or a bridge first. Our switching guide covers the rest.
Mistakes new players make in the first hours
- Mistake: Upgrading the Ganado before Just a Scratch. Fix: A full upgrade or a reskin before Joey’s repair mission can hide the engine repair option and lock you in the menu. Reload a save from before the upgrade.
- Mistake: Stealing a car on Jason’s street. Fix: Cars in your own neighborhood are off limits. Steal elsewhere.
- Mistake: Fighting the police to escape. Fix: Every officer you kill raises the heat and pushes your profile toward Violent. Break line of sight and hide instead.
FAQ
Is GTA 6 hard for someone who has never played GTA?
You can make it easier. Settings, Gameplay, Accessibility has Accessible Combat and Reduced Vehicle Damage, which lower enemy health and the damage you and your car take. Simplified Mini Games makes the gym, basketball and hotwiring easier.
Can you replay missions in GTA 6?
No. Once a story mission is done you can’t select it again, so keep a manual save before any mission you may want to play twice.
Where can I put my money before I have a bank account?
In the stash under the floor of Jason’s bedroom. BuckMe takes over after the Buck Me mission, about halfway through Chapter 1.
Is there fast travel in GTA 6?
Only taxis. Call Paradise Taxi from your phone contacts and pick a destination.
Checklist
0 of 8
Source & credit
Grand Theft Auto VI is developed and published by Rockstar Games. Each tip comes from our launch-week GTA 6 guides, which were checked against launch-day no-commentary playthroughs, the in-game menus and tips, and player reports on r/GTA6, r/GTAVI and r/GTA. The Chapter 1 edition vehicles are from Rockstar’s own store text. Screenshots are from Rockstar’s official Trailer 2 and Vice City screenshots.