The short answer
- Next area
- After Poenir and Duenir, talk to your father, take Unok’s Remains and drop through the fissure and ventilation shaft into the Ancient World.
- The gate
- Get the Orange Ochre Seal Breaker from Ossi, then the Shock Rifle and Cobalt Blue Seal Breaker from a hidden lab. The fifth Wind Gem gets you to the towers. Shut down all three blue pyramid towers and the bridge to the castle opens.
- The castle
- Beat Josami Lord Saijha at the bridge, then three bosses inside Siraatsu Castle. Each one lights the sealed foyer door. Queen Siraatsu is behind it.
- After the credits
- Your save carries on. Rotting Cavern, Verdant Hollow, Record of Sin, Petrified Garden and the Forgotten Dungeon are where you go for Endings 2, 3 and 4. They are open, so the order is up to you.
- 3
- Power towers to shut down
- 3
- Castle bosses before the queen
- 22.1%
- Steam players who reached the Ancient World
- 9.7%
- Saw Ending 1
- 12 to 13 h
- To Ending 1 in two full runs
- Nov 2026
- Checked on
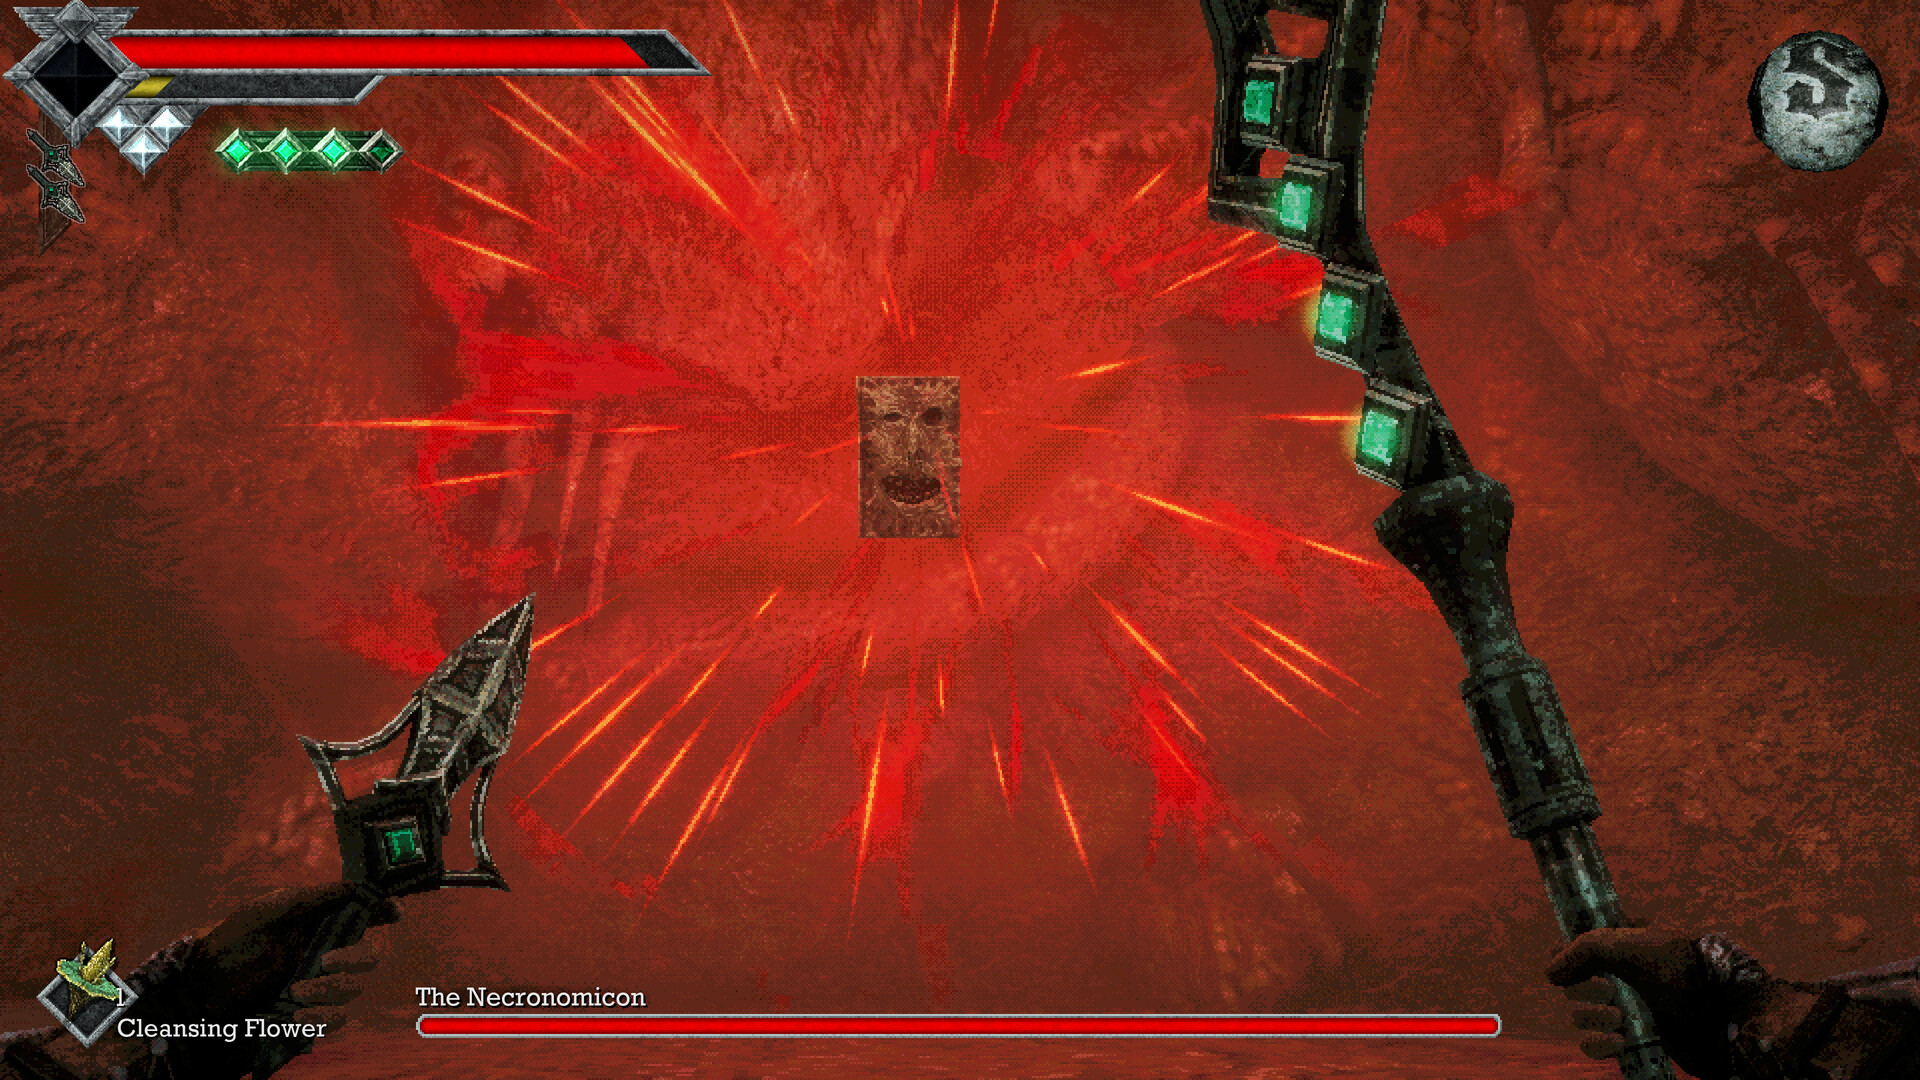
This route starts at the fissure behind Deimpo Mausoleum’s boss room
Our progression route part 1 takes you from the beach to the Tower of Knowledge and out to the Mausoleum. Our Deimpo Mausoleum walkthrough covers the Mausoleum itself: the six green sigils, the Mask of Second Sight and the Poenir and Duenir fight. This guide picks up straight after that boss.
Past the arena you find King Gius Abraon, wounded. He asks you to collect the pieces of his shattered sword, so pick up Unok’s Remains and go through the fissure behind him. A long ventilation shaft drops you into the Ancient World and unlocks the Genesis achievement.
From here the game has one required line and a lot of open space around it. The required line is short: the Ancient World, the bridge, Siraatsu Castle and the queen. Everything else in the late game is optional for your first ending. The two no-commentary playthroughs we checked both went straight down that line and only explored the other areas after the first credits.
The critical path is Ancient World, the bridge, then Siraatsu Castle
The table runs in the order both full playthroughs took. The first five rows are the route to Ending 1. The rest is the optional late game. It is open, so treat that order as one good option, not the only one.
| Area | What opens it | What you get | Our guide |
|---|---|---|---|
| Ancient World | Beat Poenir and Duenir, go through the fissure and down the shaft | Orange Ochre and Cobalt Blue Seal Breakers, Shock Rifle, fifth Wind Gem | Shock Rifle location |
| Three power towers | Cobalt Blue Seal Breaker for the doors, Shock Rifle for the puzzles, five dashes for the far tower | The bridge to the castle unlocks | Node puzzle method |
| The bridge | All three towers dark | Josami Lord Saijha fight (Sworn Protector) | Bosses in order |
| Siraatsu Castle | Beat Saijha and cross | Halls of Hatred, the castle Seal Breakers, three bosses | Bosses in order |
| Queen Siraatsu | All three castle bosses dead, foyer door lit | Ending 1 (or 2 or 3, by sword) | All four endings |
| Mausoleum roof | Dashes out of the Mausoleum entrance area | Noble Sentinel, Teal Green Seal Breaker, then Wodaso’s Lens | Mausoleum walkthrough |
| Record of Sin | A Wind Dash gap off the cliffs by a tower in the Ancient World | Herald of Okbujo, Memento Mirror, four god books for Daji the Grasping | God book puzzle |
| Rotting Cavern | Drop through the hollow tree from below Obmuer Temple, or leap off a fast travel warp | Gigantic Serf and a Jigeki key piece, Blood Angel Sisterhood fight | Rot fountains and seals |
| Temple of Puwema, top of Verdant Hollow | The climb up from the Rotting Cavern | Sipeha’s Lens from a chest; the eight torch door for later | Sipeha seals |
| Petrified Garden | Jump off a warp station during the teleport | Lost King Ojjama fight, the five key statue puzzle | Trident keys |
| Jigeki’s Temple | Tiara puzzle on the clifftop above Obmuer Temple, then three Jigeki key pieces | Muagyo’s Congregation fight, Jigeki’s Lens | Tiara puzzle |
| Forgotten Dungeon | Tower of Knowledge basement after the flesh is gone; the red door needs the Blood Angel Josami Key | Blood Angel Lords Yuumed and Woyeki, a Sipeha seal | Bosses in order |
| Temple of Puwema door | All eight Sipeha seals | Usunha and Wujomiod, then True Holy Sword Akunra | Sipeha seals |
Steam’s achievement numbers back up the main line. On November 9, 2026, 22.1 percent of players had reached the Ancient World, 13.2 percent had reached Siraatsu Castle, 13.1 percent had beaten Saijha, and 9.7 percent had seen Ending 1. The Herald of Okbujo, the Record of Sin boss, sits at 9.5 percent, below Ending 1, which fits a fight most players leave until after the credits.
Ossi’s Orange Ochre Seal Breaker is the first key in the Ancient World
The Ancient World is a ruined machine city spread over floating islands. Most of the complaints on the Steam forums come from this area, so take it slowly. The first stretch is close to a single path with few branches, and it is long.
Save before you push on. There is a Crystal Monument at the bottom of the shaft. Players report the next one is a long way in, past a flooded part of the city with a mech knight. Open the gate of the locked house there and the second save point is inside. One player gained four levels between those two saves.
Keep going until you meet Mechanical Engineer Ossi at his lab. There is a save point and a Wing Altar near him. A Wing Altar is a fast travel point, so this becomes your hub for the area. Ossi gives you the Orange Ochre Seal Breaker. Players note it looks almost black on some doors. It opens the common sealed doors in this area, and you keep using it later for the orange data module doors.
The Shock Rifle and Cobalt Blue Seal Breaker are in a lab reached by a teleport hut
The trick most players miss is the teleport huts. They are small round buildings with a triangle on top and two doors. Walk in one door, follow the looping hallway all the way round, and you come out somewhere else in the region. One is through the red-lit tunnel near Ossi’s lab. Keep looping until you come out in a room with three metal boxes and a skeleton on the floor. That is the right island.
- Step outside. There is a cave full of enemies on your left. Go through it and leave by its upper exit.
- Turn left and do the platforming to a house watched over by overgrown eyes and deer.
- Go down into the lab under the house. Drop through the hole, clear the room and ride the moving platform across the water.
- At the end, a dead scientist’s skeleton tells you to use a pulse gun to overload the circuits. The Shock Rifle is in the brown chest next to him, beside the Cobalt Blue Seal Breaker.
The small node puzzle in the lab is a practice one. It does not count toward the gate. One player who missed the chest spent two hours looping the area, so check the room before you leave. A book in the same lab explains that three towers seal the castle bridge.
The fifth Wind Gem is in a big cave shrine and gets you to the far towers
You arrive with four Wind Dashes. The fifth Wind Gem is also in the Ancient World, inside a large dark cave in a cliff face. Players reach it through the teleport huts. Several describe Manticores inside the shrine. They drop Spirit Oil and do not respawn.
Five dashes matter because at least one tower sits across a five dash jump. One player said they finally reached their first generator only after a five dash jump across a ledge. If you are one short, the Cestus uppercut can stand in for a dash. Five Wind Gems also complete Feel the Wind, which 17.7 percent of Steam players have.
The Teal Green Seal Breaker is not in the Ancient World, even though some doors here want it. It is on the roof of Deimpo Mausoleum, and you do not need it for the towers. More on it below.
Shutting down three blue pyramid towers opens the bridge to the castle
The three big pyramids glowing blue are the power towers. Each one has a Cobalt Blue Seal Breaker door and a node puzzle at the very top, so expect a short climb inside before the puzzle. Shoot nodes with the Shock Rifle to toggle them until every one is lit. A console lets you pay coins to skip a puzzle instead.
- The isolated tower is cut off from the rest of the map, on the same island as the lab and the big cave. One player’s route: from the cave’s second floor, look out, go right to the landmass by the shortcut station, then make a five dash jump to the island with a ramp up to the tower.
- The tower above the first save point is the one players mention for the nearby data module, so you can collect both on one trip.
- The last tower has a boss fight in both playthroughs we checked, the Ancient Besom Cutter. It has no achievement.
You cannot reset a tower once you start, and resting does not clear it. The method that helped Steam players most, and our full write-up, is in our puzzle solutions guide.
Josami Lord Saijha guards the bridge into Siraatsu Castle
With all three towers dark, the big bridge opens. Josami Lord Saijha waits there, and beating him earns Sworn Protector. The creator Wikloe warns that his giant laser can still clip you behind cover, so get out of the beam’s path completely rather than trusting a pillar. Both playthroughs fought him straight after the third tower and walked into the castle a few minutes later. Reaching it unlocks Halls of Hatred.
The bottom Jigeki key piece is in a cave hidden in the cliff under this bridge. You only need it for Jigeki’s Lens after the first ending, but it is easy to grab while you are here.
Siraatsu Castle’s foyer door opens after three bosses
The castle is a chain of sealed doors. The seal breakers here are named after tarot suits: Seal Breakers of Cups, Wands, Swords and Pentacles. Each one you find opens the next set of doors. One player summed it up: follow the sealed doors and the castle leads you. Each boss you kill lights one ring on the big sealed door in the main foyer. When all three are lit, the queen is through it.
| Boss | Where players place it |
|---|---|
| Castle Lords Obetda and Ubhaer | A duo fight in the bedchamber. The first boss in both playthroughs. |
| Dekanima Ritual of Blood | The pool of ritual blood. Second in both runs. |
| High Spec Automatons | The last fight before the queen in both runs. |
Players who got stuck after two bosses had missed a door. One fix from the Steam forums: in the room next to the castle’s teleporter there is a door that needs the Seal Breaker of Swords. Another player thinks the Seal Breaker of Swords may be in a chest behind the bar in the dining hall, past a Wands door, though they were not sure. The Seal Breaker of Pentacles also opens an optional room on the second floor that one player says holds the Growth Apparatus, an XP accessory covered in our key items guide.
The castle took about an hour and forty minutes in both no-commentary runs, from the front door to the queen.
The sword you bring to Queen Siraatsu decides the ending
Queen Siraatsu is the final boss. Beat her with any weapon and you get Ending 1, Most Unfortunate, the one most players see first. Only one sword brings up a choice. Otherwise the ending follows from the sword that does the work:
- Any weapon: Ending 1.
- True Holy Sword Akunra: she gets a second phase as Enraged Queen Siraatsu, and you get Ending 2.
- Okbujo’s Judgement: after the fight the game asks you to choose. Banish gives Ending 3. Eat gives Ending 4, but only after the silver skull ritual.
You do not lose your save. After the credits you carry on exploring and can fight her again for the other endings, which is what both playthroughs did. Players report that beating her once is part of unlocking the other endings, so there is no reason to delay. Our endings guide has the requirements, including the disputed question of how much damage the special sword has to deal.
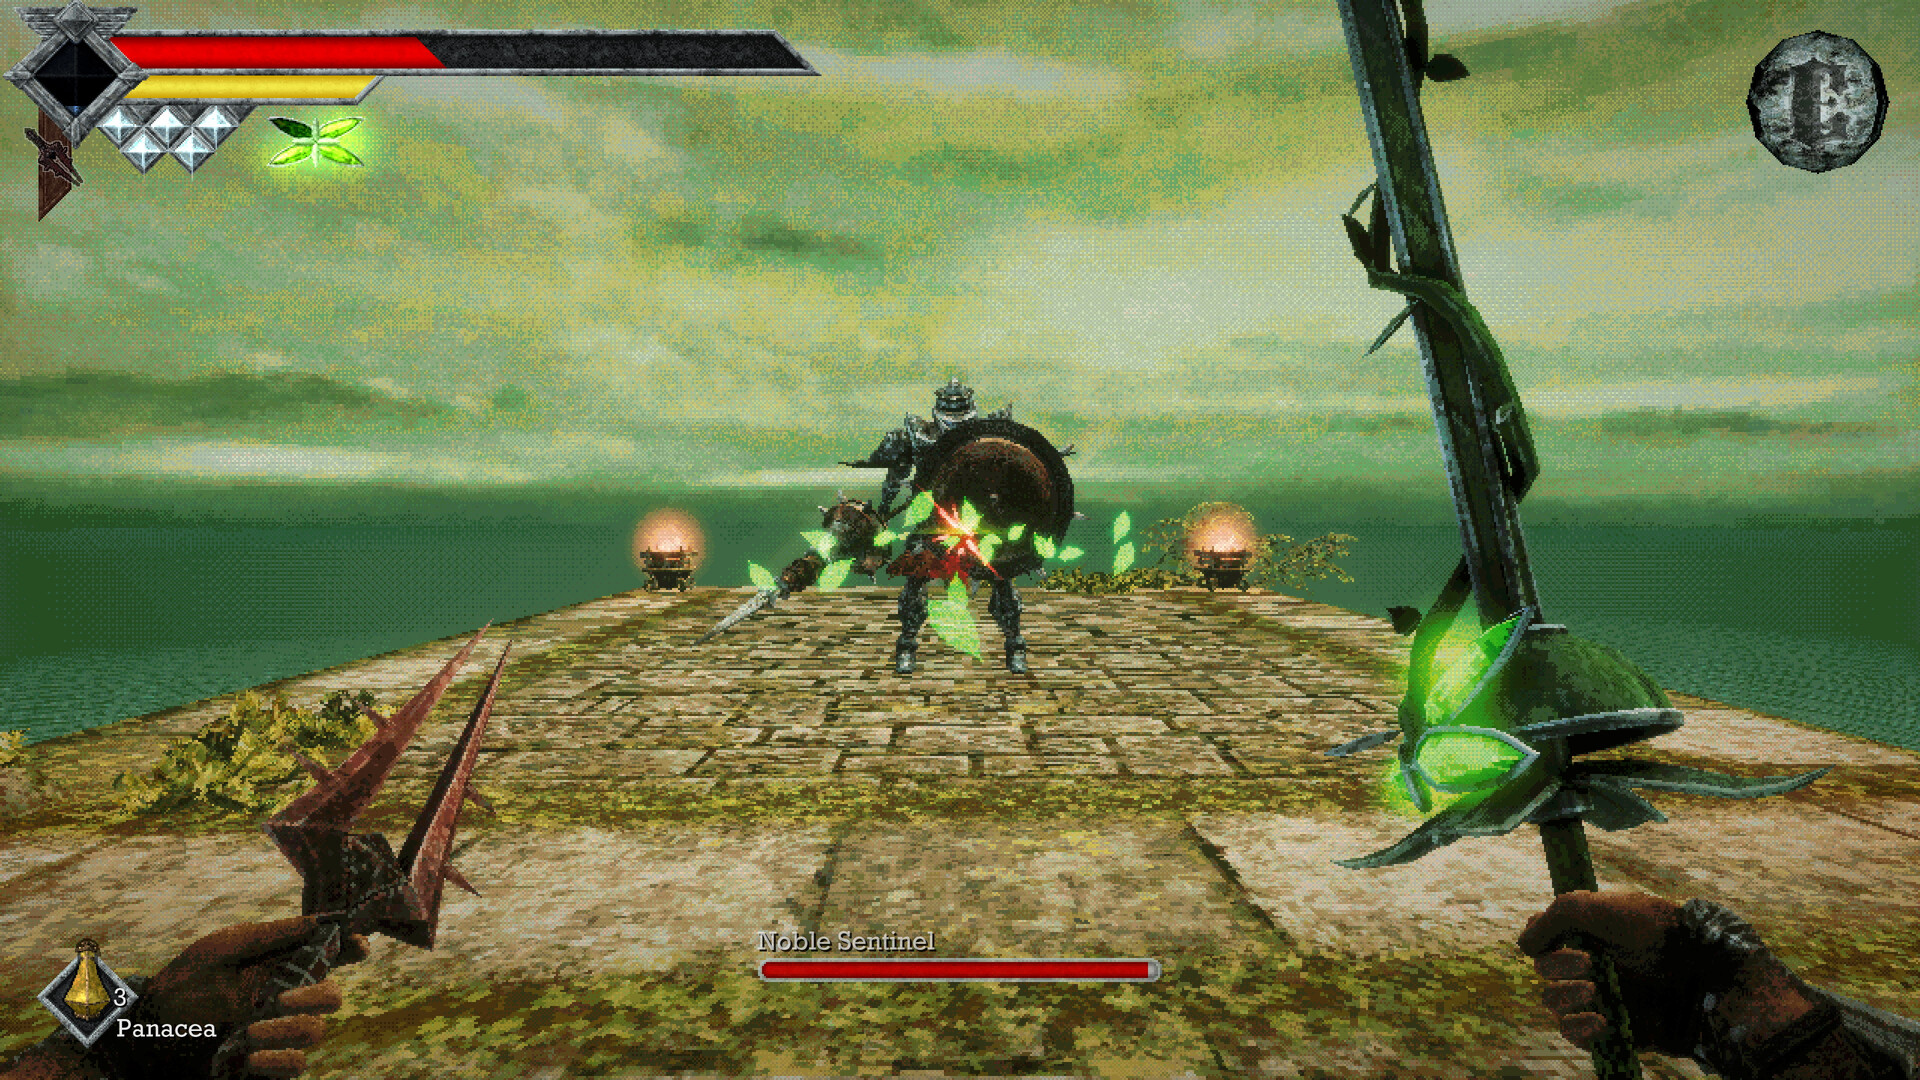
After Ending 1, Sipeha’s Lens and Jigeki’s Lens are the two you need
One Steam player put the late game in one line: progressing beyond Ending 1 needs Sipeha’s Lens and Jigeki’s Lens. Both fit into the Mask of Second Sight, and both are needed for the eight Sipeha seals that open the Temple of Puwema for Akunra. Below is the order Indie James’s run used. The Collector’s Hubs went through Verdant Hollow and the Rotting Cavern first and left the Record of Sin until near the end, so the order is genuinely flexible. Both started with the Mausoleum roof.
Teal Green Seal Breaker and Wodaso’s Lens
From the Mausoleum entrance by the knight’s encampment, ride the lift on the left back up, head toward the bridge entrance and dash out through an opening onto the crumbling roof ruins. Follow them up to the roof, where the Noble Sentinel drops the Teal Green Seal Breaker. Face south, dash across the chain of three small islands to a round stone ruin, and open it for Wodaso’s Lens. That lens mostly reveals secrets, but it completes your set of four.
Record of Sin
Go back to the Ancient World. Players reach the Record of Sin from the cliffs by the power tower to the right of the castle gate: climb to the top and follow the cliff to a long Wind Dash gap. Another player points to a skeleton with a puzzle cube near the cliffs as the landmark. Inside, the central column holds the elevators between floors. The Herald of Okbujo is on the top floor and gives you the Memento Mirror for Ending 3. Putting three energy orbs in the basement receptacle opens doors back into Verdant Hollow. The library’s god book puzzle, for the spear Daji the Grasping, is in our puzzle guide.
Rotting Cavern and the Temple of Puwema
Steam’s numbers show more players have reached Verdant Hollow than have beaten Dagoom, so you have probably already passed through its lower forest. The late part is the Temple of Puwema at the top, reached through the Rotting Cavern. The route one player laid out step by step, which matches the Decaying Great Tree path in one of the playthroughs:
- Teleport to Obmuer Temple and drop into the shallow water. Instead of climbing the wide ramp out of the water, look along the cliff face beside it and dash to a small patch of land, then drop down the ledge. Players use the pirate captain there as the landmark.
- Follow the dark underground passage to a round chamber and drop through the hole in the floor and the hollow tree below. You land at the Decaying Great Tree save crystal in the Rotting Cavern.
- The swamp builds up Magic Rot while you stand in it. Chain Wind Dashes at the top of each jump to stay above it. A ranged weapon helps with the yellow floaters.
- One player reports four Dark Triangular Slates in the swamp that unlock the temple door ahead. Past it, the Crumbling Fortress save crystal sits above the Rotting Cavern Wing Altar.
- Turn on the elevator along the cliff so the trip back is short, then go up into the Temple of Puwema at the top of Verdant Hollow. Sipeha’s Lens is in a chest next to the broken statue.
The Gigantic Serf lives in the rotting lake and gives you the middle Jigeki key piece. Our boss guide explains how to make it surface. Both playthroughs also fought the Blood Angel Sisterhood around the cavern. Our boss guide places the Blood Angel Josami Key at a blood ritual gauntlet between Verdant Hollow and the Rotting Cavern. That key opens the red door to the Blood Angel Lords in the Forgotten Dungeon.
Jigeki’s Lens
You need three key pieces. The top one is in the spider cave near the start of Deimpo Mausoleum: ride the hole in the moving stone pillar down when it reaches its highest point and beat the miniboss. The middle one is from the Gigantic Serf. The bottom one is in the cave under the castle bridge. Solve the stone tiara puzzle on the clifftop above Obmuer Temple and the floor drops you into Jigeki’s Temple. The door there takes the three pieces, and the boss behind it, Muagyo’s Congregation in both playthroughs, gives you Jigeki’s Lens. The tiara pattern is in our puzzle guide.
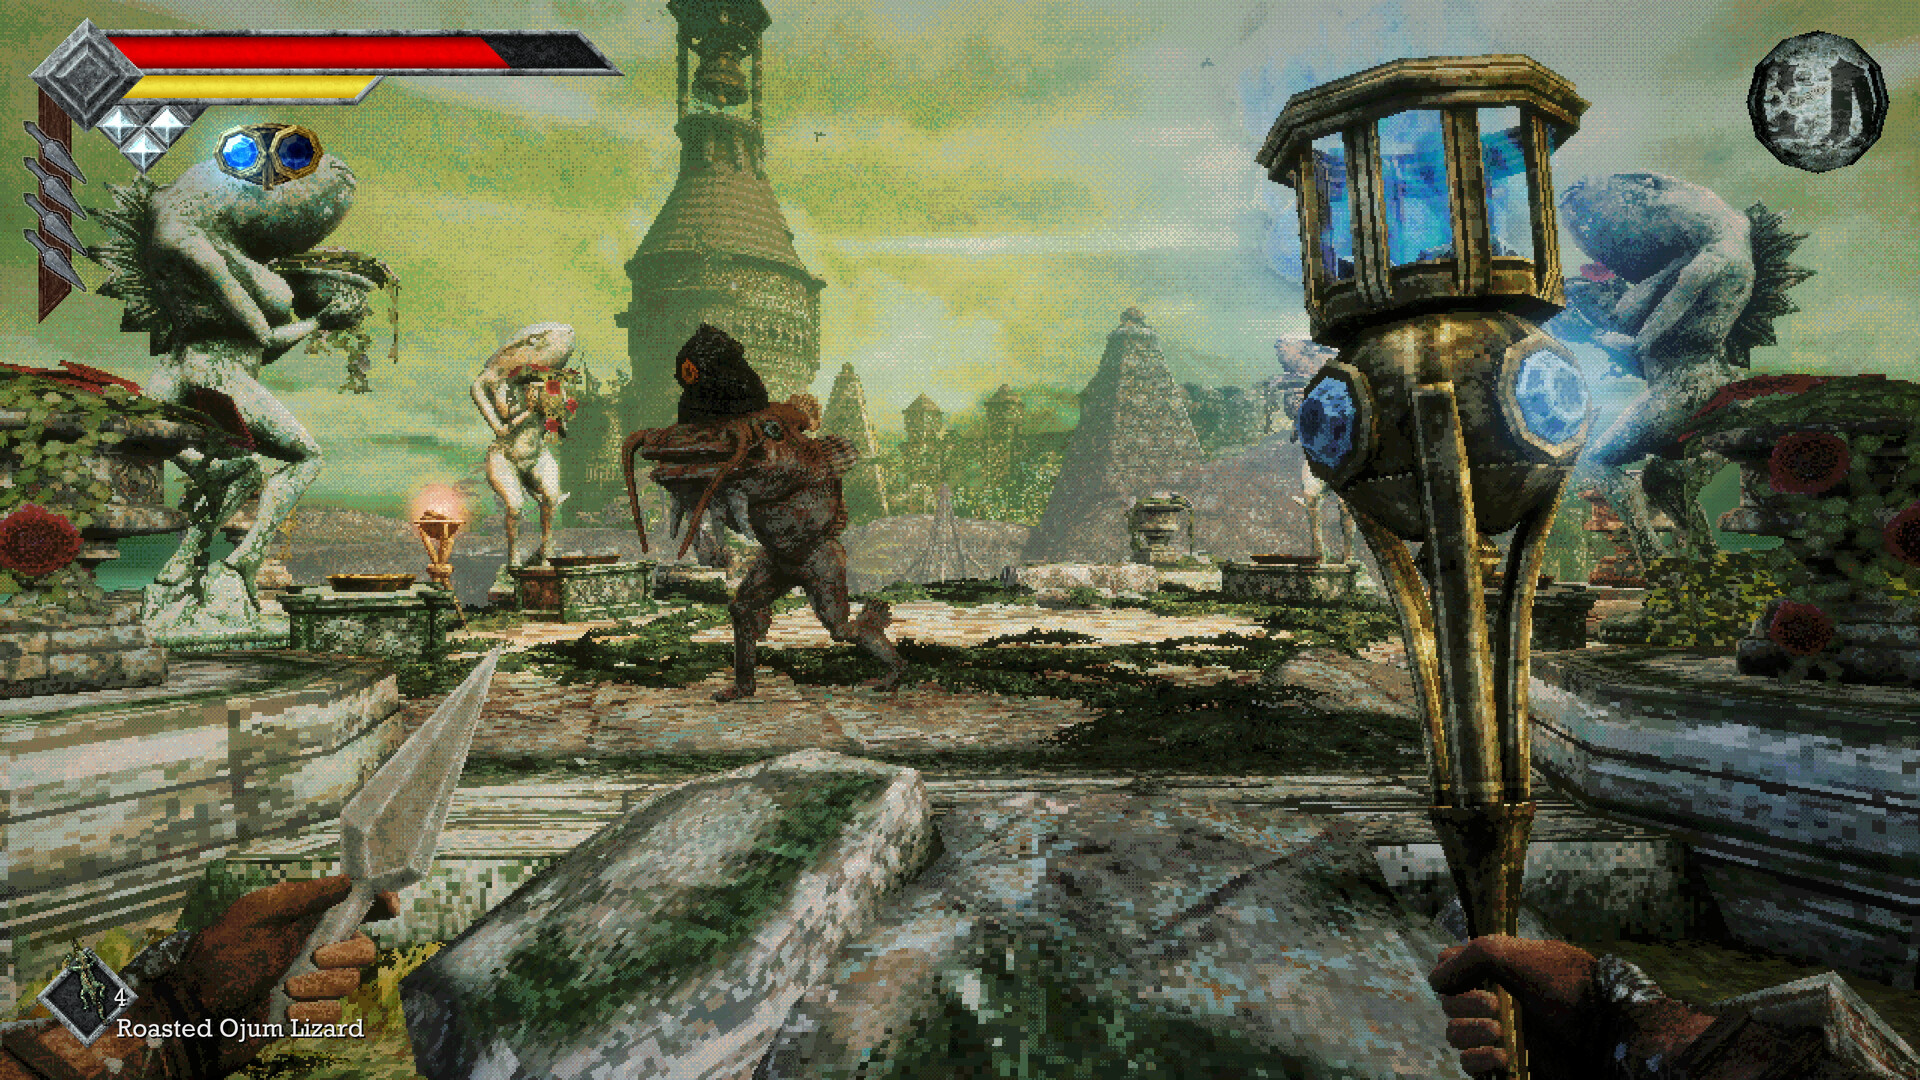
Eight Sipeha seals open the Temple of Puwema for Akunra
With both lenses in the mask, use Jigeki’s Lens to break the warding symbols on the rot fountains and clear the Rotting Cavern water. Then sweep the eight seated Sipeha statues. Indie James’s run went Rotting Cavern, the hidden wall on the Mausoleum staircase by Chef Gagi, two dark underworld areas, the Forgotten Dungeon, under the Tower of Knowledge, Obmuer Temple and finally the Record of Sin. Every statue is in our Sipeha seals guide.
All eight light the door with eight green torches in the Temple of Puwema. Behind it you fight Usunha and Wujomiod, the shrine’s gatekeepers, then reach the altar where a fully upgraded Holy Sword Endu becomes the True Holy Sword Akunra. Endu has to be maxed or the altar refuses. Take Akunra back to Queen Siraatsu for Ending 2.
The Petrified Garden fits anywhere in this stretch. Jump off a warp station during the teleport animation to reach it. Indie James’s run fights Lost King Ojjama there, and the five trident key statue puzzle in the garden is the start of the Ending 4 route. See our trident keys guide.
Ending 3 then needs eight mementos from character quests and the hidden memento altar in the Mausoleum. Our endings guide lists all eight.
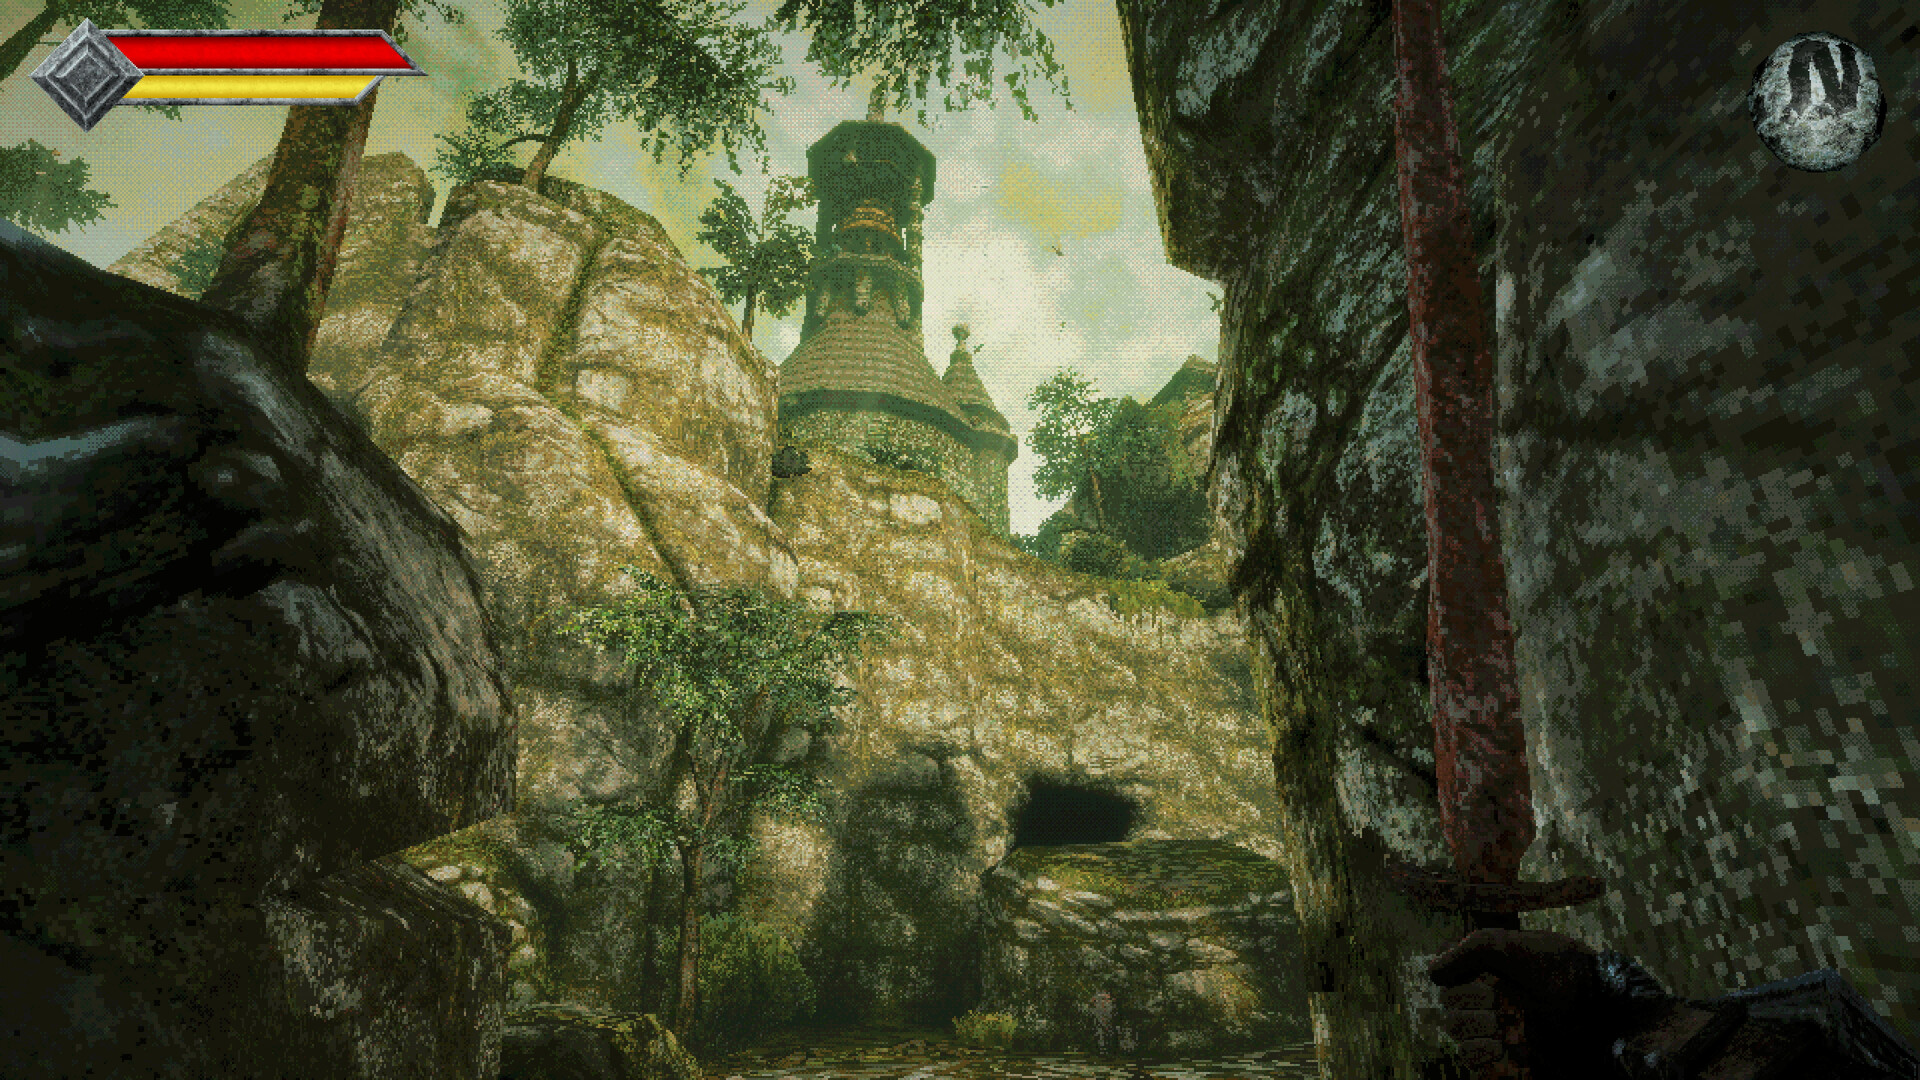
Wing Altars and Wing Stone Fragments are your fast travel
- Wing Altars are the fast travel points. Activate every one you pass. The Ancient World’s is near Ossi.
- Crystal Monuments are save points. Resting at one brings enemies back, so players save without resting before a boss.
- Wing Stone Fragments are consumables that warp you to a Wing Altar from anywhere. One player used one to jump back to the castle teleporter and find a door they had missed. They are the answer if you feel trapped in the Ancient World on the way in.
- Jumping off during a warp drops you into hidden places. That is how you reach the Petrified Garden and the double gate between the Rotting Cavern and Verdant Hollow.
Watch the compass in the top right corner, which players use for directions, and write down sealed doors you cannot open yet. The orange, blue, green and castle seal breakers all send you back to doors you passed hours earlier.
No one has posted a reliable recommended level for the late game
We could not find a recommended level from the developer or a consistent figure from players for the Ancient World or Siraatsu Castle. The firm data point is earlier: both players we watched finished Deimpo Mausoleum between level 38 and level 41. Your character and your weapons level separately, and weapons level from damage dealt. A high level weapon of the right damage type does more for a wall than a few character levels.
For time, the two full no-commentary runs we checked reached Ending 1 after about 12 to 13 hours of footage. The Ancient World took between two and a half and three hours in both. If you are well past that and still in the Ancient World, you have probably missed the teleport huts.
FAQ
Where do I go after Deimpo Mausoleum in Queen’s Domain?
Beat Poenir and Duenir, talk to King Gius Abraon, take Unok’s Remains and go through the fissure behind him. The ventilation shaft drops you into the Ancient World.
Where do I go after the Necronomicon or the Storm Gem?
That is earlier in the game. Use acid daggers on the flesh by Budaen to reach Deimpo Mausoleum. Our progression route part 1 and Mausoleum walkthrough cover it.
How do I open the bridge to Siraatsu Castle?
Shut down all three blue pyramid towers in the Ancient World. You need the Cobalt Blue Seal Breaker to get in and the Shock Rifle for the puzzles. Both are in the lab reached through the teleport hut room with three metal boxes.
Where is the fifth Wind Gem?
In the Ancient World, inside a large dark cave shrine in a cliff face, reached through the teleport huts. Manticores guard it.
Do I need the green seal breaker for the Ancient World?
No. The Teal Green Seal Breaker is on the roof of Deimpo Mausoleum, from the Noble Sentinel. One playthrough did not pick it up until after Ending 1.
How do I open the main door in Siraatsu Castle?
Beat all three castle bosses. Each one lights a ring on the foyer door. If you have two, look for a door you skipped, such as the Swords door in the room next to the castle teleporter.
Is Siraatsu Castle the last area?
It holds the final boss, but it is not the end of the game. The other late areas are where you go for Endings 2, 3 and 4, and your save continues after the credits.
How do I fast travel?
Use Wing Altars, or a Wing Stone Fragment from anywhere. Jumping off during the warp reaches hidden areas like the Petrified Garden.
Checklist
0 of 15
Source & credit
Queen’s Domain is developed by Freshly Baked Games and published by Future Friends Games. The area order was settled from two independent full playthroughs: Indie James part 2 and part 3, and The Collector’s Hubs’ full game run. We checked them against threads on the official Steam discussion board. Thanks to the players there, especially Solax, whose step-by-step post covers most of the post-credits route. The Saijha warning is from Wikloe. Achievement percentages are Steam’s global stats from November 9, 2026. Screenshots are from the official Steam store page.
What we confirmed: the main line and the boss order match in both playthroughs and the Steam threads. Some details come from a single player and are labelled in the text: the Dark Triangular Slates in the Rotting Cavern, the castle chest behind the bar, and the Growth Apparatus room.