The short answer
- Triangle pieces
- The four Triangular Slates are all in the flooded ruins outside Obmuer Temple: on a low slab past the red fish, on a broken column, in a dark lower corner, and on the island platform in the middle.
- Gargoyle puzzle
- Outside the Tower of Knowledge, light all three beacons with the Azure Torch. On the numbered balcony inside, light Gargoyle III and Gargoyle VII only.
- Book puzzle
- There are two. The Tower of Knowledge wants six books on numbered shelves. The Record of Sin wants four god books matched to the symbols over its bookcases.
- Tiara puzzle
- Match each Ceremonial Stone Tiara to the red and white flowers beside its statue. The floor opens into Jigeki’s Temple.
- 4
- Triangular Slates
- 3
- Outdoor beacons
- III + VII
- Balcony gargoyles
- 4
- God books
- Nov 2026
- Checked on
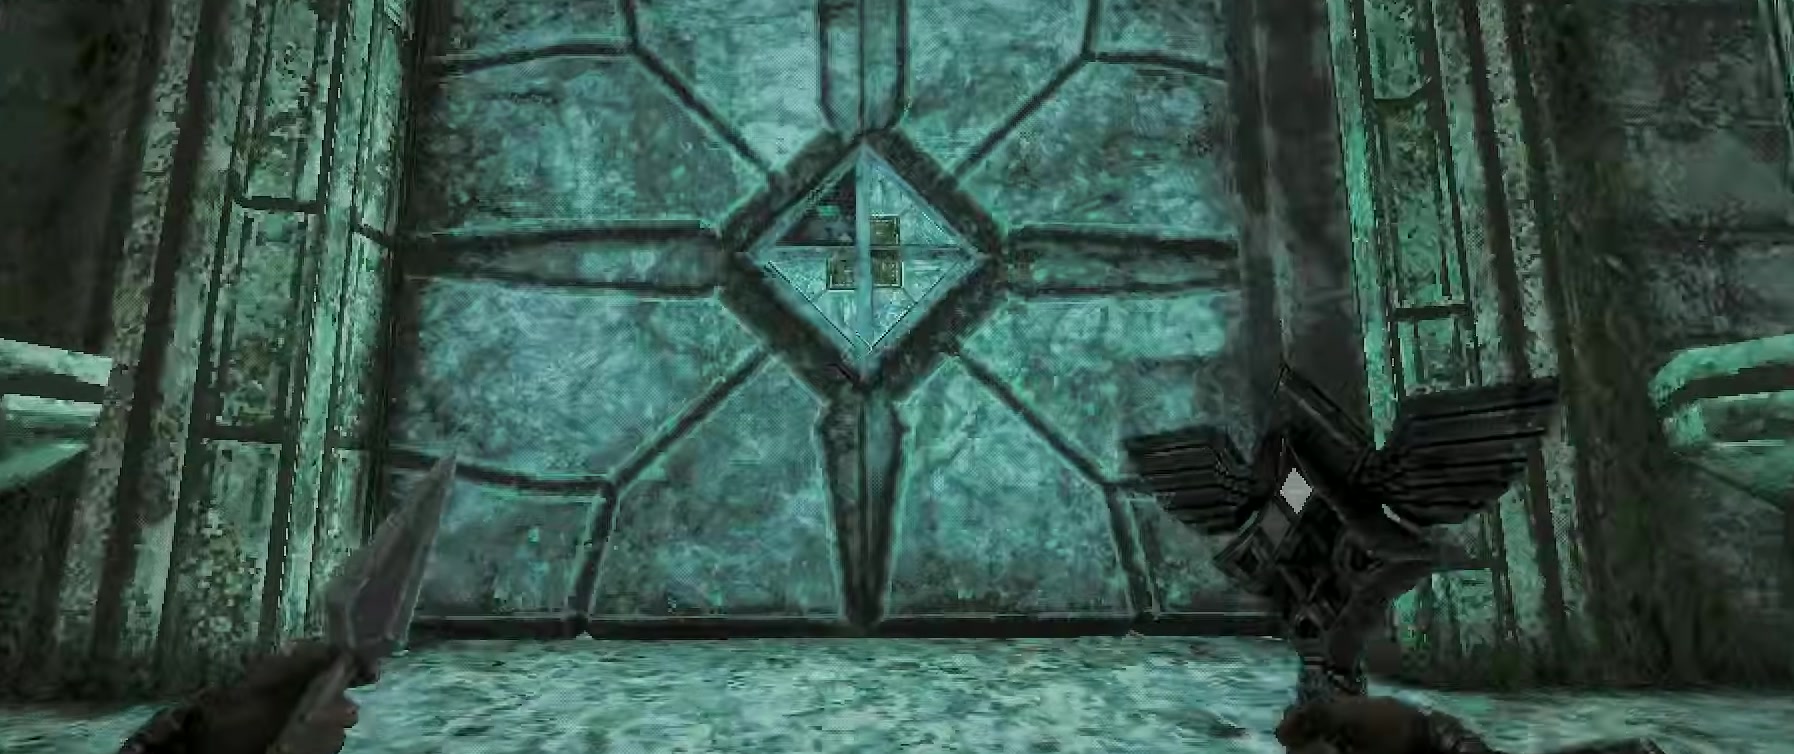
Thirteen puzzles in the rough order you reach them
Puzzles our other guides already solve get a one-line answer and a link. The ones with no solution elsewhere on the site get the full route below.
| Puzzle | Area | Solution |
|---|---|---|
| Crypt dagger switch | Isle of Neasied | Throw a dagger at the diamond switch beside the door. |
| Azure Torch and three beacons | Isle of Neasied, Obmuer Temple exit | Take the torch from the statue, light all three gargoyles. |
| Four Triangular Slates | Flooded ruins | Collect all four, use them at the door at the back. |
| Trident key gates | Obmuer Temple | Sapphire and Emerald open the route. Keys can be pulled out and reused. See our trident keys guide. |
| Numbered gargoyles | Tower of Knowledge | Light III and VII. The plaque logic is in our Tower of Knowledge walkthrough. |
| Rotating staircase | Tower of Knowledge | Wind Dash to the switch below the Storm Gem platform, then see Budaen for the Forbidden Archives Key. |
| Six library books | Tower of Knowledge | Shelves I to VI: The Great Work IV: Rubedo, The History of Dragons, Dams and Weirs, Upim’s Fairy Tales, The Old Ones Beyond, Koko’s Sapphic Adventure. Book locations here. |
| Flesh walls and faces | Tower of Knowledge | Beat the Necronomicon, then hit the moaning faces with acid daggers. |
| Three torch gate | Deimpo Mausoleum | Two levers, then a stone cube thrown at the middle pillar. |
| Power tower node puzzles | Ancient World | Power every node with the Shock Rifle, or pay to bypass. |
| Ceremonial Stone Tiaras | Clifftop above Obmuer Temple | Match each tiara to the flowers at its statue. |
| Four god books | Record of Sin | Shelve each god’s book under that god’s symbol. |
| Five statue fountain | Petrified Garden | Each trident key goes in the slot of the creature with its gem colour. See our statue guide. |
The eight Sipeha seals and the rot fountains in the Rotting Cavern are in the same statue guide. The route between all of these is in our progression route.
A thrown dagger opens the Crypt door, no key needed
The first puzzle in the game stops anyone who has not picked up the Dagger Belt, which sits on the rocky islets by the shipwreck off the starting beach. The Crypt is in the clearing northwest of the first Crystal Monument. Its stone door has a small diamond-shaped target set beside it. Equip throwing daggers and hit the target to open the door.
Inside, the Endu Shrine Gate Key is at the bottom of the stairs, and the Wooden Club is on the way down. The key opens the Shrine of Endu, where a lever starts the Shrine Guardian fight. Our early weapons guide walks through the switches in the ruins nearby.
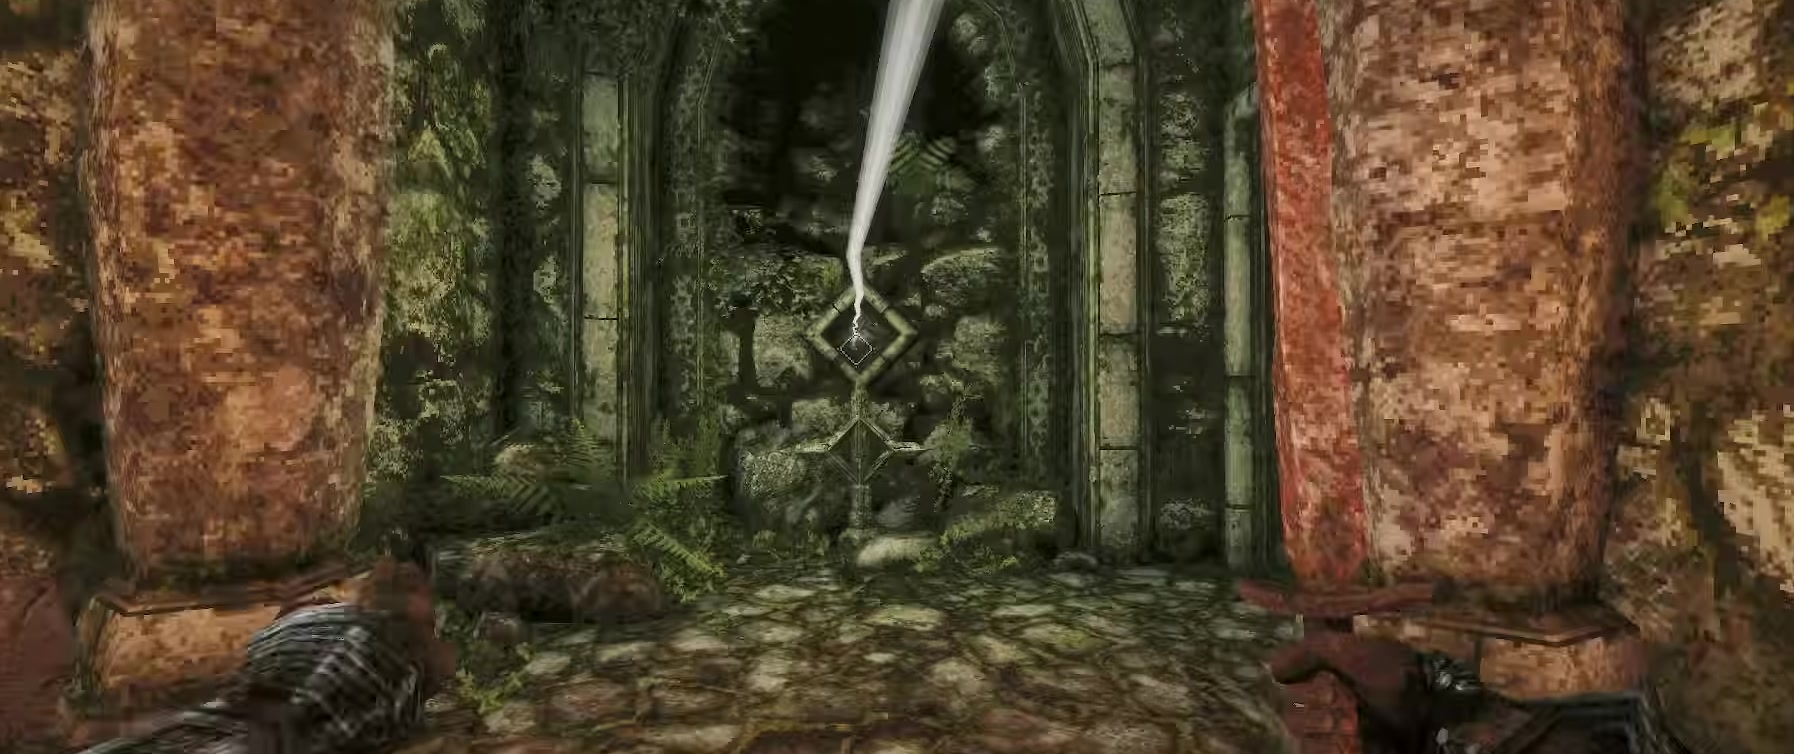
The Azure Torch lights three beacons around the island
Wind Dash across the east bridge with Holy Sword Endu and take the Azure Torch from the gargoyle statue in front of the Tower of Knowledge. These three outdoor beacons are not the numbered statues inside the tower. Light all three and a bell rings for each one. The tower will not let you in until the third has rung.
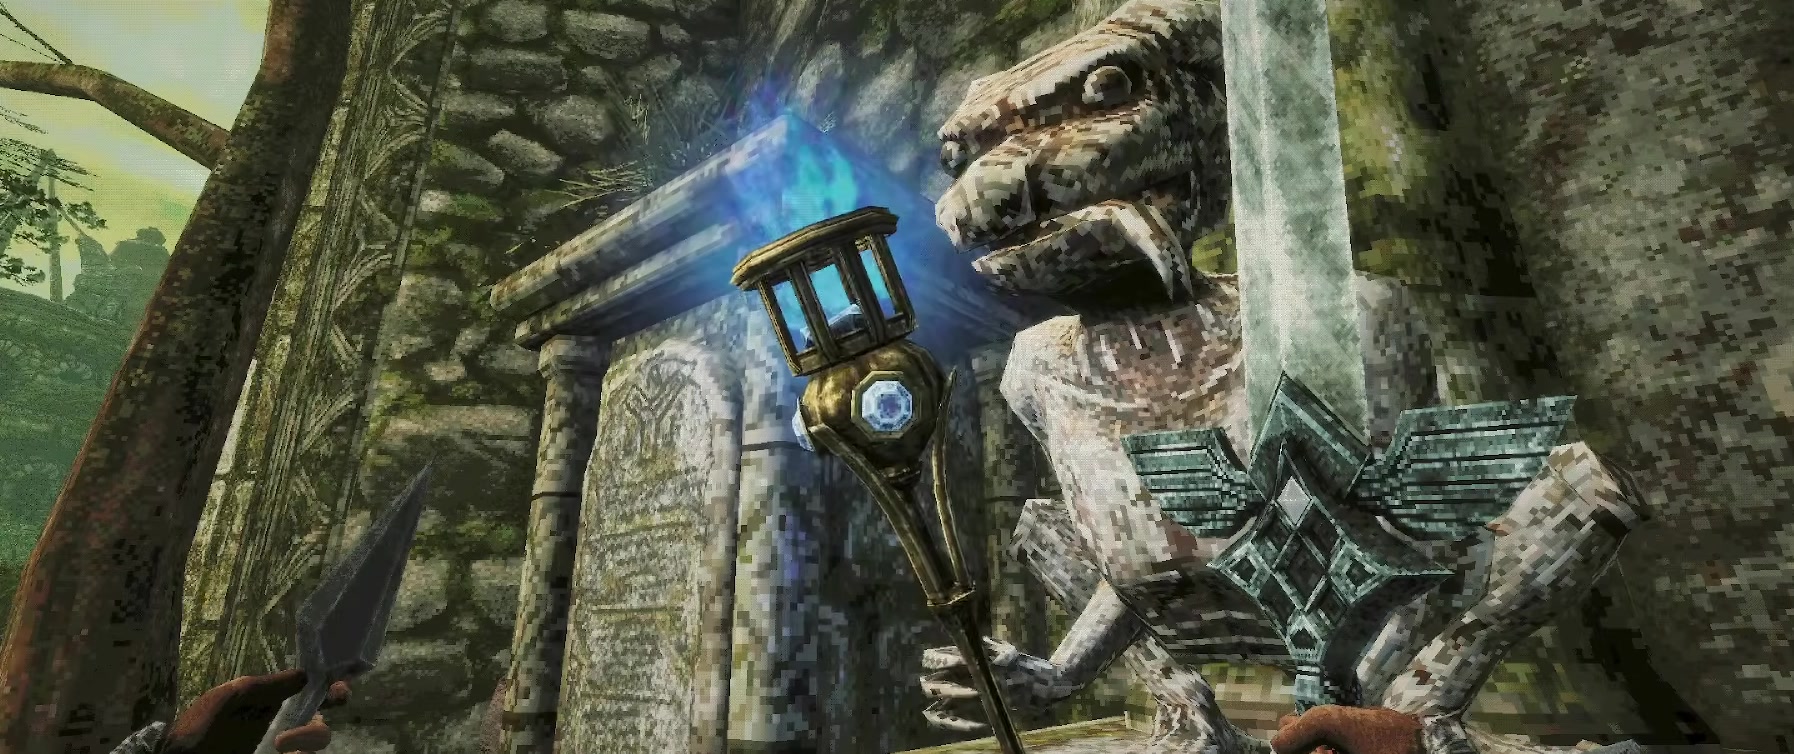
| Beacon | Where it is | You need |
|---|---|---|
| First | At the pillars by the second Wind Gem, jump up to the small blue lantern, then dash across to a broken stairway. The statue is at the top, guarded by skeletons. | Second Wind Gem |
| Second | Ride the elevator route above the first save point and wrap north. The statue is in an alcove by a locked gate facing the sea. | Second Wind Gem |
| Third | On the way out of Obmuer Temple after beating Dagoom. A fast travel point next to it takes you back to the start. | Dagoom dead |
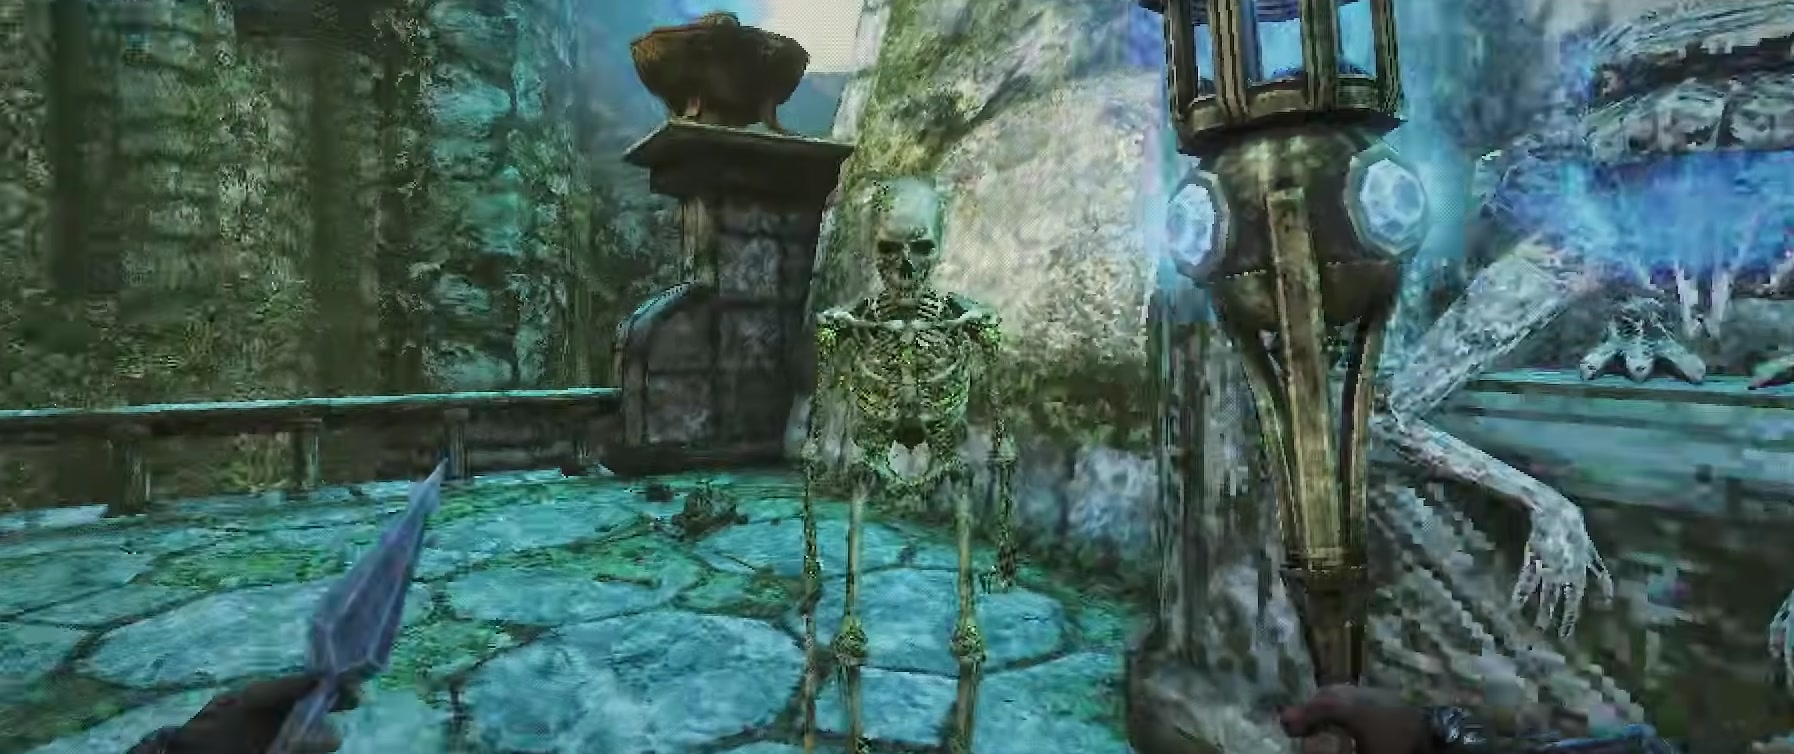
All four Triangular Slates are in the flooded ruins
The slates are the triangle pieces players search for. None of them are inside the temple. Go to where you first fought a centipede and Wind Dash twice in a row across the broken bridge, then save at the third Crystal Monument. The game does not number the slates, so use the landmarks. The Trident is on the statue beside the door, so take it while you are here.
- Low slab past the red fish. Go through the circular pool of small red fish and turn east instead of west. The slate is on a pale stone slab standing in shallow water. Skeletons guard it.
- Top of a broken column. West of the first slate, climb along the collapsed wall and step onto the broken column. The slate sits on the very top, below your eye line as you climb.
- Dark corner on the lower level. From the upper area with the skeletons and the Trident, drop down and head for the western corner. The slate is on an octagonal stone against the wall. Searching the upper platform will not find it.
- Island platform in the middle. Wind Dash to the large broken platform in the middle of the ruins. The slate is on the ground next to a flower planter and a brazier. Several skeletons wake when you land, but you can grab it and jump straight off.
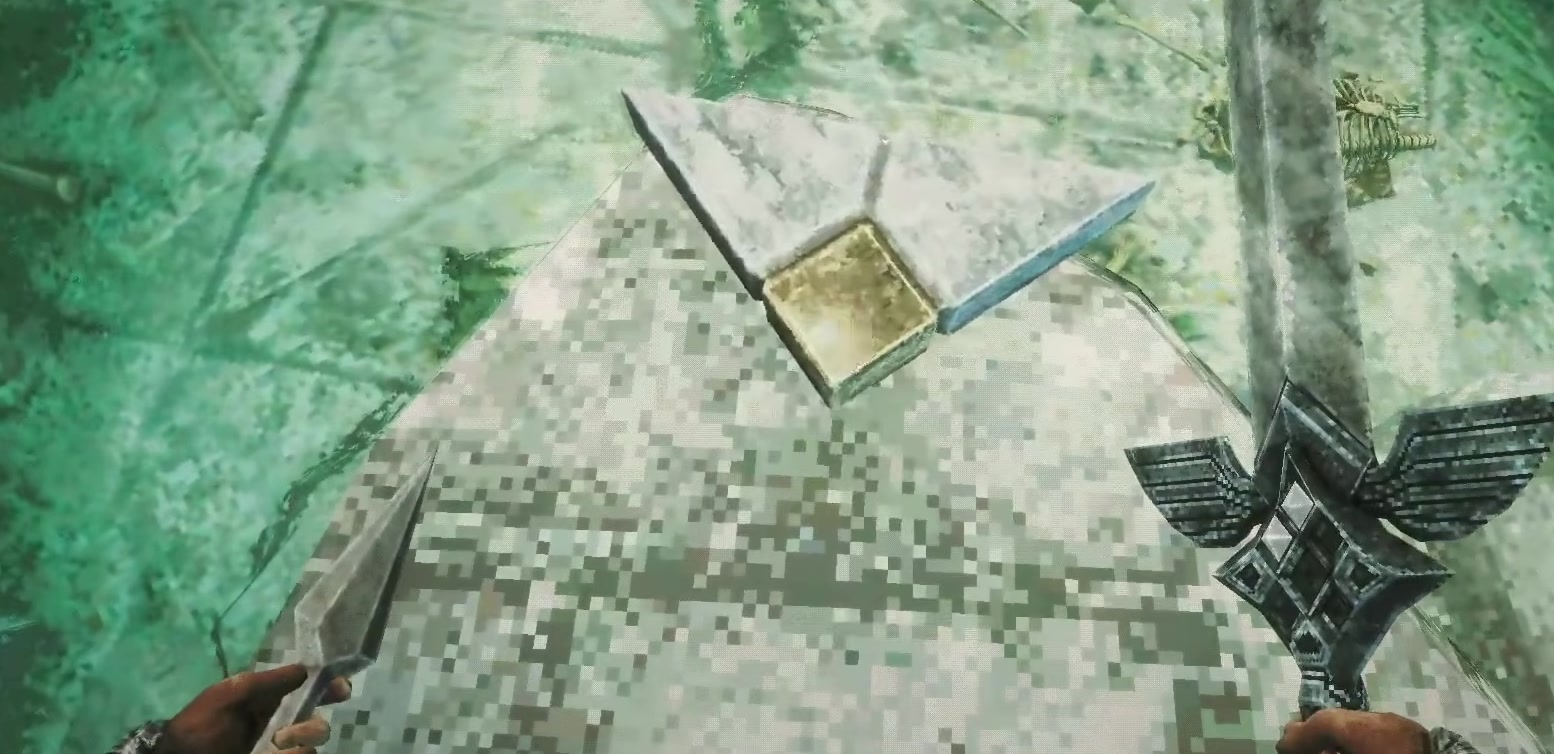
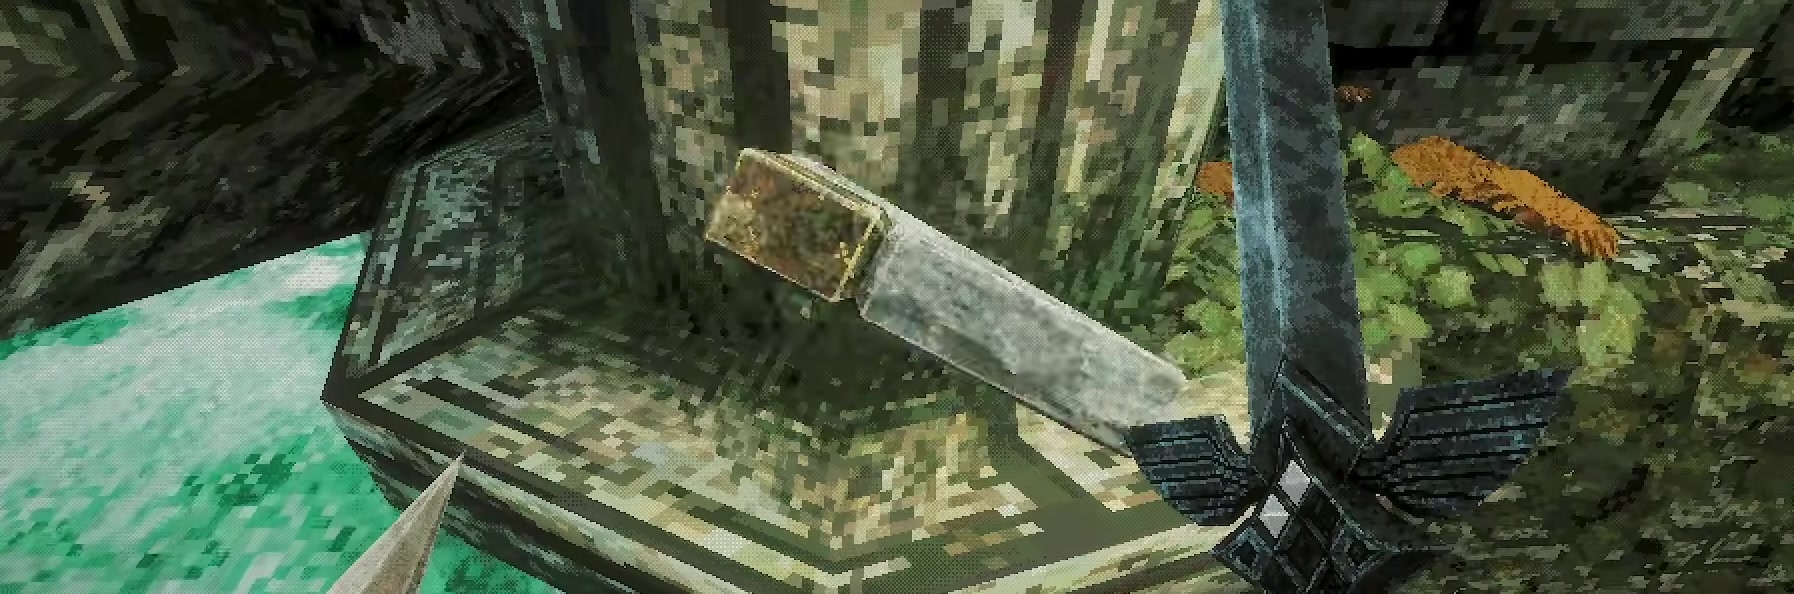
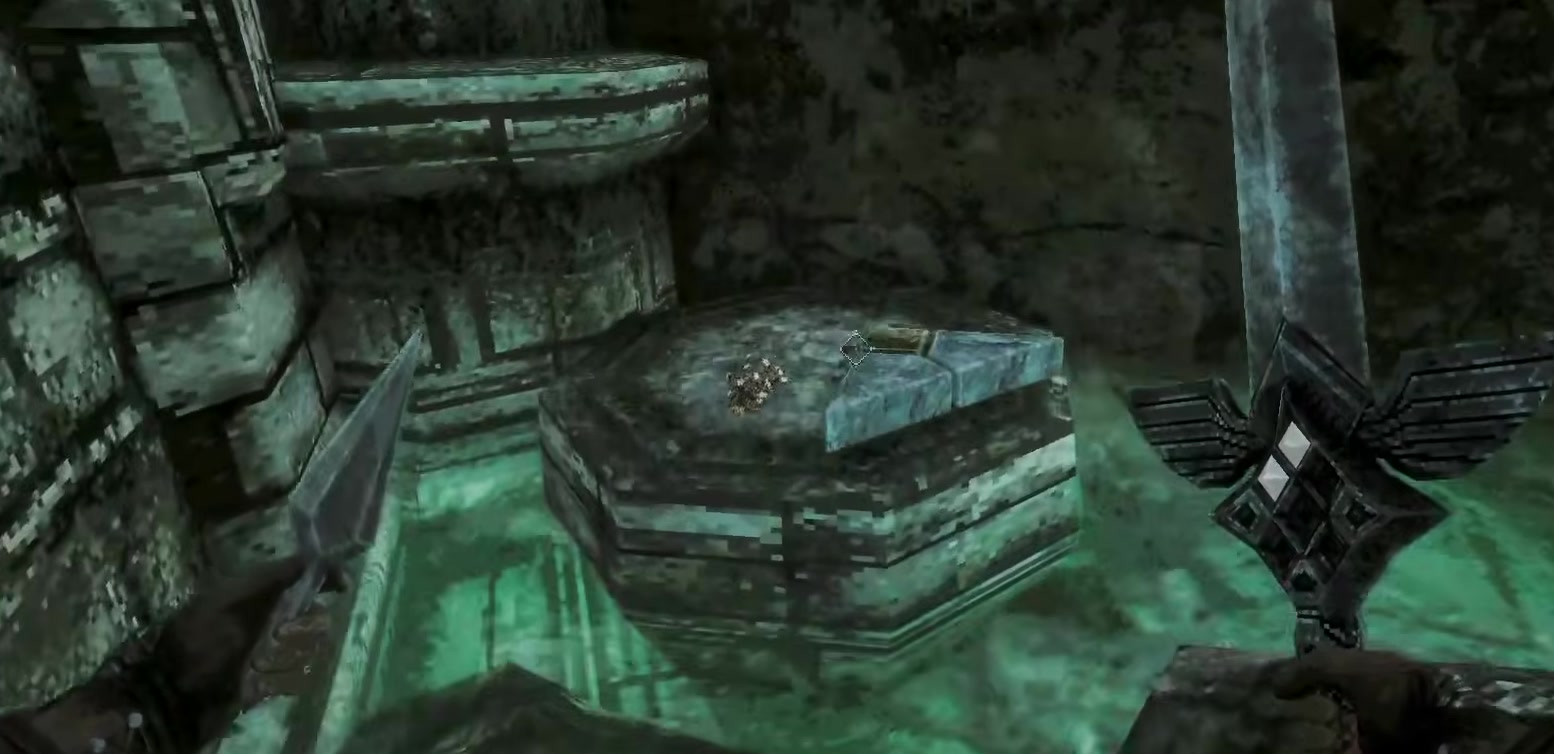
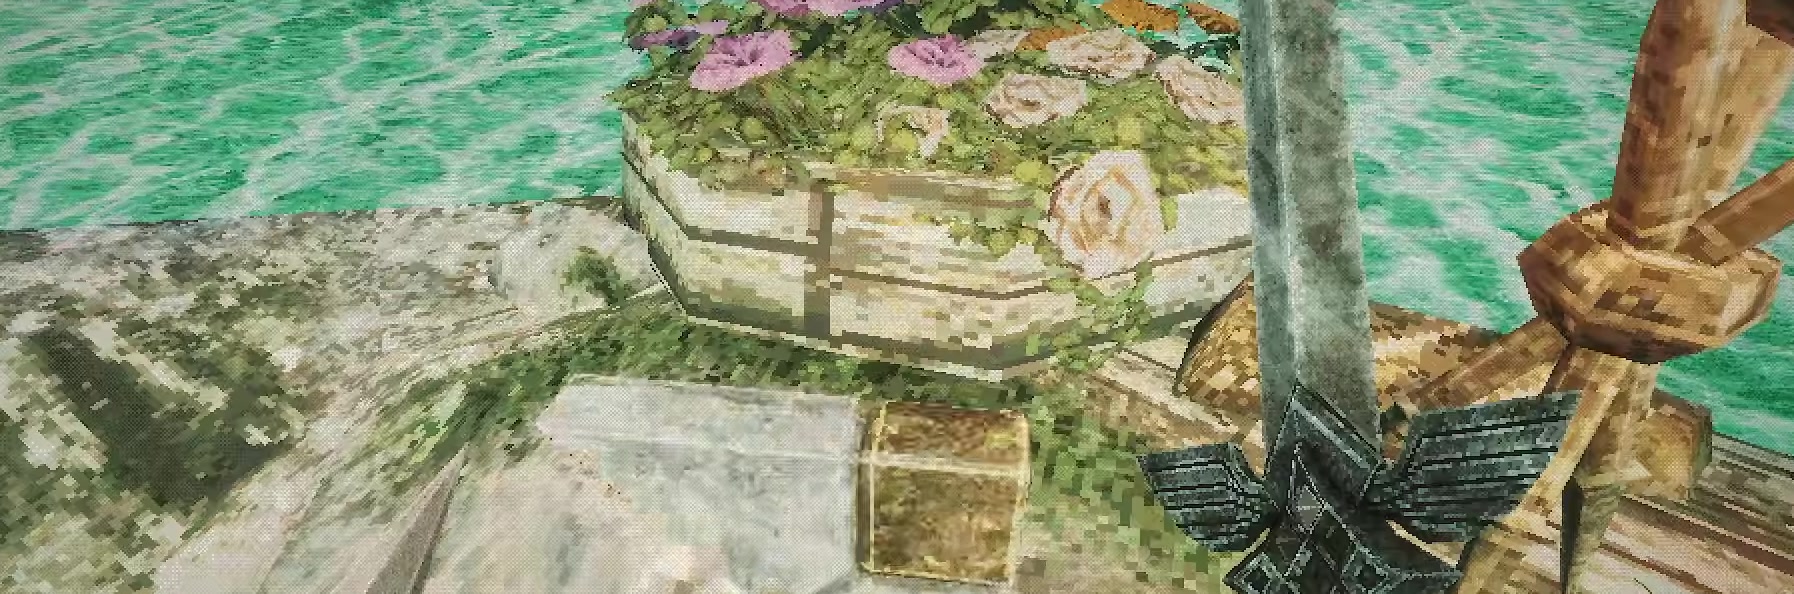
Take all four to the sealed door at the back of the area and use them on its four sockets. The four sockets form a diamond on the door, and the item text reads “One of four triangular slates needed to open the door to Obmuer Temple.”
The third torch in Deimpo Mausoleum needs a thrown stone cube
This gate is in the room past the woman who gives you the lens. Two levers in the alcoves on either side light two of the three torches around it. There is no third lever. Look at the middle pillar behind the giant statue, third block up: the indentation is a switch for the throwable stone cube. Daggers do nothing.
The cube comes from a cave below the cemetery on the starting island, on a pedestal in the same place as the Great Work book. Reach it by dropping off the cliff near the grave that opens the stairs and dashing into a hidden nook below. Players warn there is almost no feedback when the throw lands, only a soft click under the sound of the cube breaking. Wodaso’s Lens shows particle streams running from each switch to the door, and each stream vanishes when its switch is hit.
The reward is a fight with a black gargoyle for your bestiary, which matters for Endings 3 and 4. Players also report that placing the cube on the altar behind the guardian upgrades it, though this step needs the lens.
Three Ancient World towers hide a lights-out node puzzle
The three blue pyramids are power towers, and the castle gate stays shut until all three are off. Each puzzle is at the top of its tower. A shot from the Shock Rifle toggles the node you hit and every node connected to it, and a node powered twice switches off. Light them all to finish. Our weapons guide covers where the rifle is.
A console can skip a puzzle for coins. If the gate stays shut, check the towers from outside: a finished tower has no blue light on it, and one that still glows has not been solved. Some players report the gate staying locked after using a bypass console, so check all three before assuming a bug. The small puzzle in the lab where you find the rifle is a practice one and does not count. Players report the towers vary in size, from about 13 nodes to more than 16, so start with whichever looks simplest.
We could not verify a node-by-node solution ourselves. One Steam community guide has numbered shot orders for all three towers as screenshots, taken from the elevator button looking up. Treat it as a single player’s report.
Four stone tiaras open the floor to Jigeki’s Temple
This puzzle is on the clifftop above Obmuer Temple, and it is the way to Jigeki’s Lens. To reach it, go to the third beacon at the temple exit, climb the railing on your right and use the Cestus uppercut as an extra jump, then Wind Dash across. Umbada sells the Cestus for 20 coins.
The Ceremonial Stone Tiaras are close by, but one hides. Player Muffinstien’s list: one near the gargoyle on your way across to the puzzle, two on the cliff with the puzzle itself, and one on a lower cliff northwest of it. Players who found only three were usually missing the one just above the railing by the third beacon, or the one hidden behind a bush.
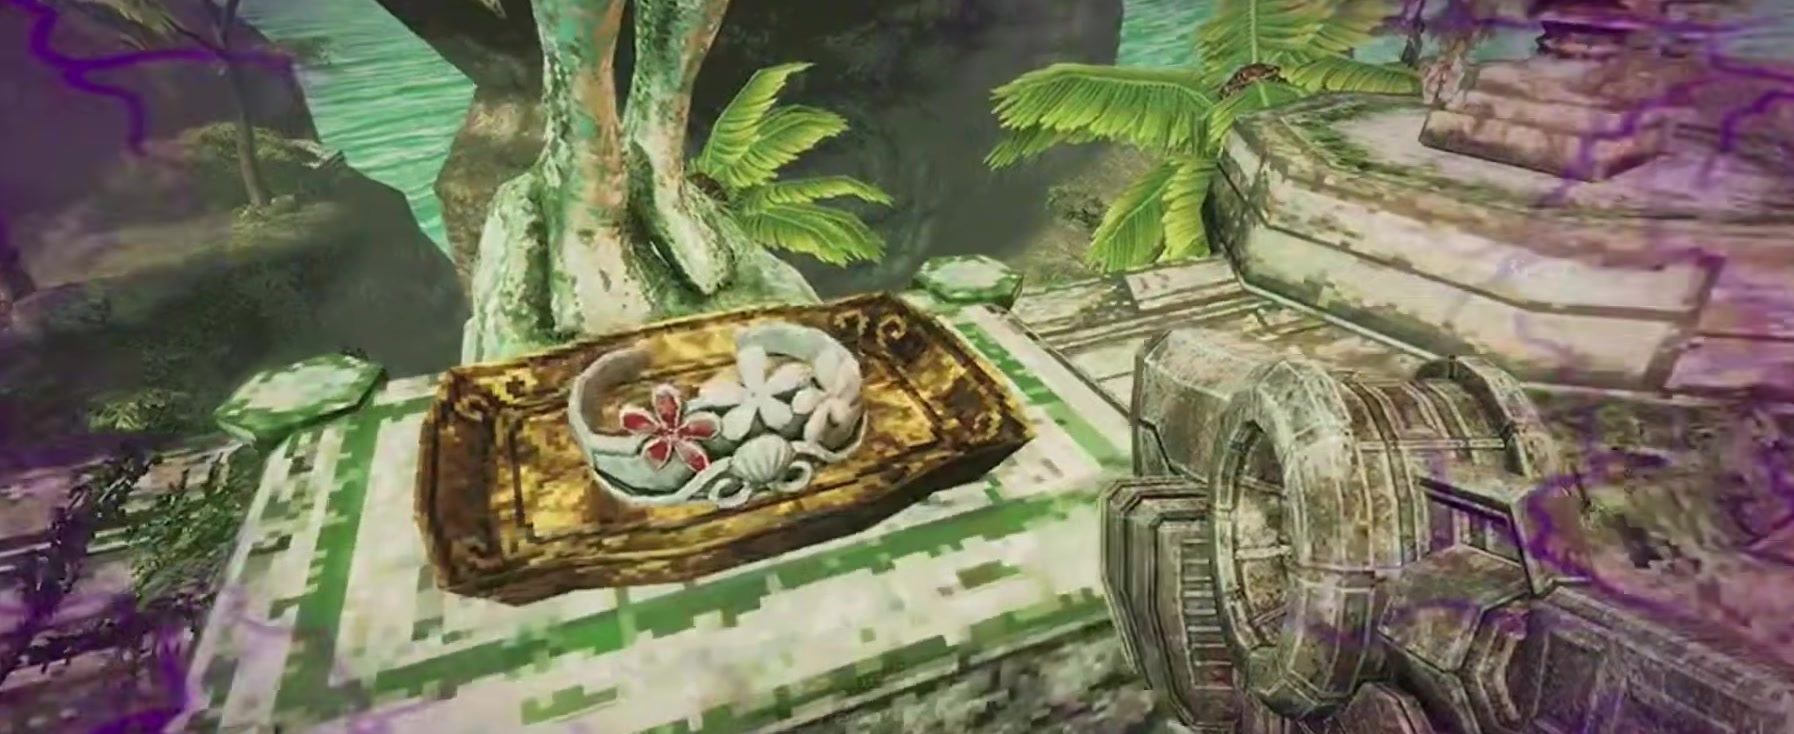
The four statues stand at the compass points around a stone floor. Each one has flowers in its hands and in the pots on either side. Each tiara has three flowers, red or white, so you only need to tell light from dark. Copy the pattern at the statue onto the tiara: a red flower on the statue’s left means a tiara with red on the left.
| Statue, left to right | Tiara pattern |
|---|---|
| First | Red, white, white |
| Second | White, red, white |
| Third | White, white, white |
| Fourth | White, red, red |
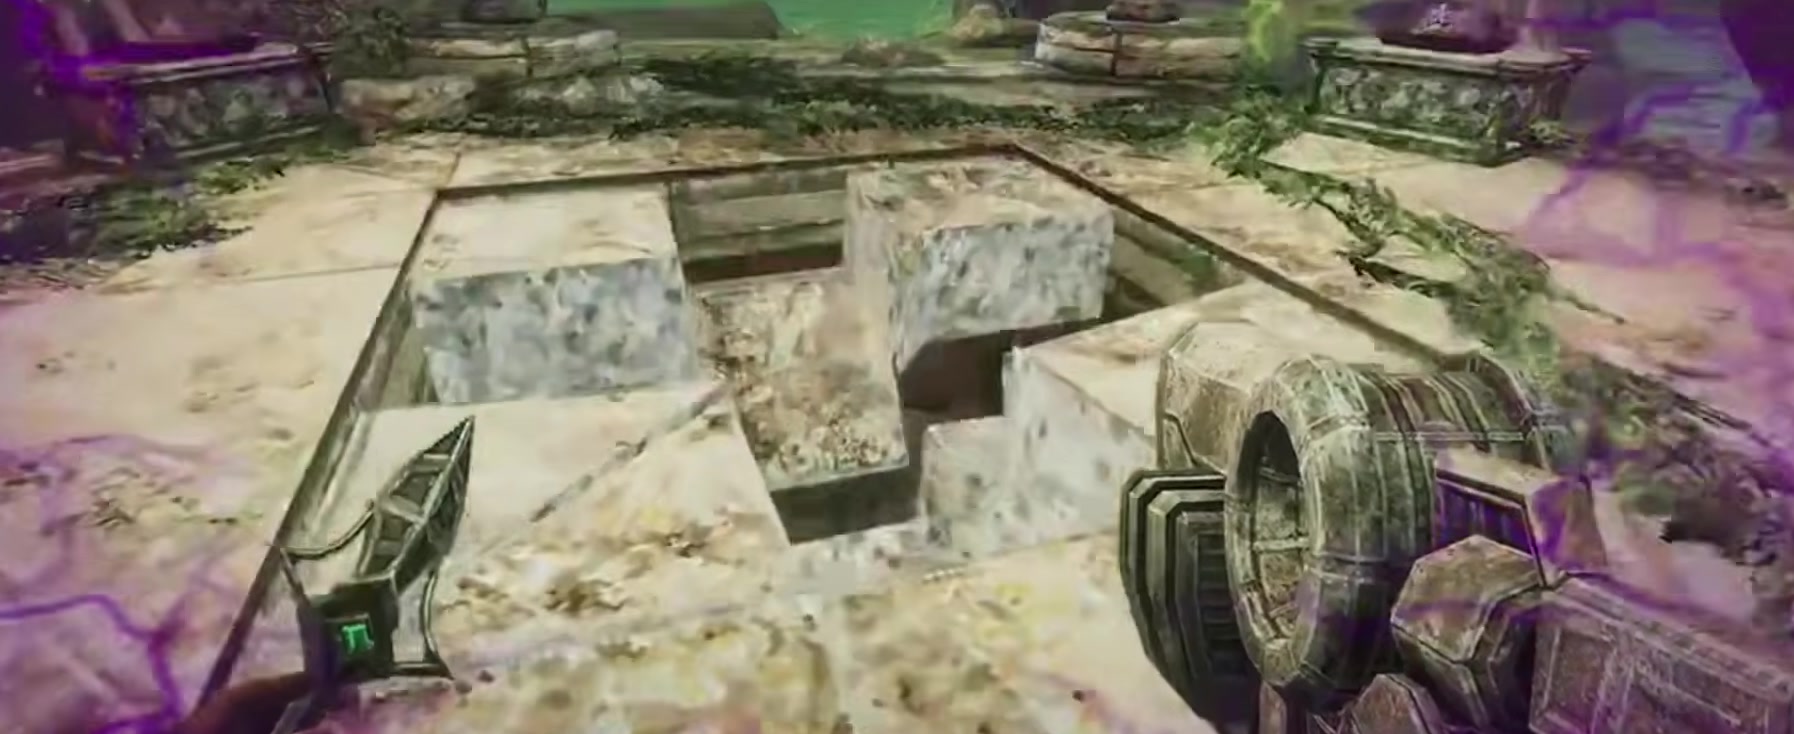
Drop through the hole into Jigeki’s Temple. The large door there takes the three Jigeki key pieces, found in Deimpo Mausoleum, the Rotting Cavern and under the bridge in the Ancient World. The boss behind it gives you Jigeki’s Lens.
Four god books in the Record of Sin unlock Daji the Grasping
If you were searching for the book puzzle and have already finished the Tower of Knowledge, this is the other one. A library in the Record of Sin has a symbol above each of four bookcases, with one gap on the shelf below it. Each gap takes the book about that god. The Rotting God, which fits no shelf in the Tower of Knowledge, goes here. You need the Tower of Knowledge six-book shelf finished first, because one of these books is locked behind it.
| Symbol | God | Book | Where to find it |
|---|---|---|---|
| Circles | Sipeha | Monarch of the Void | From Bones of Archivist Inha in the Tower of Knowledge, drop into the basement, take the ramping corridor from the room with the stone statue, and find the sitting skeleton holding a Radiant Fruit. The secret door is on the wall right next to it. |
| Eight-pointed star | Puwema | The Green Goddess | Teleport to Deimpo Mausoleum, go down the spiral stairs toward Chef Gagi and press interact on the walls until a secret door opens. Dash across to the ledge opposite; the book is on a small pedestal near an Occultist Josami Warden. |
| Cross | Wodaso | Wodaso’s Embrace | In the Rare Artifact Storage room you open by finishing the Tower of Knowledge six-book shelf. Look closely, it is easy to walk past. |
| Three diamonds | Jigeki | The Rotting God | A hidden room in Obmuer Temple near the needle throwing weapons, with Candle Crawlers around it. |
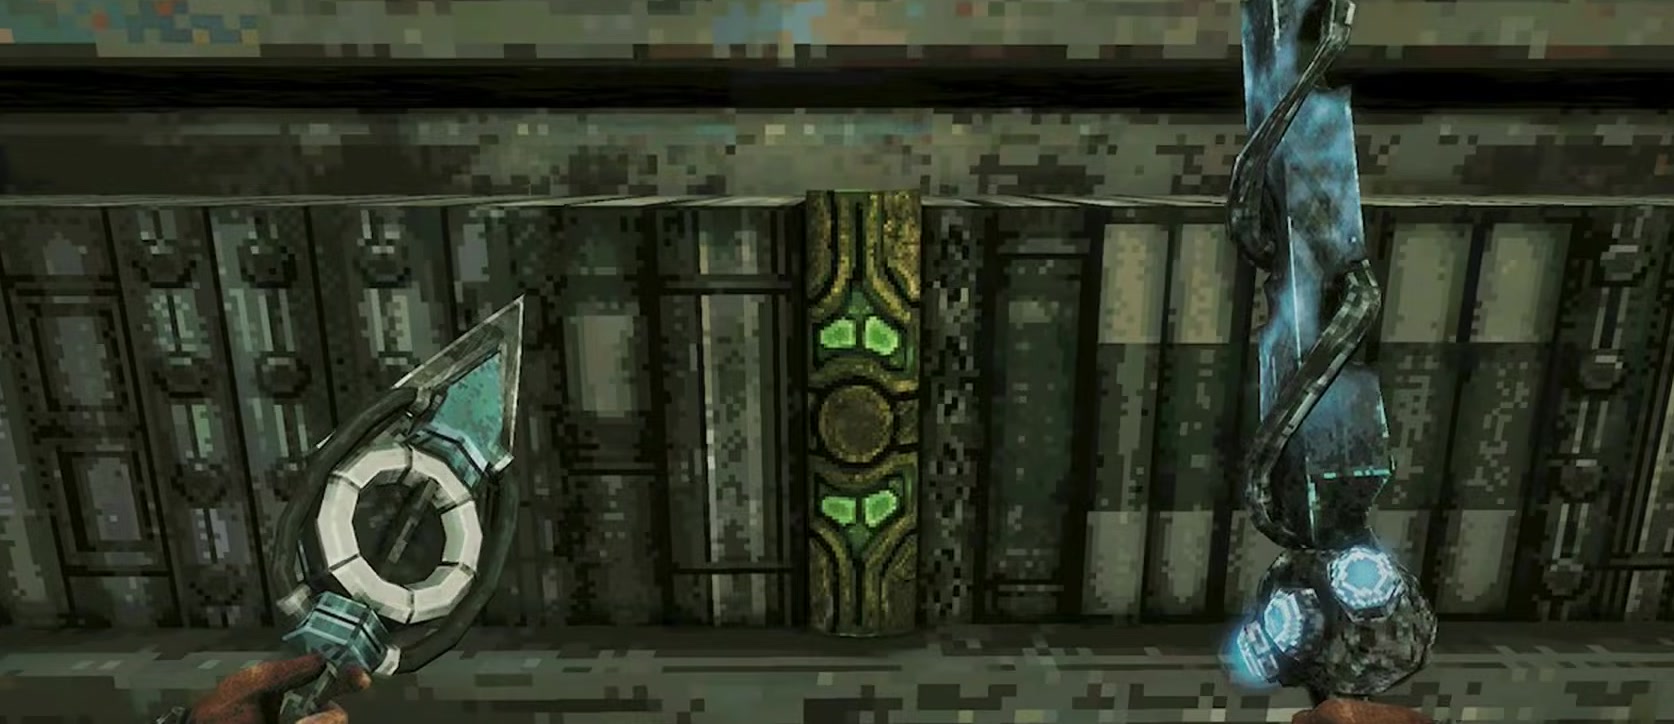
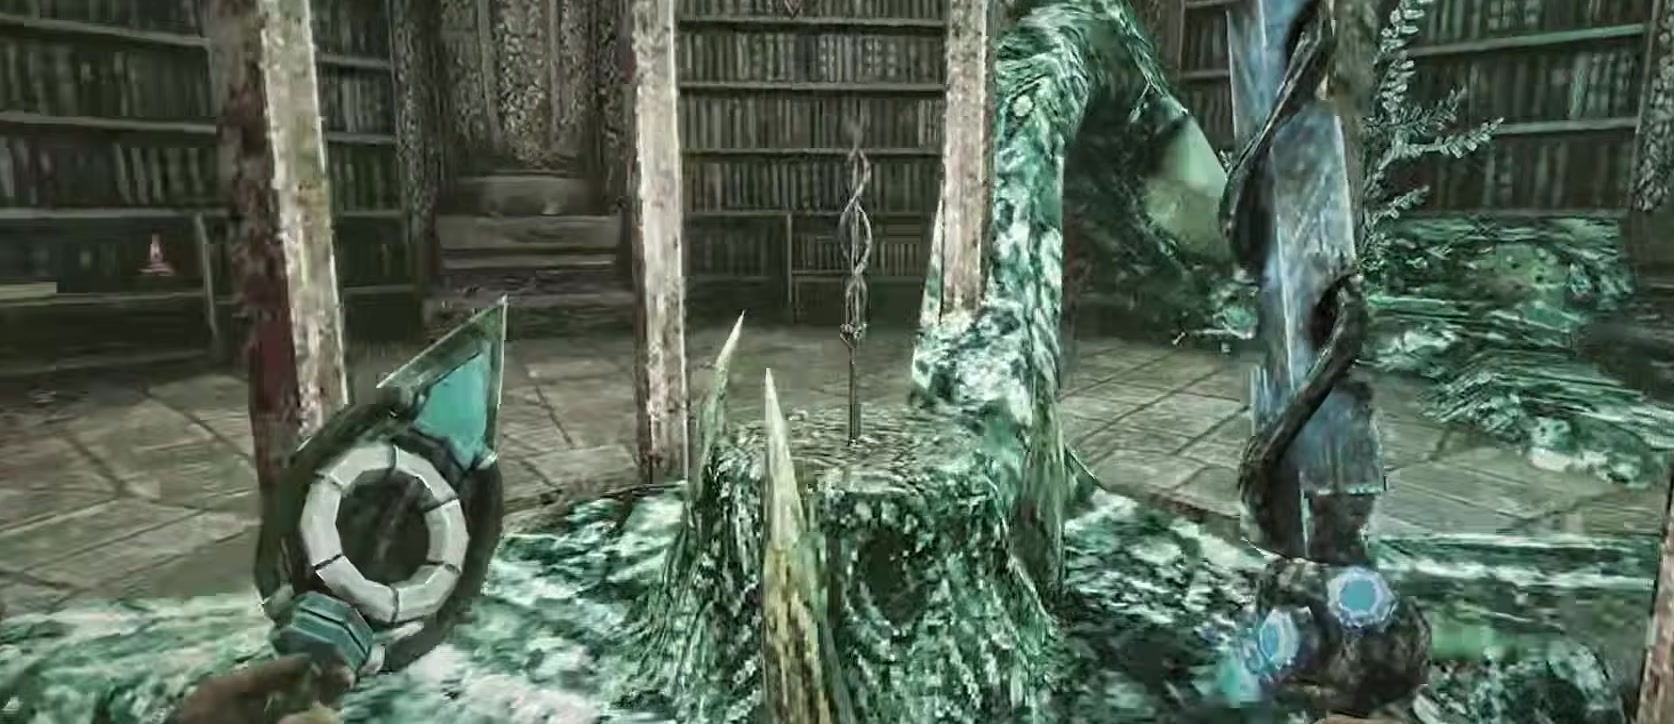
The reward is Daji the Grasping, a spear at the centre of the room once all four books are shelved. Its description reads: “It steals strength from those it pierces.”
FAQ
Where are the triangle pieces in Queen’s Domain?
The four Triangular Slates are in the flooded ruins outside Obmuer Temple: on a low slab past the red fish, on a broken column, in a dark lower corner, and on the island platform in the middle.
Which gargoyles do I light in the Tower of Knowledge?
Gargoyle III and Gargoyle VII on the numbered balcony. The three beacons outside the tower are separate and all three must be lit to get in.
What is the book puzzle solution?
In the Tower of Knowledge: Rubedo, History of Dragons, Dams and Weirs, Upim’s Fairy Tales, The Old Ones Beyond, Koko’s Sapphic Adventure on shelves I to VI. In the Record of Sin: match the four god books to the symbols above the bookcases.
How do I open the Crypt door?
Throw a dagger at the small diamond target beside the door. You need the Dagger Belt from the islets by the shipwreck first.
How do I solve the tiara puzzle?
Match each tiara’s flowers to the flowers beside each statue. Left to right, that is red white white, white red white, white white white, and white red red.
Can I skip the Ancient World node puzzles?
Yes. A console bypasses a puzzle for coins. You still need all three towers off to open the gate to the castle.
Checklist
0 of 14
Source & credit
Queen’s Domain is developed by Freshly Baked Games and published by Future Friends Games. Screenshots are cropped from player videos: the first slate from Supreme Intelligence, the tiara puzzle and Record of Sin books from Nightmare Cow (tiaras, books), and the door, torch statue, beacon and other slates from this route walkthrough.
Thanks to Steam community players: bb and Zunde for the god book symbols, Rickenslacker for the Sipeha and Puwema routes, Muffinstien, VolOpt and InverseCastle for the tiara locations, Mightythorn for the flower rule, escyth for the node method, and Xendhaius and Solax for the stone cube.
What we confirmed: the four slate spots, the Crypt switch, the lit beacons and the floor opening after the tiaras are all visible in the source footage linked above. The god book symbols come from two players who agree, and the book locations are player reports. The left to right tiara list comes from one Steam guide, and footage shows only the method, so check the flowers at each statue. The node puzzle shot orders are unverified.