The short answer
- Gargoyle puzzle
- On the balcony with the numbered statues, light Gargoyle III and Gargoyle VII with the Azure Torch and nothing else. The door back into the tower opens.
- Book order
- I The Great Work IV: Rubedo, II The History of Dragons, III Dams and Weirs, IV Upim’s Fairy Tales, V The Old Ones Beyond, VI Koko’s Sapphic Adventure.
- Archives key
- After the Storm Gem, rotate the staircase, then find the knight Budaen behind the cage in the book-slot room. He gives you the Forbidden Archives Key for the golden doors by the gem.
- After the tower
- Beat the Necronomicon, take the Acid Vial, and hit the moaning faces with your daggers. The flesh by the six-book vault clears and leads to Deimpo Mausoleum.
- III + VII
- Gargoyles to light
- 6
- Library books
- 38%
- Steam players who reached it
- 29%
- Beat the Necronomicon
- 12 min
- Read time
- Nov 2026
- Checked on
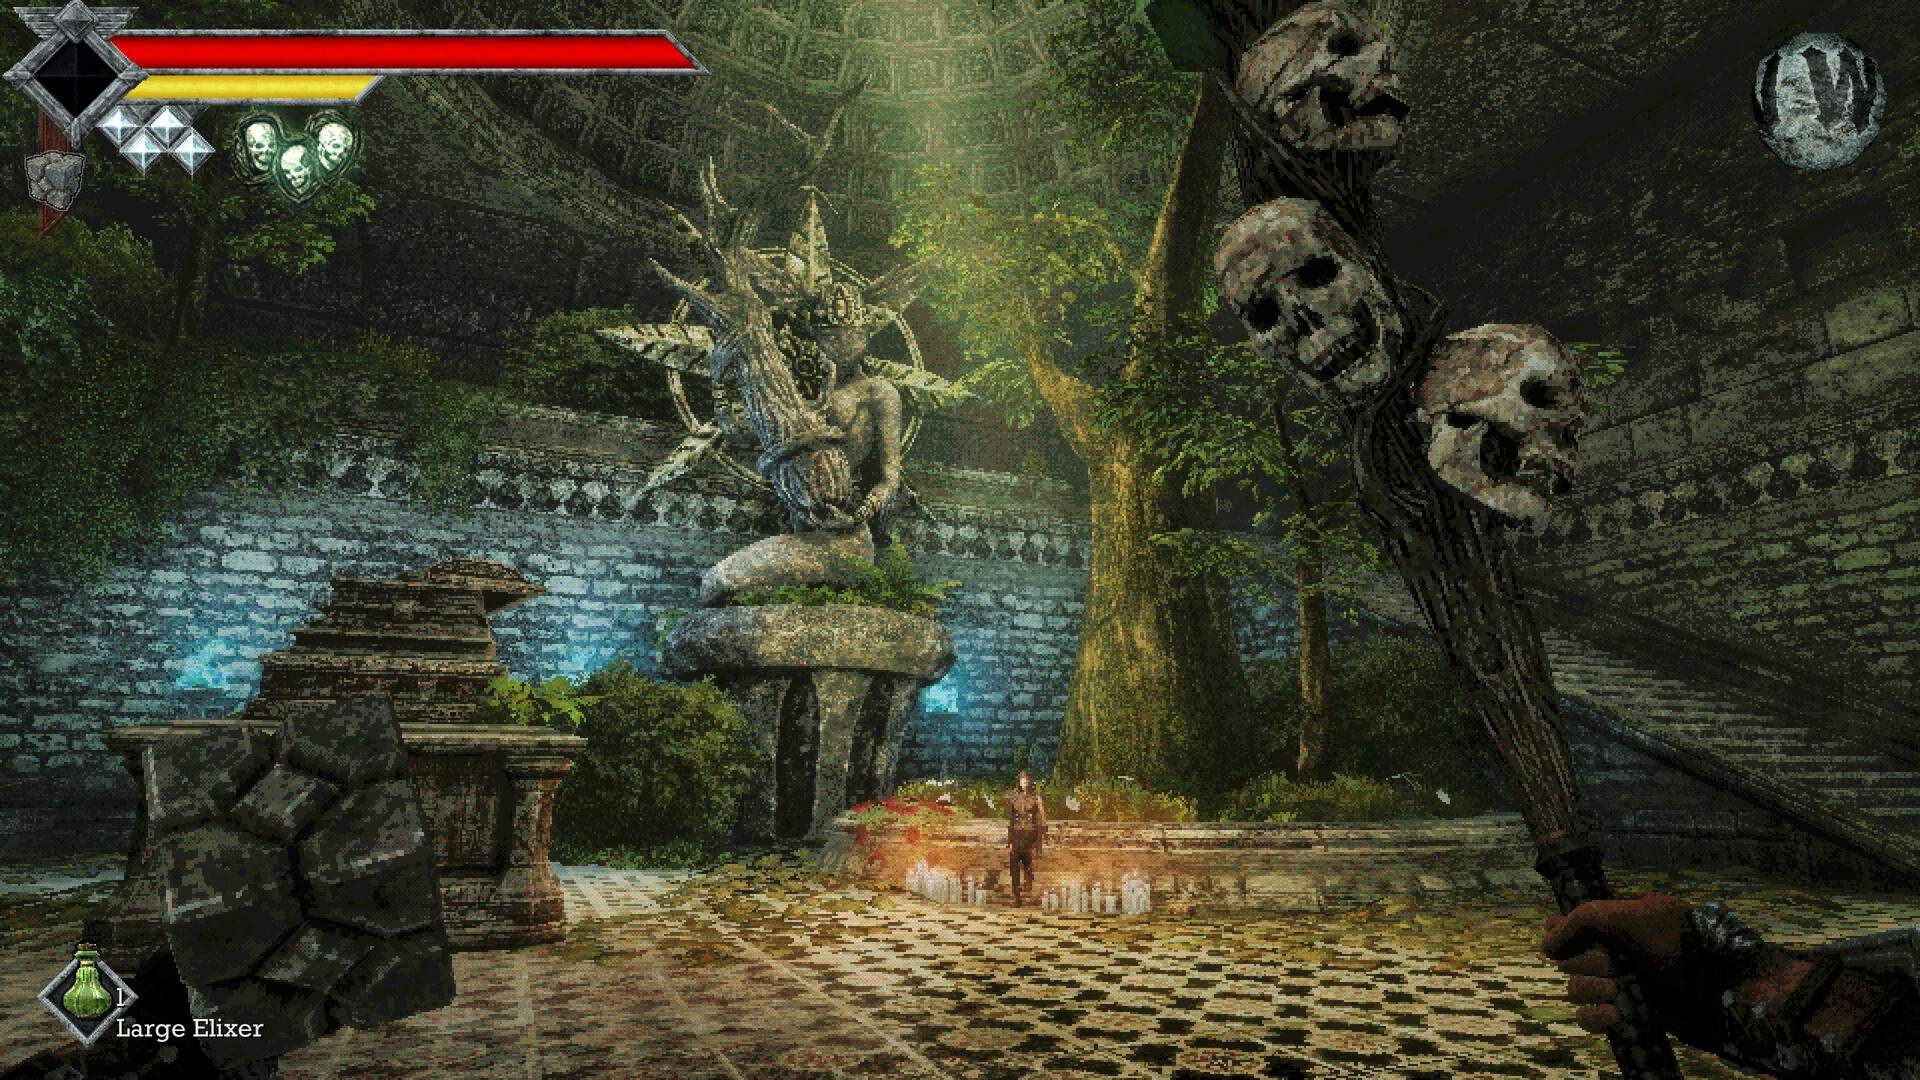
The trap floor near the entrance drops you into the tower basement
You get in by lighting the three gargoyle beacons outside with the Azure Torch so the bell rings three times; our progression route covers that part. The Tower of Knowledge is where Queen’s Domain gets dense. Book Bugs, Gargoyle Warriors, Pus Bags, Crawlers, Poltergeists and Manticores all live here, and several of them inflict status effects, so bring cures as well as herbs. Steam’s own numbers show how much of a wall it is: 38 percent of players have the Endless Pages achievement for reaching the tower, but only 29 percent have beaten its boss.
A Skeletal Executioner fights you near the entrance. Past it, one room has a trap floor that gives way and drops you into the lower level. That pit is what players call the tower basement. Down there you pick up the Occult Knife, a homing throwing weapon, and a lever that sends you back up. Keep the Occult Knife: it becomes useful again at the end of the tower. Our early weapons guide covers the throwing gear you should already have.
Two side tips players keep asking about near the entrance. The secret door by the front of the tower opens when you feed fire to the open-mouthed gargoyles above it; the torch’s alternate attack lobs blue fireballs high enough to reach them. And right after the trap floor, go up the stairs, turn around and jump to the ledge above. A hidden wall there leads to a small room with Pus Bags and the skeleton called Bones of Archivist Inha, which is also where one of the library books is.
Light Gargoyle III and Gargoyle VII to open the balcony door
The numbered gargoyle puzzle is on a balcony inside the tower, next to a save point. Several numbered statues line the balcony and three stone plaques carry the clues. One plaque is half buried under rubble, so look along the floor if you have only found two. These are different statues from the three beacons you lit outside.
| Plaque | What it says | What it tells you |
|---|---|---|
| Gargoyle’s Hint I | Gargoyle II has one neighbor who will take fire and one who will not. | Exactly one of I and III is lit. |
| Gargoyle’s Hint II | A pair of gargoyles will take fire and open the way. Gargoyle III is not like those to each of his sides. | Only two statues are lit, and III differs from both II and IV. |
| Gargoyle’s Hint III | Giving fire to one who does not wish it invites trouble. Gargoyle V and both of his neighbors are in agreement about fire. | IV, V and VI match. With only two lit, all three stay dark. |
Put it together: IV is dark, so III must be lit to be different from it. That makes I dark, and II dark as well. The only statue left for the second flame is VII. Light III and VII with the Azure Torch and the door into the tower interior unlocks.
Light the wrong one and the statue attacks while a swarm of Book Bugs spawns. That is not a disaster: one player points out the balcony is a decent experience farm, with 30 to 40 enemies right next to a save point that drop coins and fresh herbs. If you are just trying to get through, do not test statues.
The stair shortcut leads to the Wing Altar and Knowledge Keeper Wourha
Through the balcony door, keep climbing. The Wind Rapier is up here too, behind a lever-locked door, and a second lever opens a stair shortcut. Turn right after it for the Staircase Crystal Monument and the tower’s Wing Altar, the fast travel point for this area.
Knowledge Keeper Wourha’s study is right next to the Wing Altar. She recognizes you as the prince of the Abraon family and complains about a foolish knight she trusted with the key to the Forbidden Archives. That knight is your next target. Wourha also runs the bestiary questline: report enemies you have discovered and she eventually hands over one of the library books. Her full quest, A Lifetime’s Work, needs a 100 percent bestiary and is only done by under 2 percent of players.
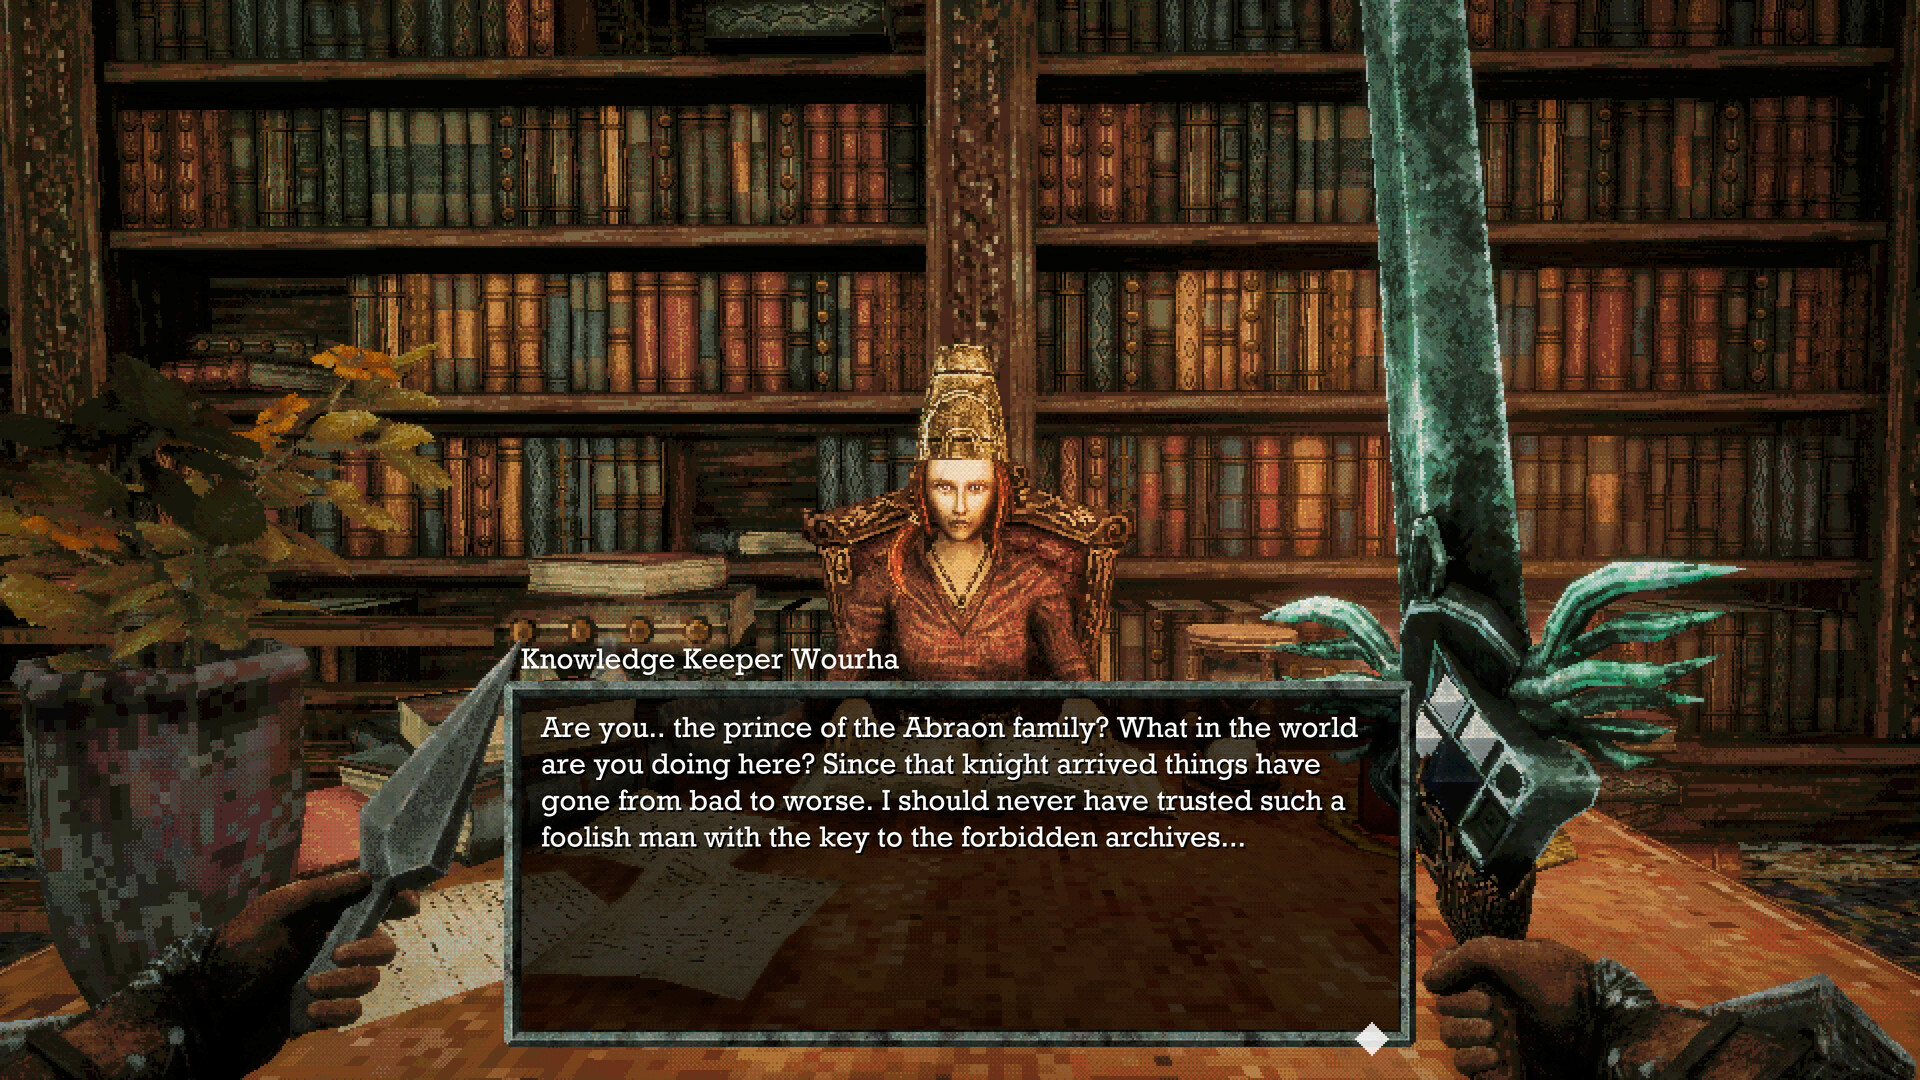
Near the Wing Altar, the monocled Docile Gargoyle outside drops the Distinguished Monocle if you hit it until it fights.
The Storm Gem sits at the top of the large staircase near Wourha’s study
Climb the big staircase near Wourha’s study to the altar with the Storm Gem. It slots into the Holy Sword Endu and unlocks the Raging Tempest achievement. The game does not explain it well: the gem gives Endu a super attack that charges up slowly, bound to R on keyboard by default. Check your keybinds if you play on a controller.
Two large golden doors stand on either side of the gem altar. They are locked, and the gem does not open them. This is where most players get stuck.
Rotate the stairway from below the Storm Gem platform to reach Budaen
The way forward is under the staircase you just climbed. Start back up the stairs from the gem altar, jump off the side and land on the raised area on the same side, below the shrine. From there, Wind Dash to the switch on the wall. It rotates the staircase so it points somewhere new.
Climb the turned stairs, then take the elevator down. The knight Budaen is easy to miss: he is behind the cage in the room where you slot the library books, by some candles next to a wall of flesh. Players describe the room as full of bookshelves, with a skeleton holding a love letter and a chest and statues behind bars. Talk to him for the Forbidden Archives Key.
The six library books and the shelf order
A Missing Books notice in the library lists six numbered shelves. Each title goes on its own shelf. Rare Artifact Storage, the golden door with the armor and two gargoyles, stays shut until all six are in.
| Shelf | Book | Where to find it |
|---|---|---|
| I, Alchemic Recipes | The Great Work IV: Rubedo | On an altar in the cave below the Cemetery on the starting island. Look for the cave with an egg outside, go down the stairs, and dash to the altar beside the pedestal with the throwable stone cube. |
| II, Fantastical Creatures | The History of Dragons | A reward from Knowledge Keeper Wourha once you have reported enough bestiary entries. If she does not hand it over, explore more and come back. |
| III, Construction Techniques | Dams and Weirs | Bottom shelf of the bookcase beside the tower teleporter. |
| IV, Fairy Tales | Upim’s Fairy Tales | A hidden cave on the Obmuer Temple side of the island. You need three air dashes to cross, then drop into the pit with the giant tree and dash up to the ledges near the top. The book is beside a skeleton and a food pickup. |
| V, Eldritch Horror | The Old Ones Beyond | Behind the secret wall above the library room entrance, reached from the stairs right after the trap floor. Kill the skeleton inside and the book drops. |
| VI, Queer Romance | Koko’s Sapphic Adventure | In the upper library rooms near Wourha’s area. It is a normal pickup, not a quest reward. |
Books such as The Ratty Bug Compendium, The Rotting God and The End of Epha are lore only and fit no shelf. You do not need the six to progress. Players report the storage room holds the Crushing Lance, and returning every lost book is what the I’m Not Paying the Late Fee achievement tracks.
The Forbidden Archives lead up to the Necronomicon
Go back to the Storm Gem altar and open the golden doors with Budaen’s key. The route up to the boss is a long gauntlet, and Manticores are the main problem. Two tricks from players who got through: kill everything on the way up, then go back to the last Crystal Monument and save without resting, so the enemies stay dead. They take a long stretch of play to respawn on their own. Players also report there is no fog wall at the boss, so anything you skip can follow you into the arena.
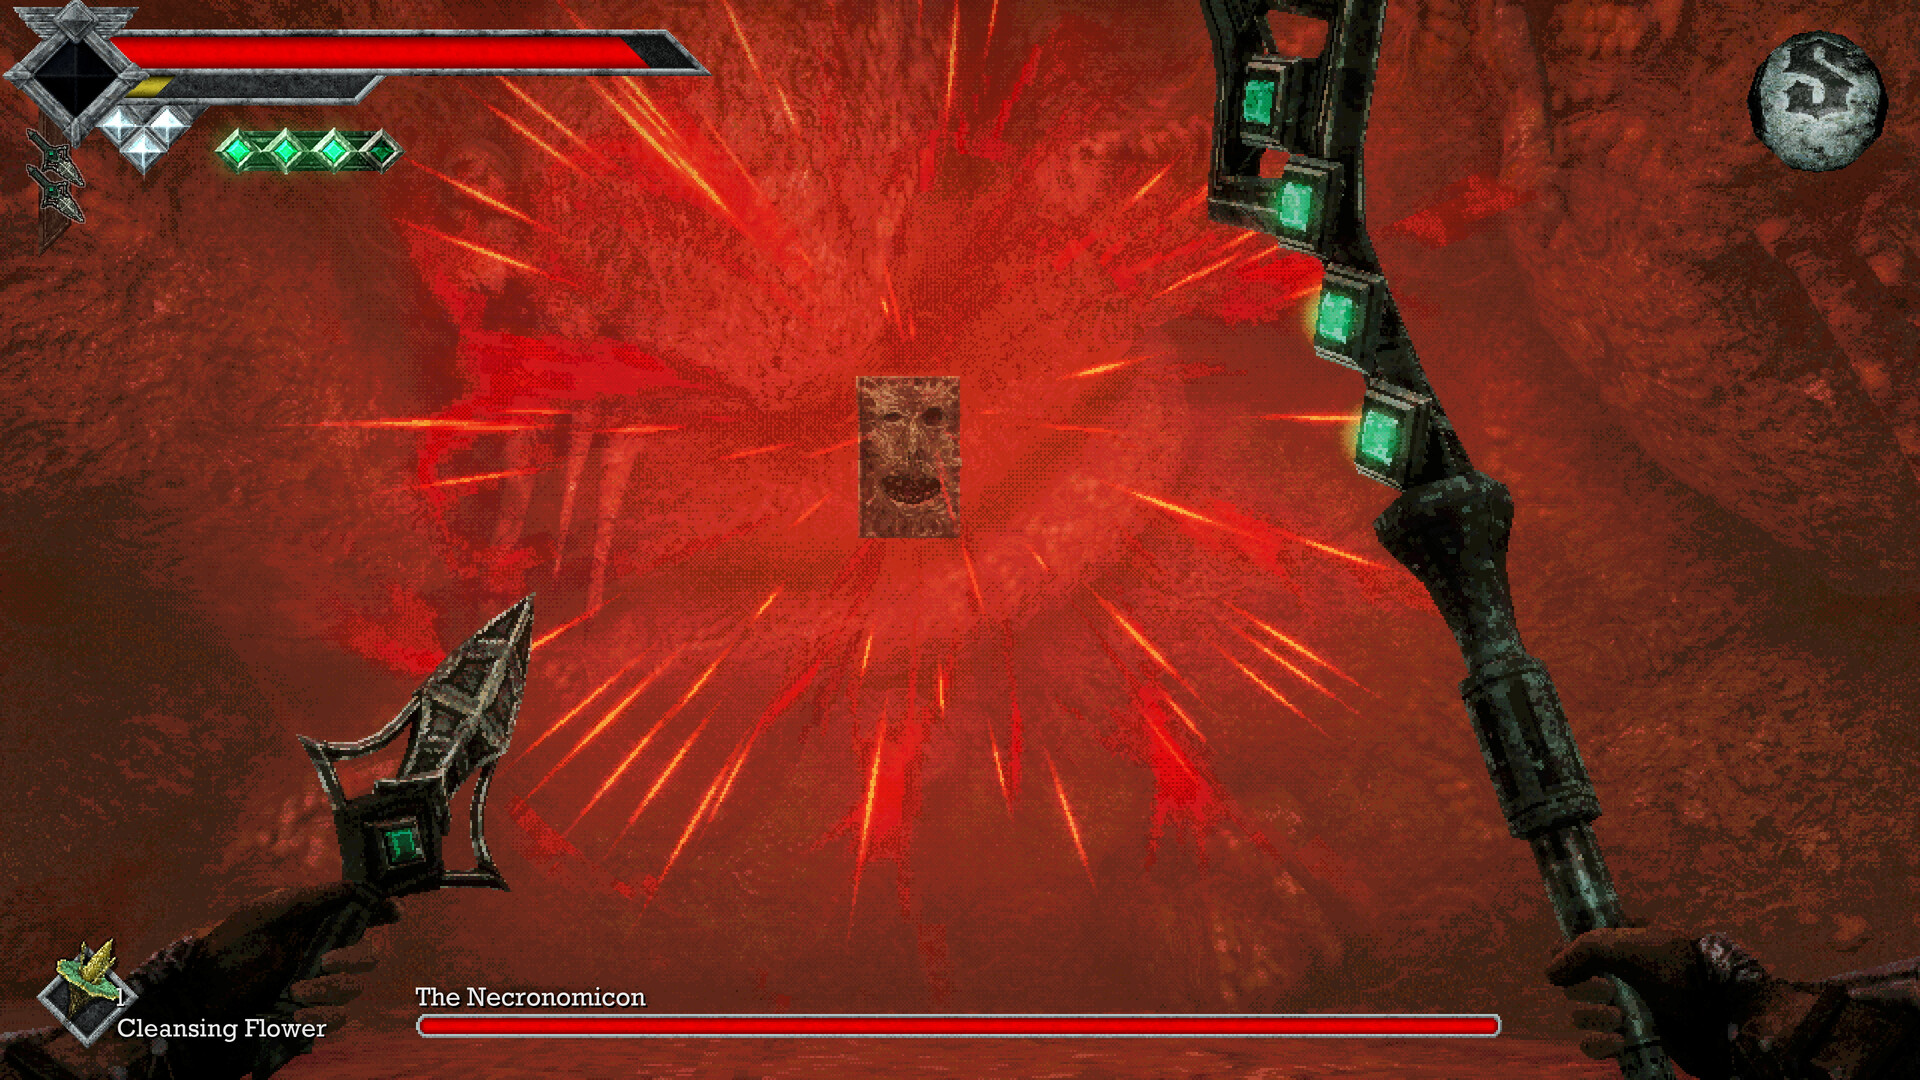
The Necronomicon is a flesh-bound book that hangs out of reach and fires status effects at you. Fight it from range: daggers, piercing daggers and the Occult Knife all work, and the Azure Torch sets it burning. When it drops low enough to reach, hit it with a charged slash and back off. At points it turns into a goat-headed form, the Necrotic Baphomet in your bestiary. Stay away until it turns back into the book. Heal only once you have distance.
Beating it unlocks Hell Transcribed and gives you the Acid Vial. You do not choose anything: it coats your basic throwing daggers with acid automatically. Players also report a Golden Duck Figurine from the fight, which you can take to Umbada for more shop stock.
Acid daggers pop the moaning faces and clear the flesh
The faces set into the flesh growths around the tower, the ones players call face pimples, can only be killed with acid daggers. You need them straight away: the boss room is sealed by flesh, and you leave by throwing acid daggers at the faces in it.
Each patch of flesh has one or more faces. When all of a patch’s faces are dead, the flesh melts. Listen as you walk, because the faces moan when you are close. If you are missing one, switch to the Occult Knife: it homes in on faces that are still alive, though it cannot kill them. Players report a face inside the book puzzle library, one at the end of a dead end hallway, and one above the first entrance into the flesh, on the right.
Clearing every patch in the tower, the basement included, earns Sparkling Clean. The basement patches also open the way to a red treasure vault and down into the Forgotten Dungeon.
After the tower, go to Deimpo Mausoleum through Budaen’s flesh wall
Return to the room where you found Budaen. The flesh next to him in the hallway with the six-book vault now has faces you can kill. Clear it and the passage leads out of the tower to Deimpo Mausoleum, the big building you can see from the starting camp. Reaching it unlocks Unsealed Tomb.
Inside the mausoleum you ride moving stone pillars, pick up Puwema’s Lens and the Mask of Second Sight, and clear six green sigils to open the boss door for Poenir and Duenir. Our Queen’s Domain bosses guide covers that fight and every one after it. The Forgotten Dungeon under the basement is reachable too, but players who went there first found it far harder. If your bestiary fills with entries out of order, you are somewhere too early.
FAQ
Which gargoyles do I light in the Tower of Knowledge?
Gargoyle III and Gargoyle VII, with the Azure Torch. The three plaques on the balcony give the logic, and lighting any other statue spawns Book Bugs.
Where do I go after getting the Storm Gem?
Go under the staircase that leads to the gem. Jump off it, land below the shrine, and Wind Dash to the switch that rotates the stairs. Climb them and take the elevator down to Budaen.
Where is the Forbidden Archives Key?
The knight Budaen has it. He is behind the cage in the room where you slot the library books, next to a wall of flesh. It opens the golden doors beside the Storm Gem altar.
What is the book order in the Tower of Knowledge?
I The Great Work IV: Rubedo, II The History of Dragons, III Dams and Weirs, IV Upim’s Fairy Tales, V The Old Ones Beyond, VI Koko’s Sapphic Adventure.
How do I get out of the Necronomicon boss room?
The Acid Vial coats your throwing daggers. Throw them at the moaning faces in the flesh to clear the exit.
Where do I go after the Tower of Knowledge?
Back to Budaen’s room. Kill the faces in the flesh by the six-book vault and the passage leads to Deimpo Mausoleum.
How do I get into the tower basement?
Fall through the trap floor near the entrance. The deeper basement caves are blocked by flesh until you have acid daggers.
Checklist
0 of 10
Source & credit
Queen’s Domain is developed by Freshly Baked Games and published by Future Friends Games. Area, boss and quest names come from the game’s Steam achievement list, and many of the harder-to-find spots in this guide were pinned down by players in the Queen’s Domain Steam community discussions. Thanks to them.