The short answer
- Storm Gem
- In the Tower of Knowledge. Light gargoyles 3 and 7 on the numbered balcony, then climb the big staircase toward Knowledge Keeper Wourha’s study. The gem sits on that staircase.
- What it does
- Adds a special attack meter to the Holy Sword Endu. Kill enemies to charge it, then press R on keyboard. It is not a dash upgrade and you can finish the game without using it.
- Sipeha statues
- Eight seated statues with seals you reveal with the Mask of Second Sight. Clear all eight to open the Temple of Puwema in Verdant Hollow, where Endu becomes the True Holy Sword Akunra.
- Statues with gems
- Five creature statues, each with a coloured gem. They tell you which trident key goes in which slot on the fountain in the Petrified Garden. Fill all five to wake the garden.
- 8
- Sipeha seals
- 5
- Gem statues
- 5
- Trident keys
- 3 and 7
- Gargoyles to light
- 9 min
- Read time
- Nov 2026
- Checked on
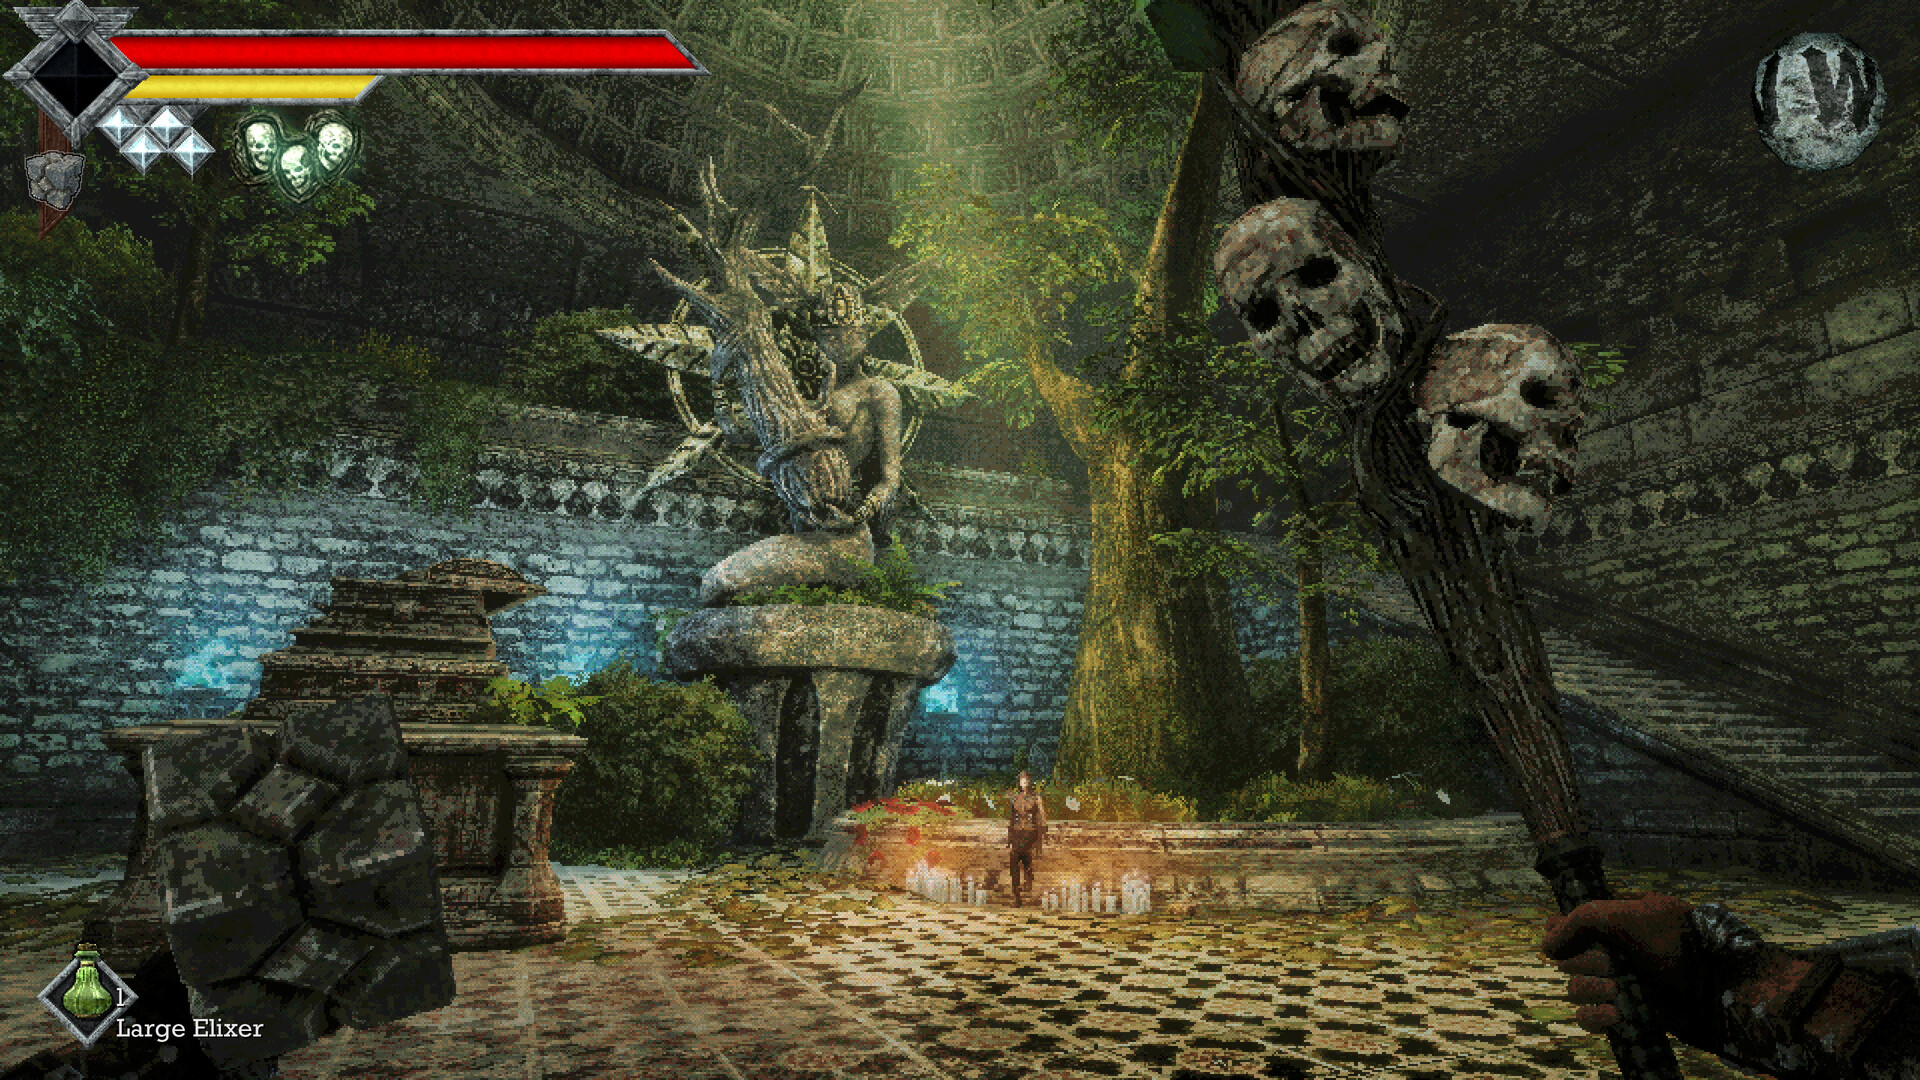
Three statue puzzles and one gem, in the order you meet them
- Gargoyle statues: three beacons outside the Tower of Knowledge, lit with the Azure Torch, plus a numbered row inside. Our progression route walks you to all of them.
- Storm Gem: inside the Tower of Knowledge, right after the numbered gargoyles. Picking it up unlocks Raging Tempest, which about a third of Steam players have.
- Statues with gems: five creature statues spread over the island. You only need their colours, so note them as you pass.
- Sipeha statues: eight seals spread over six areas. Most need lenses for the Mask of Second Sight, so they are a late game job.
Where only one player has described a spot or a reward, we say so.
The Storm Gem is on the big staircase below Wourha’s study
You reach the Tower of Knowledge after lighting the three gargoyle beacons outside it with the Azure Torch. Those beacons are separate from the numbered gargoyles inside, which is the part that stops most people.
Light gargoyles 3 and 7 only
A balcony inside the tower has a row of numbered gargoyle statues. Light number 3 and number 7 with the Azure Torch and leave the rest alone. Lighting a wrong one spawns a hostile gargoyle and a swarm of book bugs.
Climb toward the upper study
The passage those two gargoyles open leads up the tower toward Knowledge Keeper Wourha’s study and an upper fast travel point. The Storm Gem lies on the large staircase next to it.
Pick it up for Raging Tempest
The achievement reads “Recover the Storm Gem.” It pops on pickup, no fight required.
How to use the Storm Gem
The gem gives Endu a special attack meter. It fills as you kill enemies, and once it is full you fire the attack with R on keyboard. Players on controller report it sits on Triangle or Y. You do not need the sword in hand to fire it.
It does not add a dash. If a gap is still too wide, you need another Wind Gem, not the Storm Gem. The game has five Wind Gems in total, and Feel the Wind pops when you have all of them. A list of key items compiled by a player also shows a Holy Storm Gem, an evolved version, but nobody has posted exactly when it changes.
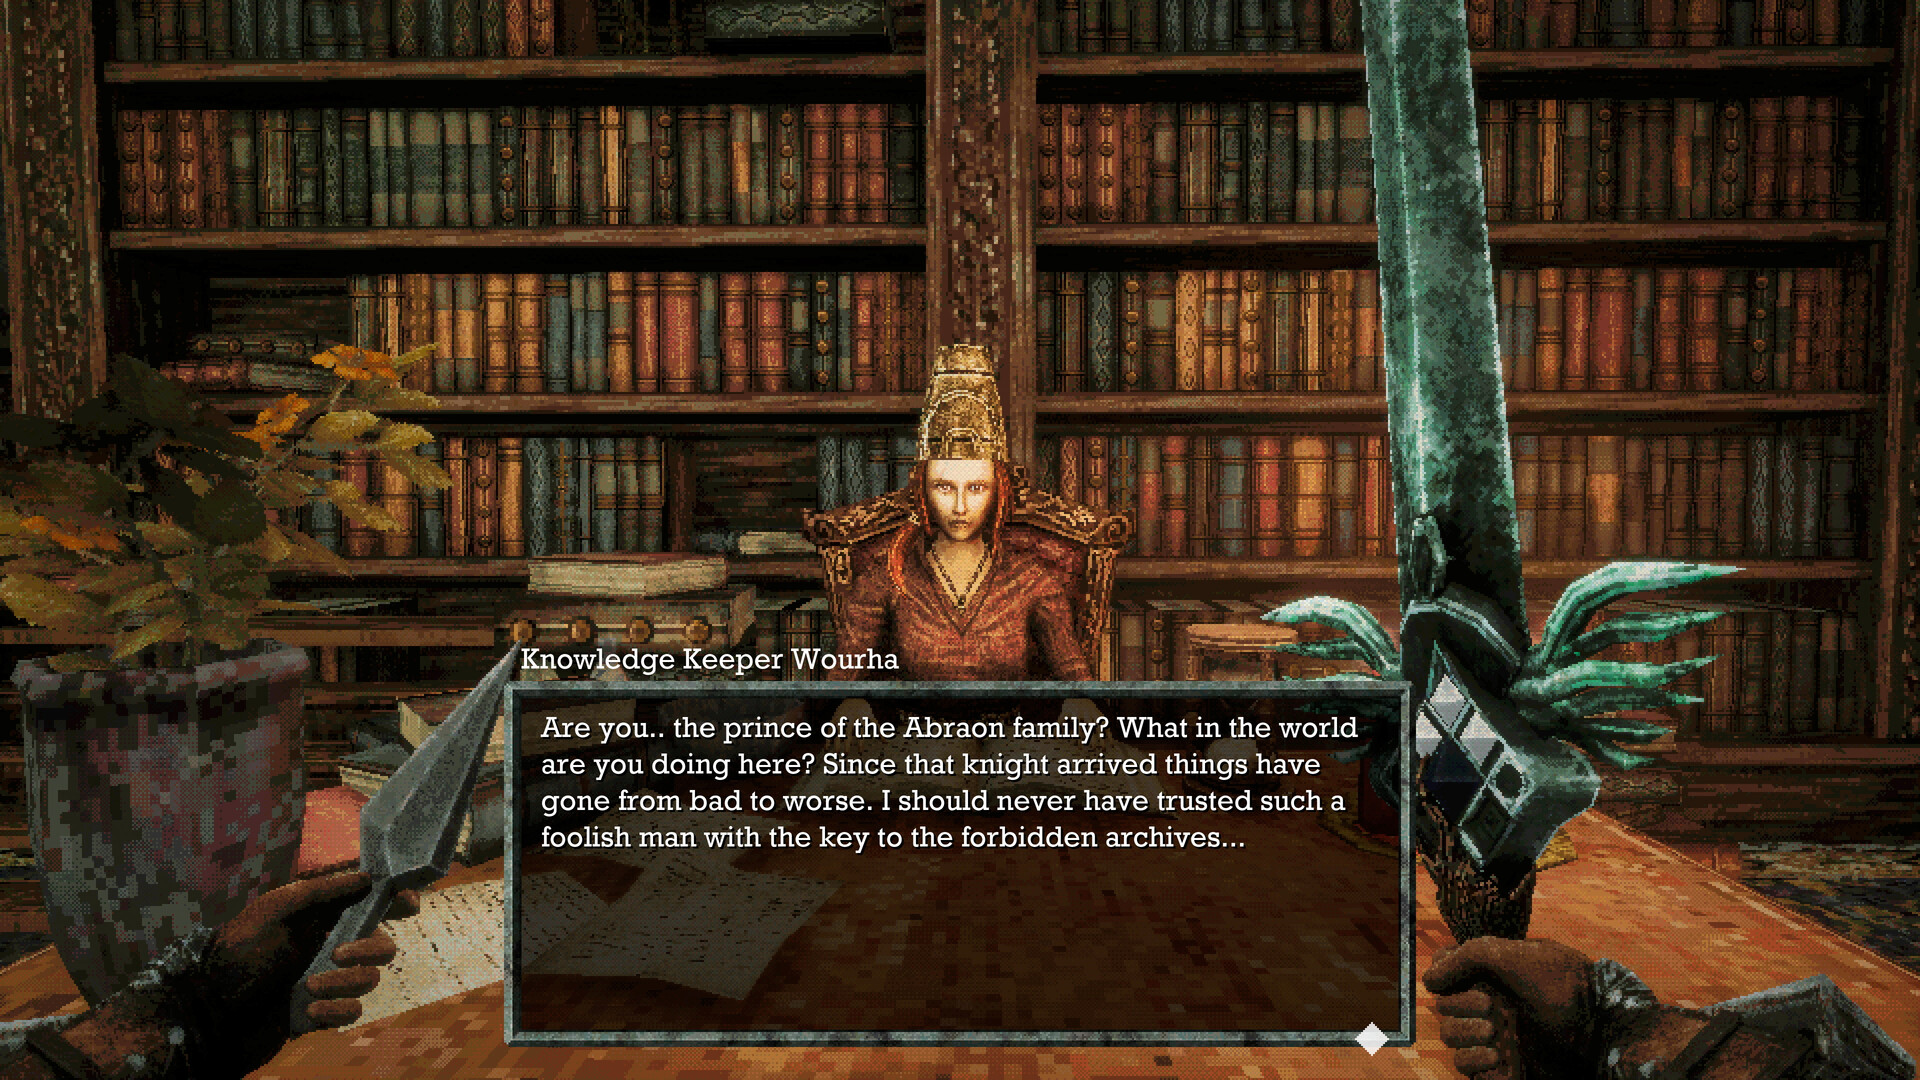
Where to go after the Storm Gem
The stairs past the gem seem to dead end. The way on:
- Jump off the big staircase below the gem and air dash onto a raised ledge underneath it. It is easy to miss from above.
- Pull the lever down there. It rotates the staircase and opens a new route.
- Find the dying soldier. Players place him behind a cage near candles and a wall of flesh, in the bookshelf room where you slot in books. He hands you the Forbidden Archives Key.
- Go back up and open the large golden doors near the Storm Gem. The Forbidden Archives lead to the Necronomicon.
All eight Sipeha statues open the Temple of Puwema
Sipeha statues are seated stone figures, each carrying a seal. Reveal the seal with the Mask of Second Sight and press it. Clear all eight and the sealed door in Verdant Hollow opens.
The mask has to be equipped as an accessory, not just carried, or the seals stay invisible. Collect the mask’s lenses before you go hunting, because at least one seal is behind a lens puzzle. The table follows the area split most players agree on: two below the Tower of Knowledge, two on the Isle of Neasied, and one each in Deimpo Mausoleum, Rotting Cavern, Obmuer Temple and the Record of Sin. Routes are given the way the players who found them describe them, so expect to explore a little at each one.
| Area | Where the statue is | What you need |
|---|---|---|
| Underground prison (below the Tower) | In the boss room of the Black Witch, against the back wall among candles and vessels. | Beat the boss. |
| Lower Tower of Knowledge | Fall through the trapdoor under the tower, go right through the door you opened earlier, and take a secret wall to the fish egg area. The statue sits in a recessed alcove. | Find the secret wall. A boss fight waits behind a door on the way to the elevator below. |
| Isle of Neasied (first) | A hidden room under the teleporter area, reached through a dark tunnel opposite the graveyard save crystal. Fight through to the Josami Templar, take the elevator down and go left. | Some players report the secret wall here only opens from the inside, so loop round rather than hammering it. |
| Isle of Neasied (second) | A lower passage against a carved wall. Players reach it by crossing the pillar room and dropping toward the prison, then taking the room opposite the Tower of Knowledge. | A five dash jump, so most of your Wind Gems. |
| Deimpo Mausoleum | Across a wide chasm, reached through a hidden wall on the huge staircase next to the cook. | Mask equipped to spot the wall, and Wind Gem dashes to cross. |
| Rotting Cavern | Near the teleporter, under the waterfalls of the snake temple. The statue only appears once the rotten water is turned off. | Jigeki’s Lens in the mask. It shows warding symbols on the rot fountains. Break them to purify the water. |
| Obmuer Temple | Past the first trident key, jump to the shipwreck, head right into the dark cave, then into the next room where a tree breaks through a statue. | A long water jump. |
| Record of Sin | A recessed chamber against heavy carved stone, north through the forest from the pylon elevator. | Players report a maze and three blue orbs placed in the tree by the save crystal, then a jump across a gap in a round room. |
Getting Jigeki’s Lens for the Rotting Cavern seal
This is the seal that holds most players up. Players who cleared it collected the three parts of Jigeki’s key, solved the tiara puzzle in the ocean area to earn Jigeki’s Lens, then came back with it in the mask. The lens reveals the warding symbols on the rot fountains. Smash them, the lake runs clean, and the statue is waiting under the falls.
What you get for all eight
The door in Verdant Hollow opens into the Temple of Puwema and its purification altar, where Holy Sword Endu is reforged into the True Holy Sword Akunra (the Blade Bathed in Holy Light achievement). Two things to have ready:
- Endu fully upgraded. If it is not, the game says the bond is not strong enough and sends you away.
- The sword shards. One player stresses grabbing the shards after the boss fight in Deimpo Mausoleum before you go.
Akunra matters beyond the damage boost. It is the weapon tied to Ending 2, and it opens a back route to the memento altar used for Ending 3. Players also report a Jade Puwema statuette behind a hidden door past the eight seal gate, so search the temple before you leave.
The statues with gems are a colour key for the trident puzzle
Around the island you will find five statues of creatures, each set with a coloured gem. Hitting them does nothing. They are a legend. Each colour matches one of the five trident keys, and the creature tells you which slot the key goes in.
| Gem | Creature on the statue | Where players spotted it |
|---|---|---|
| Amethyst (purple) | Ratty Bug (beetle) | Out in the open on the Isle of Neasied |
| Sapphire (blue) | Slime | Not pinned down yet |
| Emerald (green) | Bat | Deimpo Mausoleum, the big room with red water |
| Onyx (black) | Deer (stag) | Not pinned down yet |
| Ruby (red) | Fish-man | Obmuer Temple |
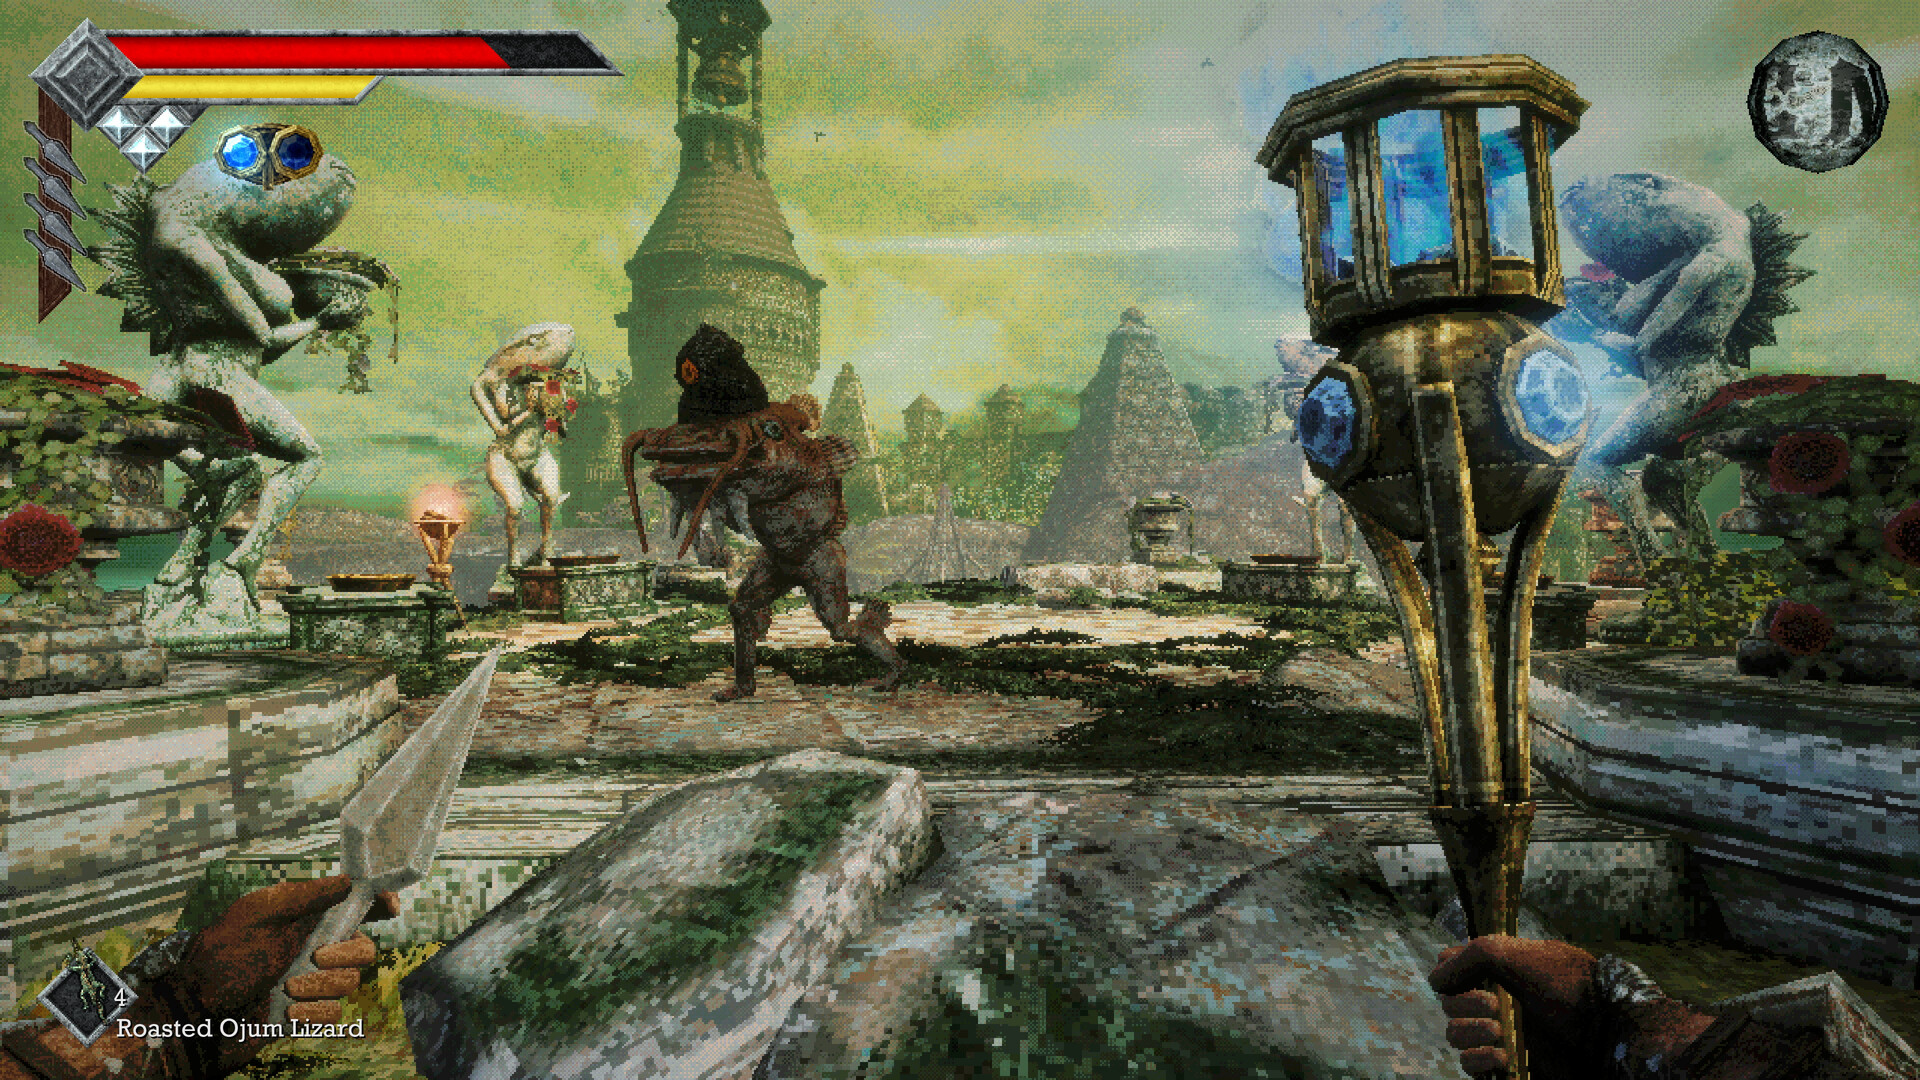
Where the five trident keys come from
- Two in Obmuer Temple, the water temple.
- One from levelling the trident weapon to level 5, which breaks it and leaves the key.
- One sold by the merchant later in the game.
- One from a boss in a secret area. One player got theirs from the whale king.
Waking the Petrified Garden
The slots are on top of the central fountain in the Petrified Garden, and they are easy to miss if you only look at ground level. Put each key in the slot whose creature matches its colour. The keys lose their colour once placed, and the garden comes alive, which pops Living Stone (“Wake the Petrified Garden”).
Now the glowing fish statues around the garden can be fought. Hit each one three or four times and it wakes up. Players note some weapons and effects do not register, so switch weapons if nothing happens. The reward is extra loot and new Bestiary entries, and the Bestiary matters later for Wourha’s quest.
The trident keys and all four lenses are also what open the skull door under the Petrified Garden, which is part of the route to Ending 4. That makes the trident keys more than optional loot.
Memento Mirror, Fossilized Fish and Growth Apparatus
Memento Mirror: drops from the Herald of Okbujo
The Memento Mirror comes from the Herald of Okbujo, the boss in the Record of Sin (Dread Silver: “Defeat Herald of Okbujo”). Players say it is handed over when you talk to the Herald after the fight. It is an infinite use item, and its hint reads “Seek the souls you once knew.”
Use it on the ghosts of characters who have passed on. Each one only leaves a memento once you have finished their quest and they have moved on, so a ghost that gives you a reward but no memento is not done yet. Players list eight:
- Chef Gagi, after 60 meal tickets
- The King, your father
- The knight who gave you a sword at the very start
- Captain Aganmi of the Iryupe Raiders, after his crew’s necklaces
- Erma, Matron of the Deep, after every Orbewa egg
- Mechanical Engineer Ossi, after all of his modules
- Knowledge Keeper Wourha, after a full Bestiary
- Peha, who gave you the Puwema lens. She was last seen at her coffin.
The eight mementos go to a hidden altar in Deimpo Mausoleum: a room with four symbols on the wall at the bottom of the big red water room with the Wind Gem, behind a door that needs all four lenses. A second way in runs from below the Tower of Knowledge near the prison and needs Akunra. The altar forges Okbujo’s Judgement, the Ending 3 sword. Our endings guide covers what to do with it.
Fossilized Fish: a fossil accessory
The Fossilized Fish is one of 33 accessories, in a set of fossils with the Fossilized Anemone, the Flying Mushroom Fossil and the Sonic Crystal Fossil. Players report the fossils come from handing Strange Silver Etched Skulls to the door under the Petrified Garden: the Flying Mushroom Fossil, which lets you float upward for a moment, arrives at about 30 skulls, and other fossils follow as you hand in more. Nobody has posted the exact count for the Fossilized Fish yet, so keep handing skulls in and check your accessories after each batch.
Growth Apparatus: confirmed, not yet located
The Growth Apparatus is also on the 33 accessory list, but as of patch 1.01.05 no player has posted where it comes from or what it does, and several are still asking. We will add it here once two players agree on it.
Mistakes that waste time on these puzzles
- Mistake: Lighting every numbered gargoyle. Fix: Only 3 and 7. Every wrong one is a fight.
- Mistake: Carrying the Mask of Second Sight in your bag. Fix: Equip it. Seals, sigils and hidden walls only show while it is worn.
- Mistake: Writing off the trident keys as optional loot. Fix: You need all five for the garden and the skull door.
- Mistake: Going to the Temple of Puwema with Endu half upgraded. Fix: Max it first, or the reforge is refused.
FAQ
Where is the Storm Gem in Queen’s Domain?
In the Tower of Knowledge. Light gargoyles 3 and 7 on the numbered balcony, then follow the new passage up toward Knowledge Keeper Wourha’s study. The gem sits on the big staircase.
How do I use the Storm Gem?
Kill enemies to fill the special attack meter, then press R on keyboard. Players report Triangle or Y on controller. You do not need to be holding the sword.
What are the Sipeha statues for?
Each carries a seal. Clear all eight with the Mask of Second Sight to open the Temple of Puwema in Verdant Hollow, where a fully upgraded Endu is reforged into the True Holy Sword Akunra.
What do the statues with gems do?
Nothing on their own. Their colours tell you which trident key goes in which slot on the Petrified Garden fountain. Fill all five to wake the garden.
Where do I get the Memento Mirror?
From the Herald of Okbujo in the Record of Sin. Talk to the Herald after the fight.
Where is the Fossilized Fish?
Players report the fossil accessories come from handing silver skulls to the door under the Petrified Garden. The exact skull count for the Fossilized Fish has not been confirmed.
Checklist
0 of 9
Source & credit
Queen’s Domain is developed by Freshly Baked Games and published by Future Friends Games. Locations here were cross-checked across player threads on the game’s official Steam discussion board, with thanks to the players who mapped the Sipeha seals, the gem colours and the memento list. Achievement names and unlock rates come from the game’s Steam achievement page. Checked against patch 1.01.05. New to the island? Start with our progression route and our best early weapons guide.