The short answer
- Getting in
- After the Necronomicon, throw acid daggers at the faces in the flesh beside Budaen in the Tower of Knowledge. The passage leads to Deimpo Mausoleum and unlocks Unsealed Tomb.
- Key items
- Peha gives you Puwema’s Lens. The Mask of Second Sight is on a blue statue near Chef Gagi’s kitchen. Equip the mask as an accessory or the next step will never appear.
- Boss door
- With the mask on, find and dispel six green Puwema sigils around the Mausoleum, in any order. All six open the door near Chef Gagi’s kitchen.
- Boss
- Poenir and Duenir are a giant bat and a giant spider on one health bar. They have no elemental weakness, and beating them earns Demonic Servitude.
- 6
- Green sigils to dispel
- 32.1%
- Steam players who reached it
- 21.3%
- Beat Poenir and Duenir
- 38 to 41
- Player level in the footage
- 9 min
- Read time
- Nov 2026
- Checked on
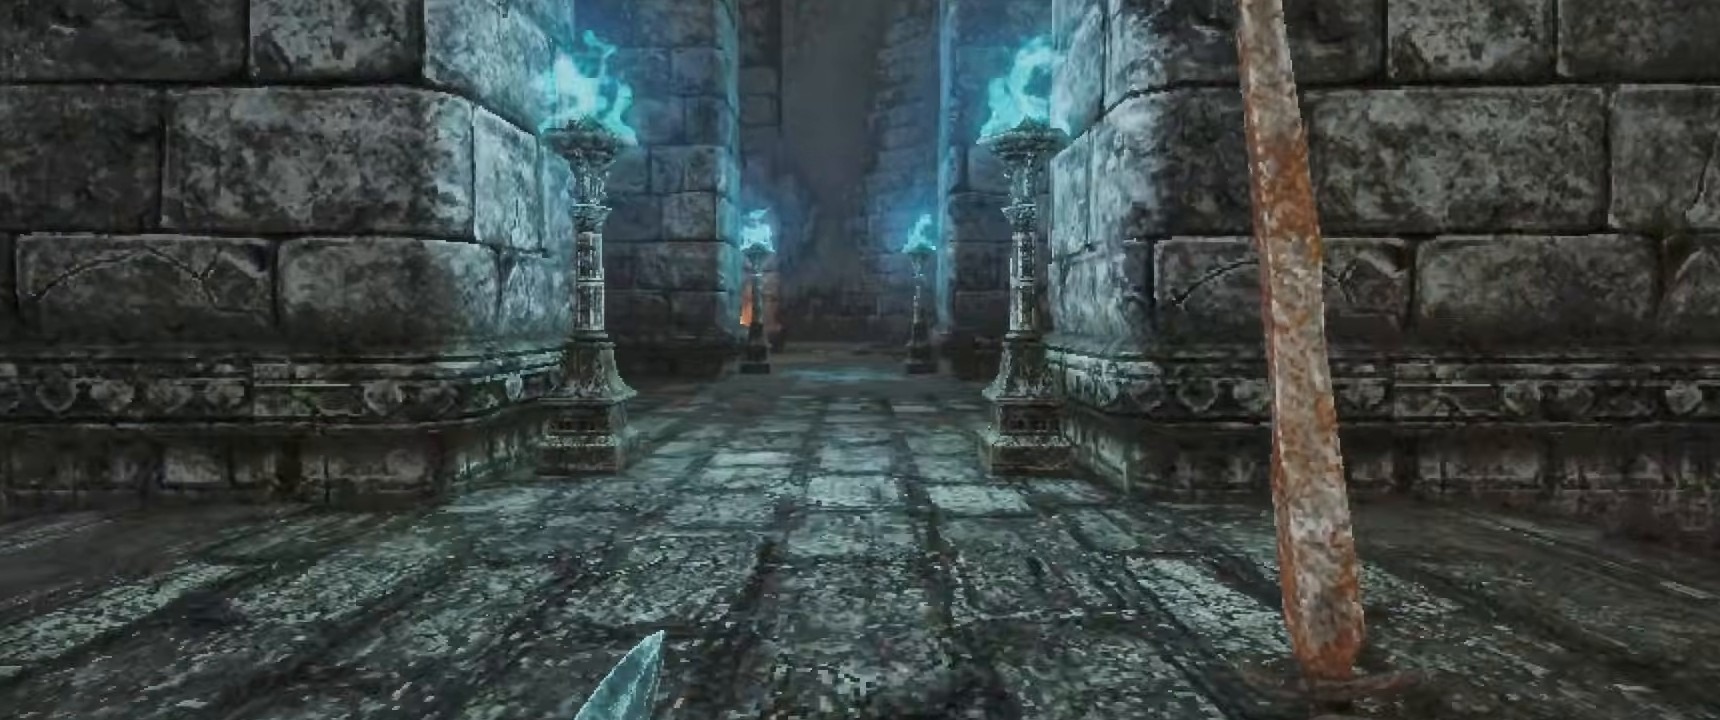
Budaen’s flesh wall opens the bridge to Deimpo Mausoleum
This guide picks up where our Tower of Knowledge walkthrough ends. Beat the Necronomicon, take the Acid Vial, and return to the room where you met Budaen. The flesh beside his hallway has faces in it, and your basic throwing daggers now melt them. Clear that patch and the way out of the tower opens. Steam’s own numbers show the drop-off: 34.3 percent of players have beaten the Necronomicon and 32.1 percent have reached the Mausoleum.
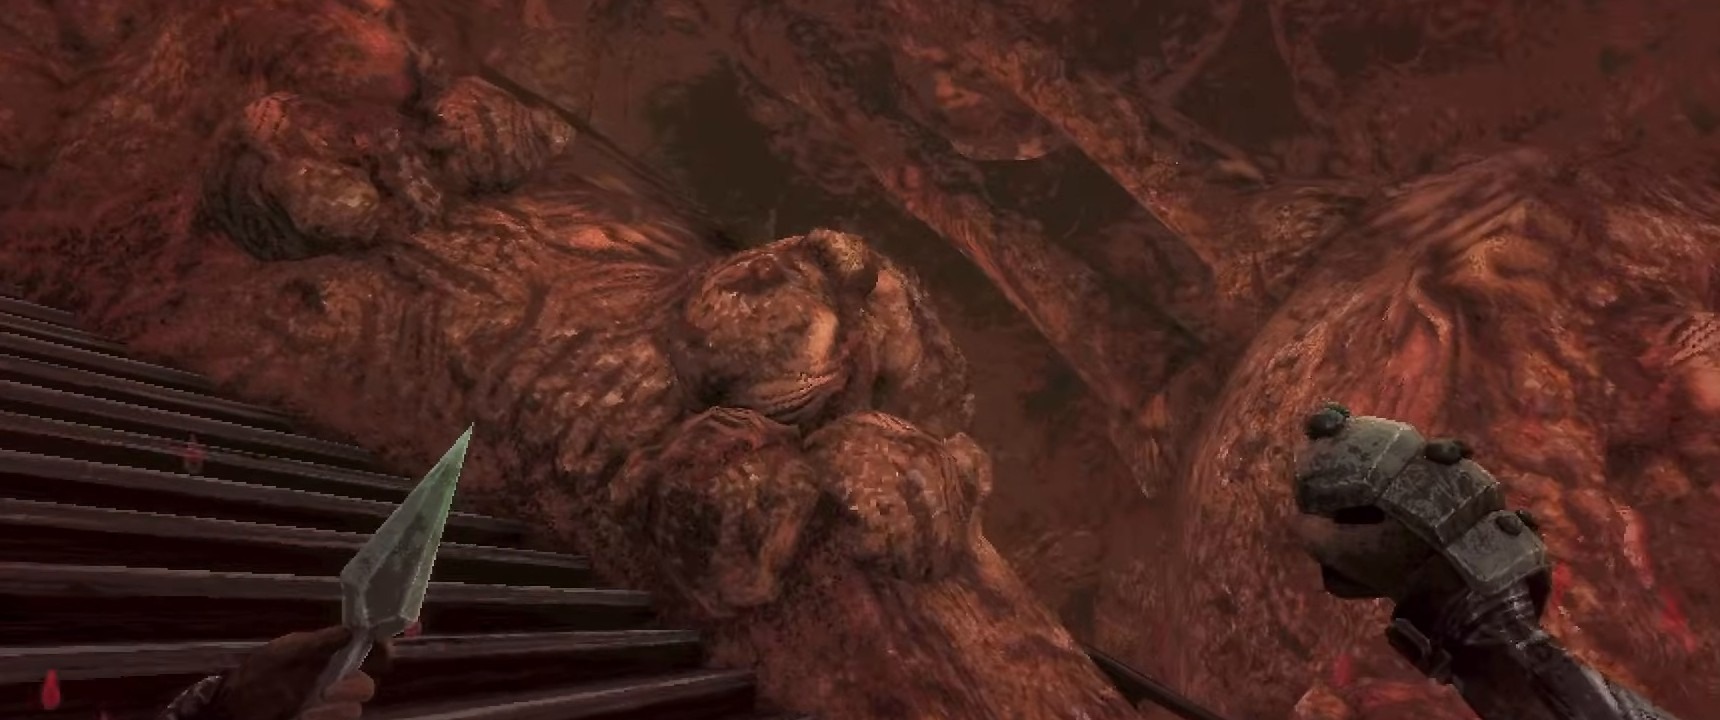
The route crosses a bridge and ends at a knight’s encampment by the Mausoleum entrance. Reaching the building unlocks the Unsealed Tomb achievement. Activate every Crystal Monument you pass: the exterior is the return hub for the area, and the Mausoleum loops back on itself so often that shortcuts are what make the later sigil hunt manageable.
Bring a strong Impact weapon, something to throw, and cures. Burn, poison and bleed all show up here. Both players we watched entered with three Wind Dashes and finished the area between level 38 and level 41.
The first half is a loop of crypts, levers and moving pillars
The Mausoleum does not run in a straight line. A no-commentary run took about 54 minutes to reach Peha, and other players got thoroughly lost on the way, so expect backtracking. We give landmarks below rather than turn-by-turn directions we could not verify. The early floors are crypts full of Giant Spiders, Chattering Skulls and Venerable Skeletal Mercenaries, Knights and Marksmen, with Golems further in.
Pull every lever you find. One opens the moving stone pillars that connect the upper rooms, and players on Steam report that the pillar rising from the main entrance room is the one that carries you to the top level. Ride a pillar rather than trying to jump the whole chamber. Check walls as you go, because the area hides side rooms behind secret walls, including the fourth Wind Gem.
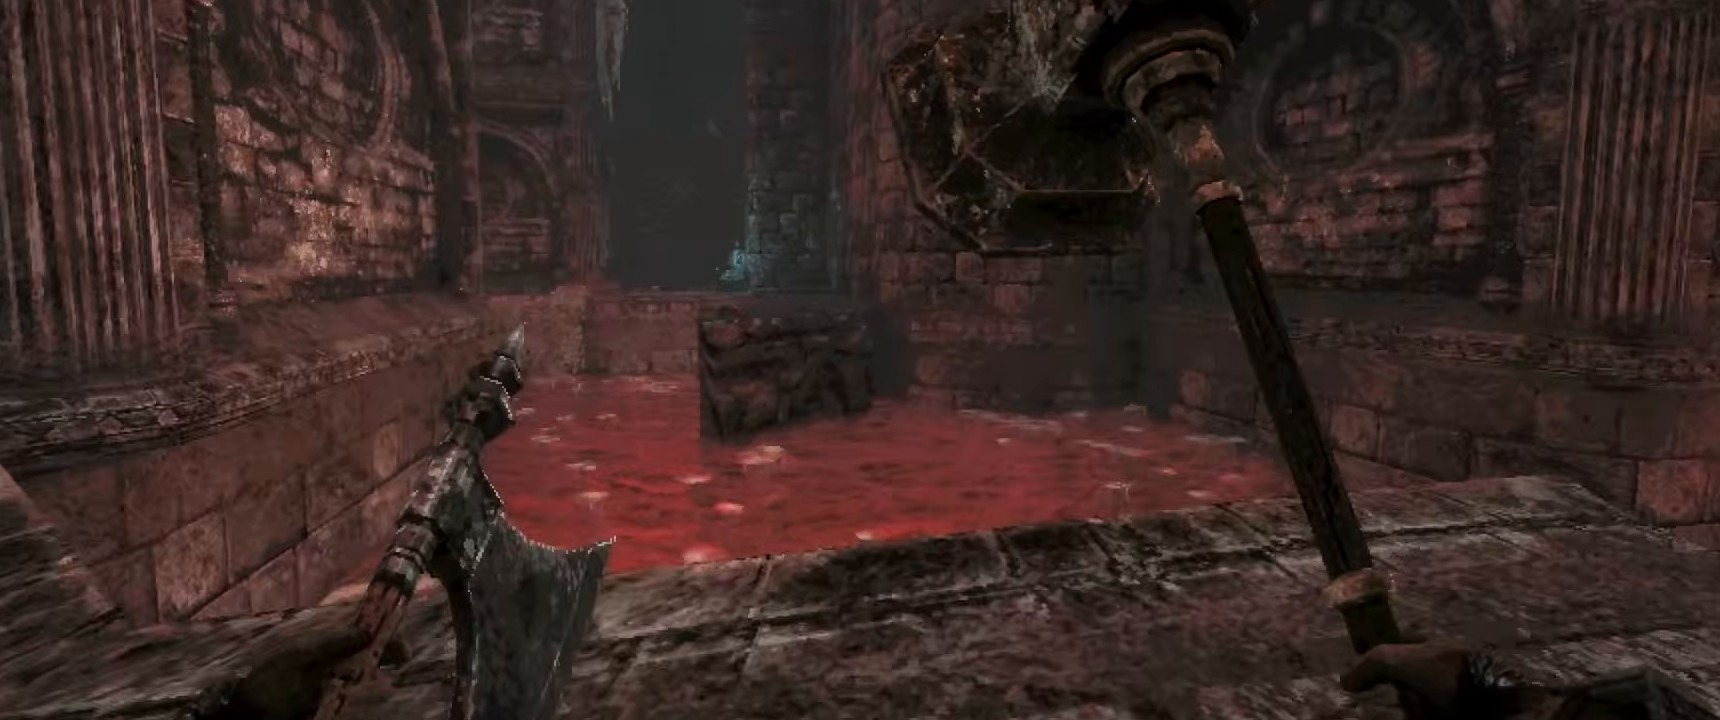
Wind Gem four takes you from three dashes to four. In the footage it turns up about 33 minutes in, and one player found it behind a secret wall just past a lever. The extra dash opens ledges you could not reach before, so check back on the rooms you already passed. The red water room is also where players place the Bat in the Trident Key statue puzzle.
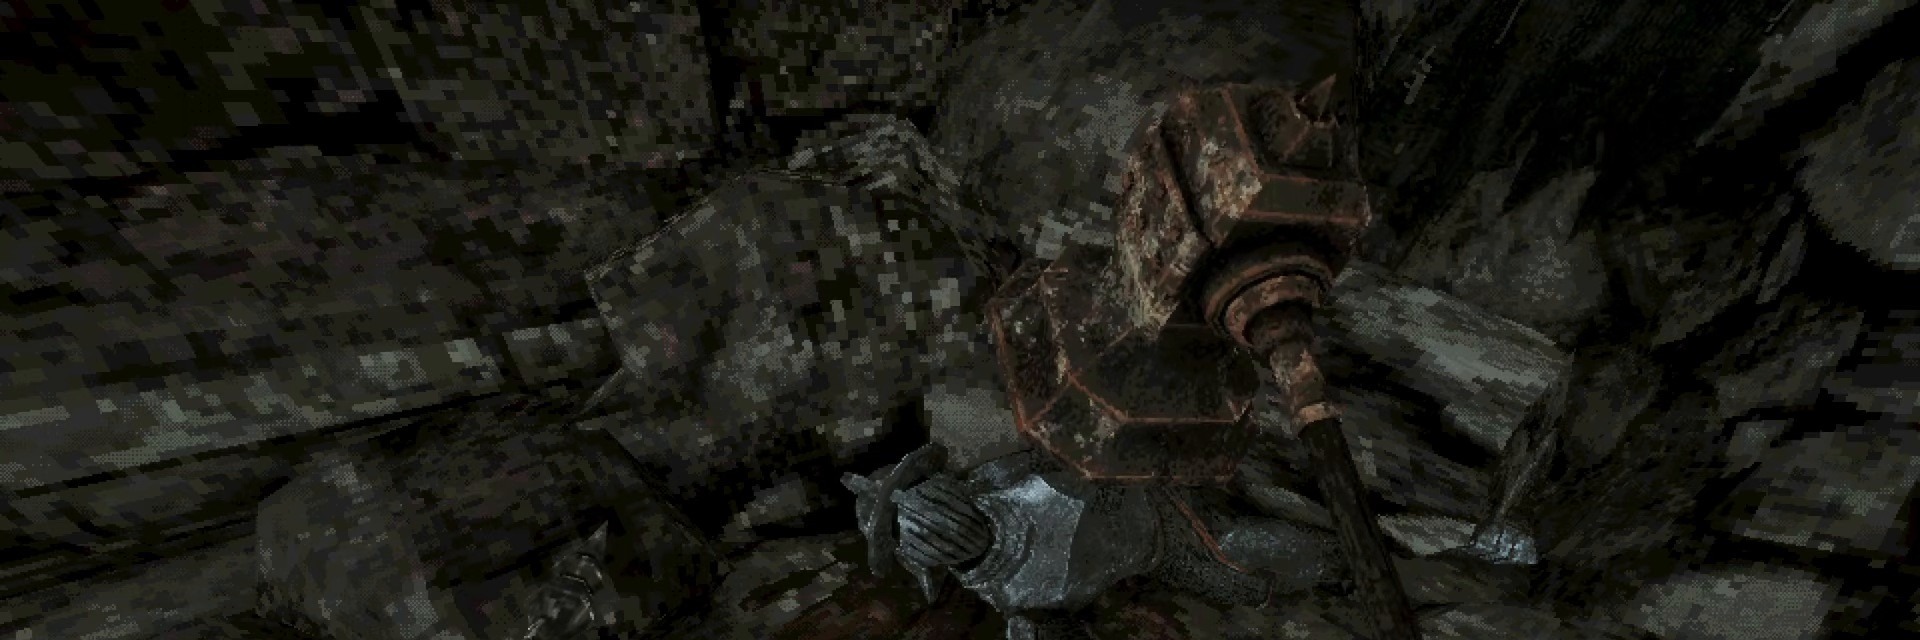
Under a collapsed roof you will find the dying knight Nu. He tells you he dropped a key before the ceiling came down. That is the Knight Expedition Key, covered below.
| Enemy | Damage it is weak to |
|---|---|
| Golem | Impact. Do not swing a sword at them. |
| Wheel Dancer | Impact |
| Giant Bat | Pierce |
| Impaler | Slash |
Weaknesses above come from in-game bestiary entries read out during one playthrough. Open your own bestiary for anything else, because it updates as you kill things. A Metallic Pus Bag near the Mask of Second Sight dropped a Silver Crown in the footage we checked.
Mausoleum weapons to pick up on the way through
- Grave Reaper: a slow Slash scythe that throws spinning shadow blades, from a chest.
- Blood Moon: a slow Impact hammer with a life-draining charged attack, from a chest.
- Melting Moon: a very fast Pierce and poison sword, carried by a purple skeleton.
- Throwing Axe: a heavy Slash and Impact throwable, from a chest.
Our weapons guide has the rest, including the Jade vault.
Peha gives you Puwema’s Lens at a garden save point
Keep working down past the second half of the crypts until the corridors open onto greenery and a save point. A figure the game names Peha addresses you as Prince Beruim, tells you to succeed where your father failed, and hands over Puwema’s Lens. The lens does nothing alone. It reveals Puwema’s magic only once it is set into the Mask of Second Sight.
Save here. The next stretch runs through Golem rooms and a pair of levers.
The Mask of Second Sight sits on a statue by Chef Gagi’s kitchen
Past Peha, you reach a room with Golem soldiers and two levers to pull. Pull both and continue on to a row of tombs lit by blue flames. The Mask of Second Sight is on a blue stone statue there, a short walk from Chef Gagi’s kitchen.
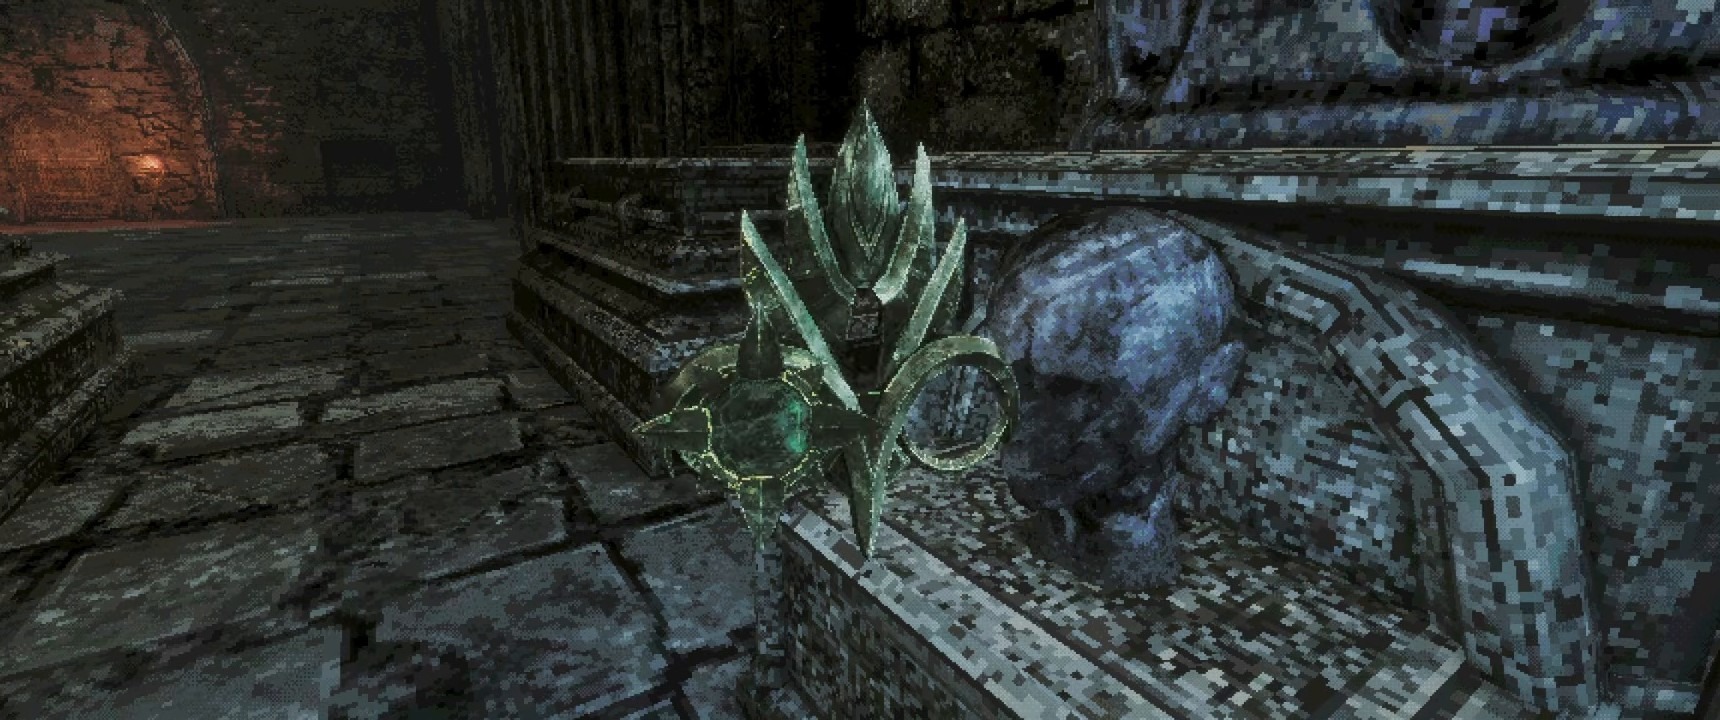
Open your equipment screen and put the mask in an accessory slot. Carrying it is not enough. The item text says it lets you see and dispel the magic of the four gods once the right lenses are fitted, and Puwema’s is the first one you have. It takes up one of your accessory slots, so once all six sigils are gone you can swap it back out for the boss.
Next door is the kitchen of Chef Gagi and his crow En. Hand him your Meal Tickets here if you have collected any, but they have nothing to do with the boss door. Just past the kitchen you can pick up the Knight Expedition Key that Nu lost. One player took it back to a locked chest in the opening area, but we could not confirm what the chest holds. Players describe the boss door as opening on the sigils alone, so treat the key as a side errand.
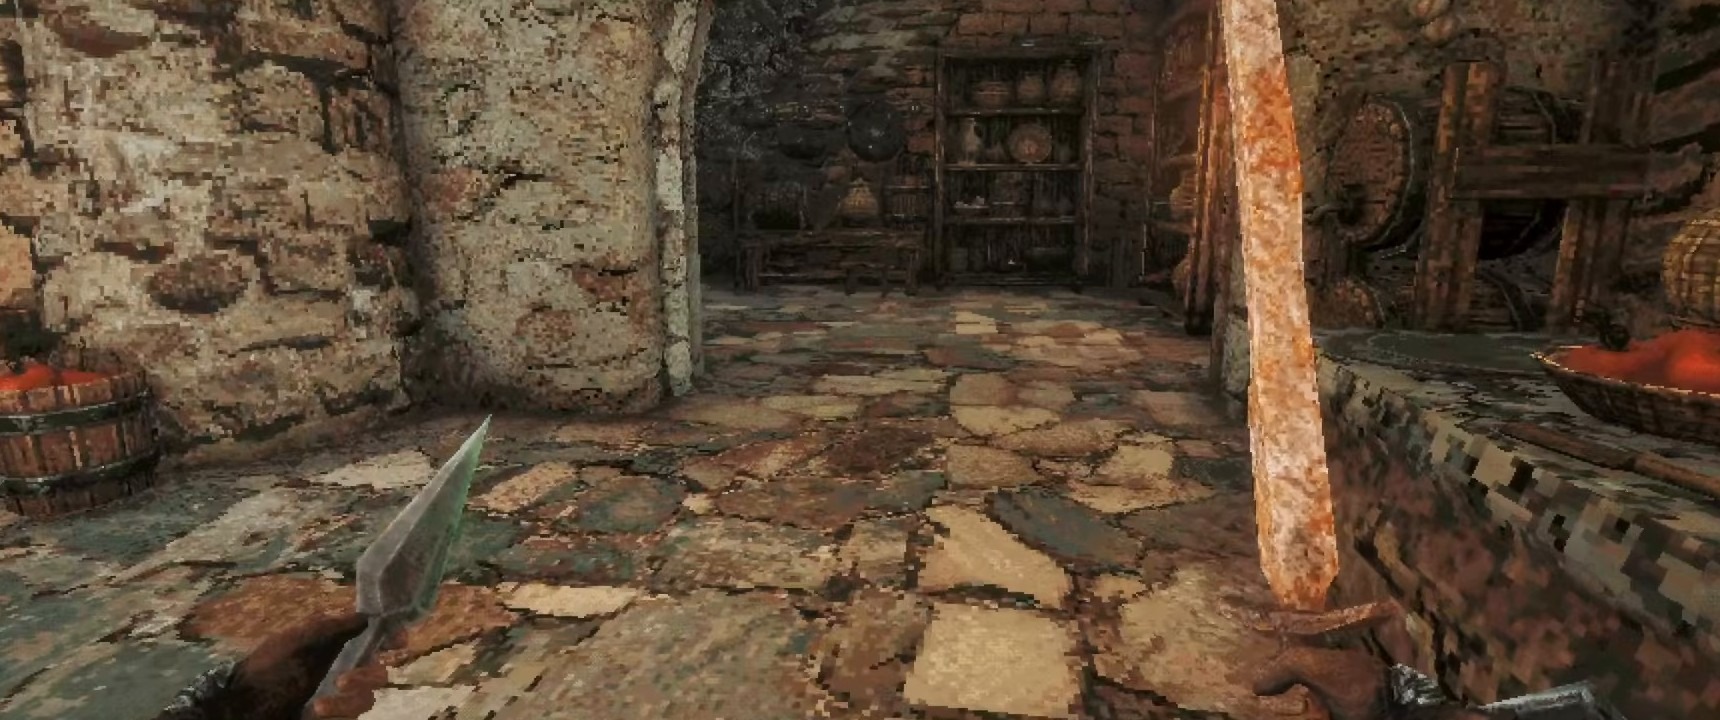
Equip the mask and dispel six green sigils to open the boss door
A stone tablet near the end of the area tells you what to do: find and dispel six seals. With the mask on, the sigils appear as glowing green marks and drifting green leaves trail toward them, so look for the leaves first. Walk up to a sigil and press interact to dispel it. There is no fixed order. Below are the six as one player found them, with timestamps from the no-commentary playthrough so you can see each room for yourself.
| Sigil | Where it is | Video |
|---|---|---|
| 1 | On the curved brick vault of a long hall with a glowing red furnace arch at one end and a covered platter on a pedestal. | 1:38:57 |
| 2 | On an upright tombstone slab in a dark room of sarcophagi. A Golem fought the player here. | 1:44:17 |
| 3 | On a tall gravestone beside a pillar, in a very dark stretch. Dash across and watch for green specks. | 1:46:29 |
| 4 | On the front of a stone sarcophagus with candles burning on the ledge above it. | 1:54:59 |
| 5 | On the side edge of a stone slab in a cobwebbed room with a clay urn. It reads as a thin green line until you walk around it. | 1:59:19 |
| 6 | On a stone wall reached from a high rocky ledge, with blue flames visible in the distance. | 2:03:29 |
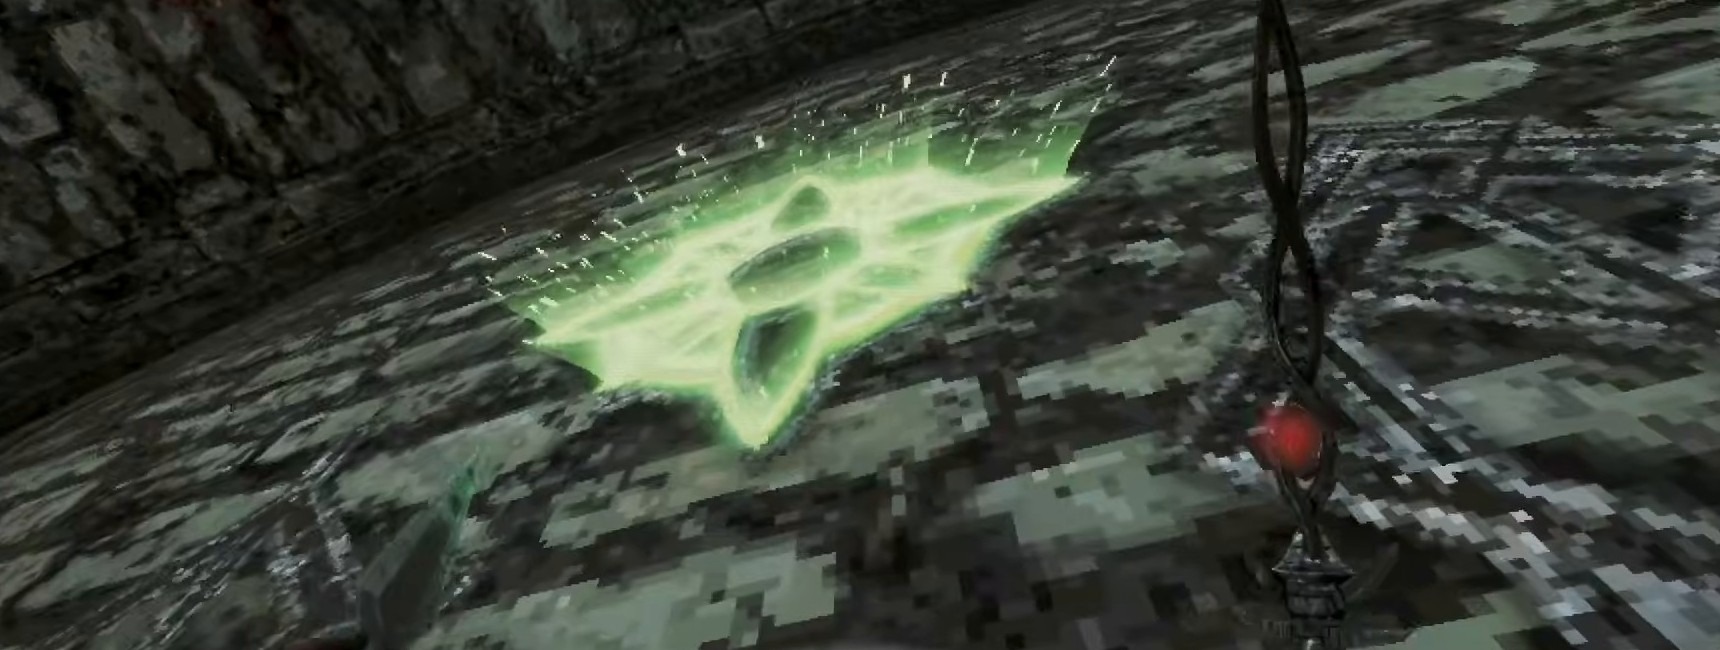
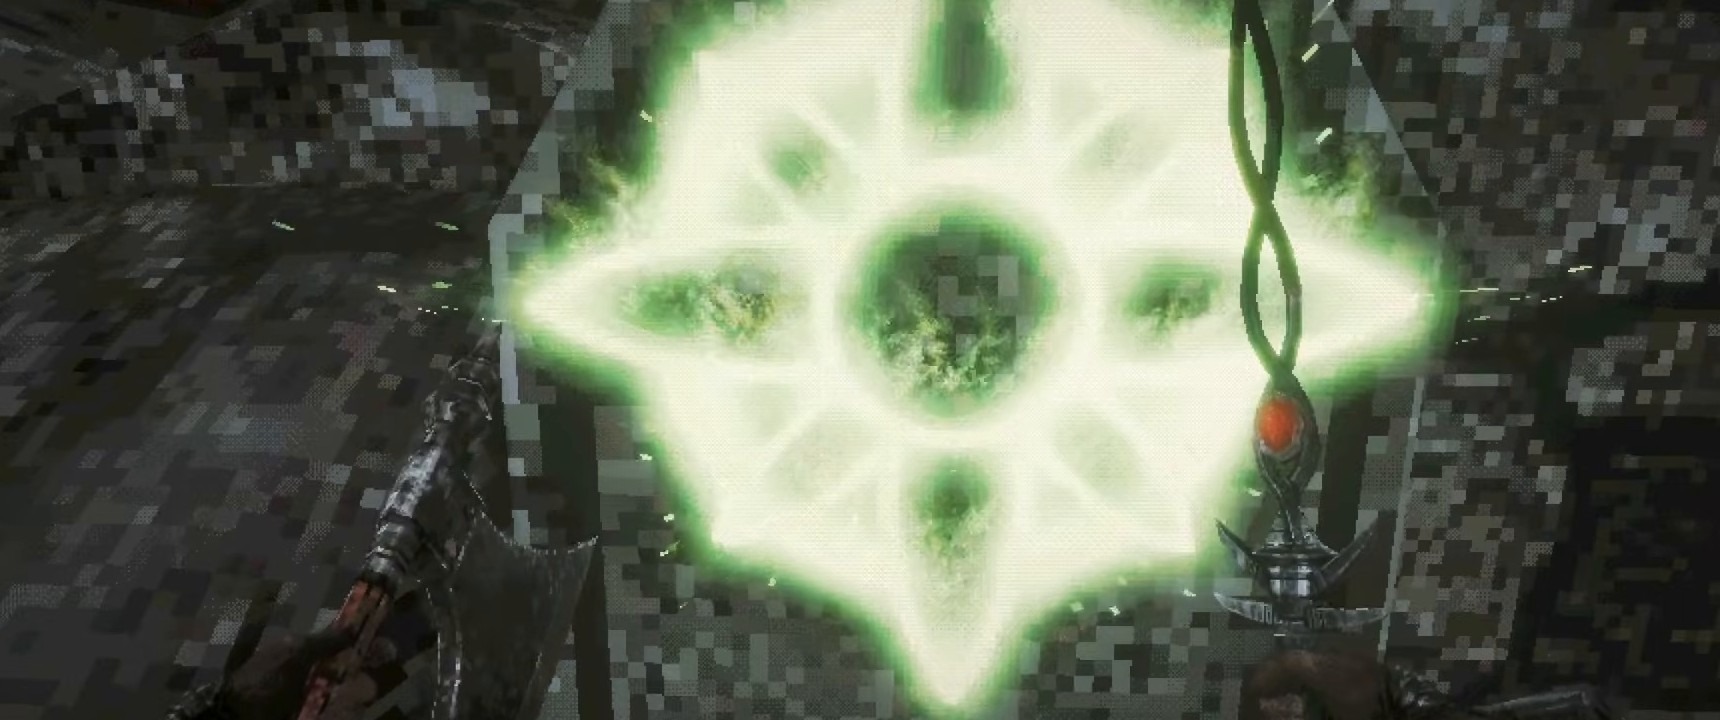
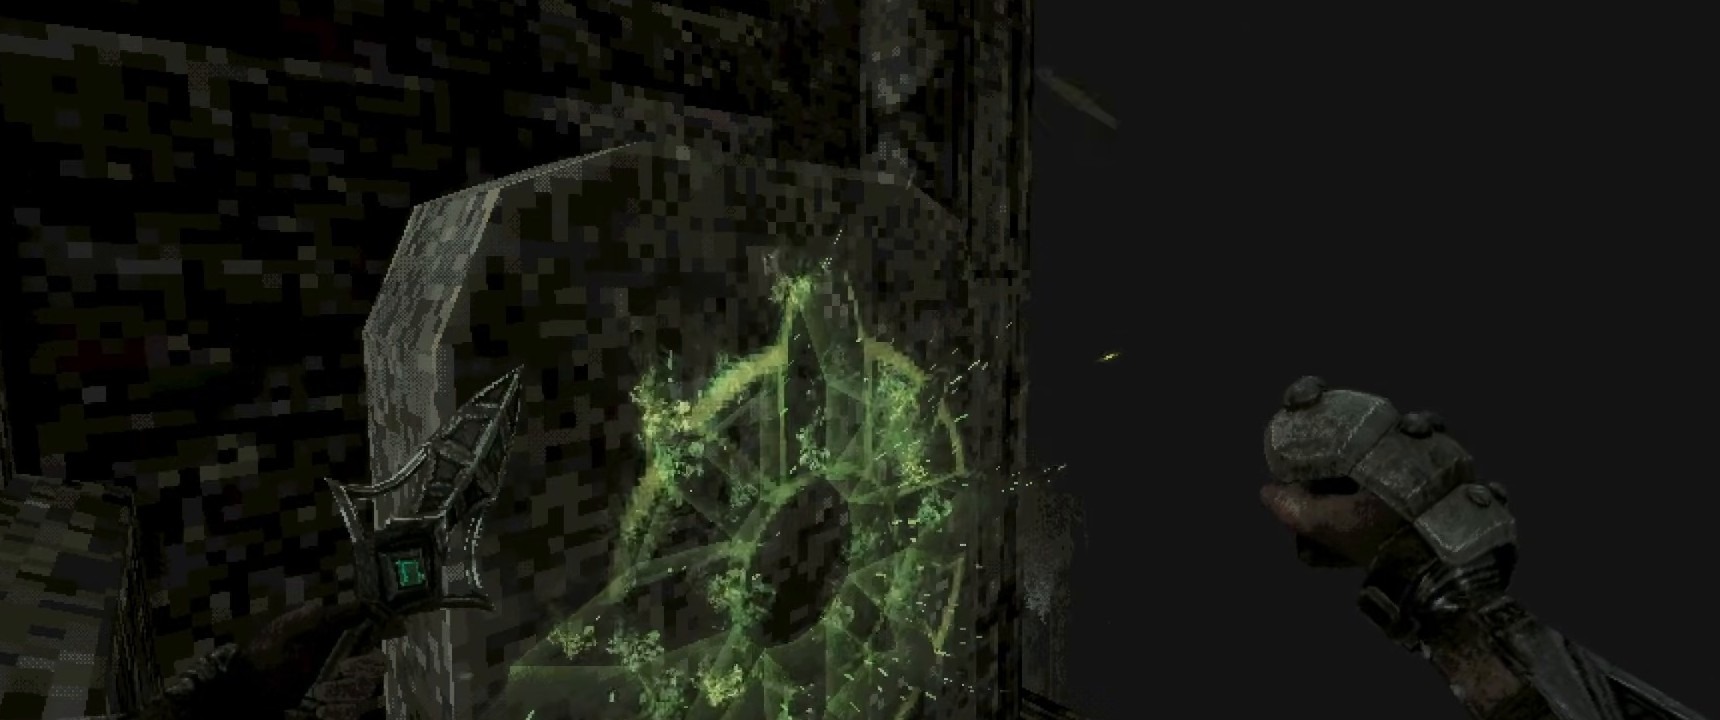
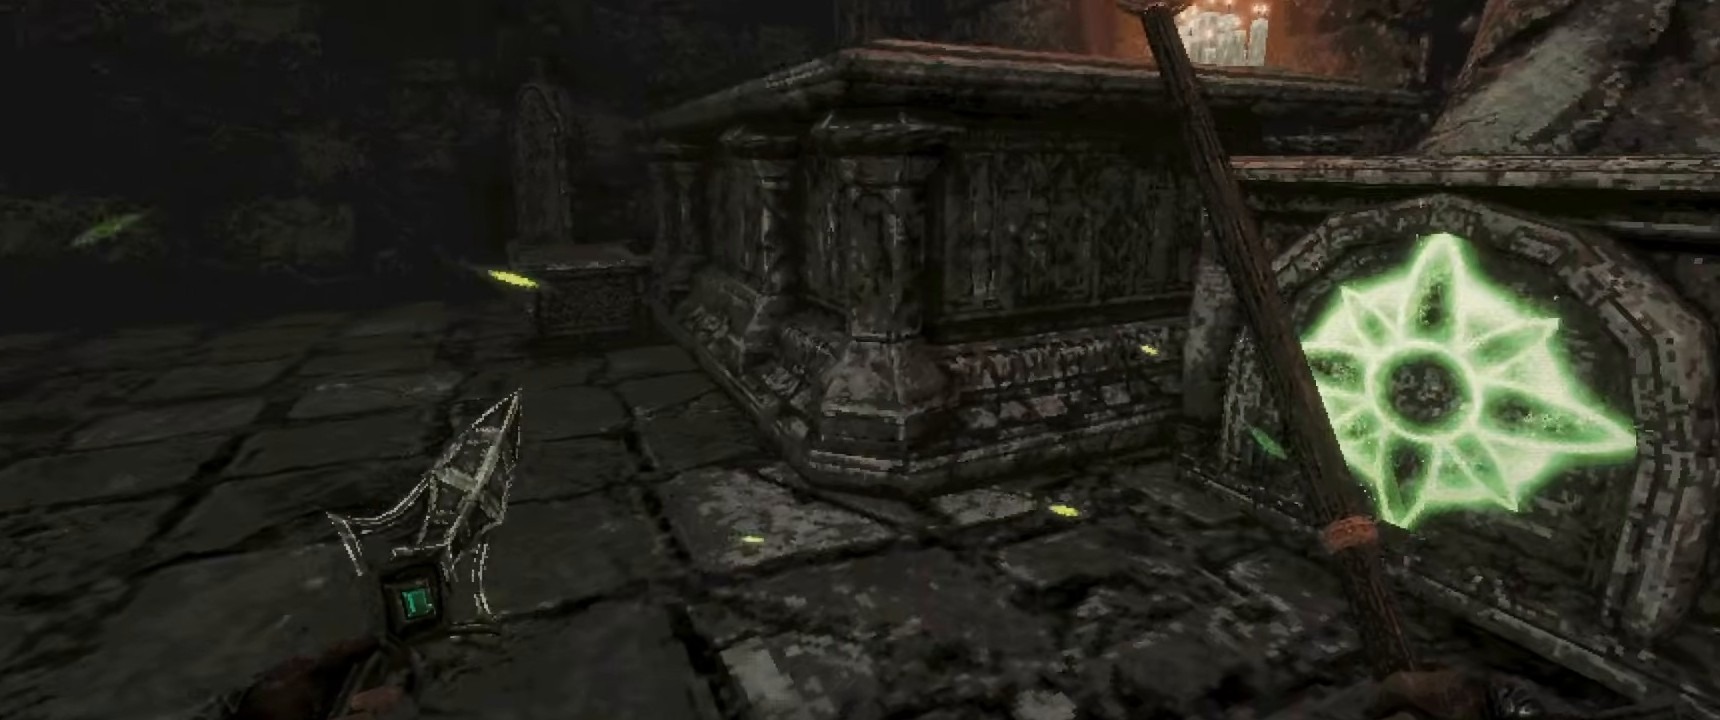
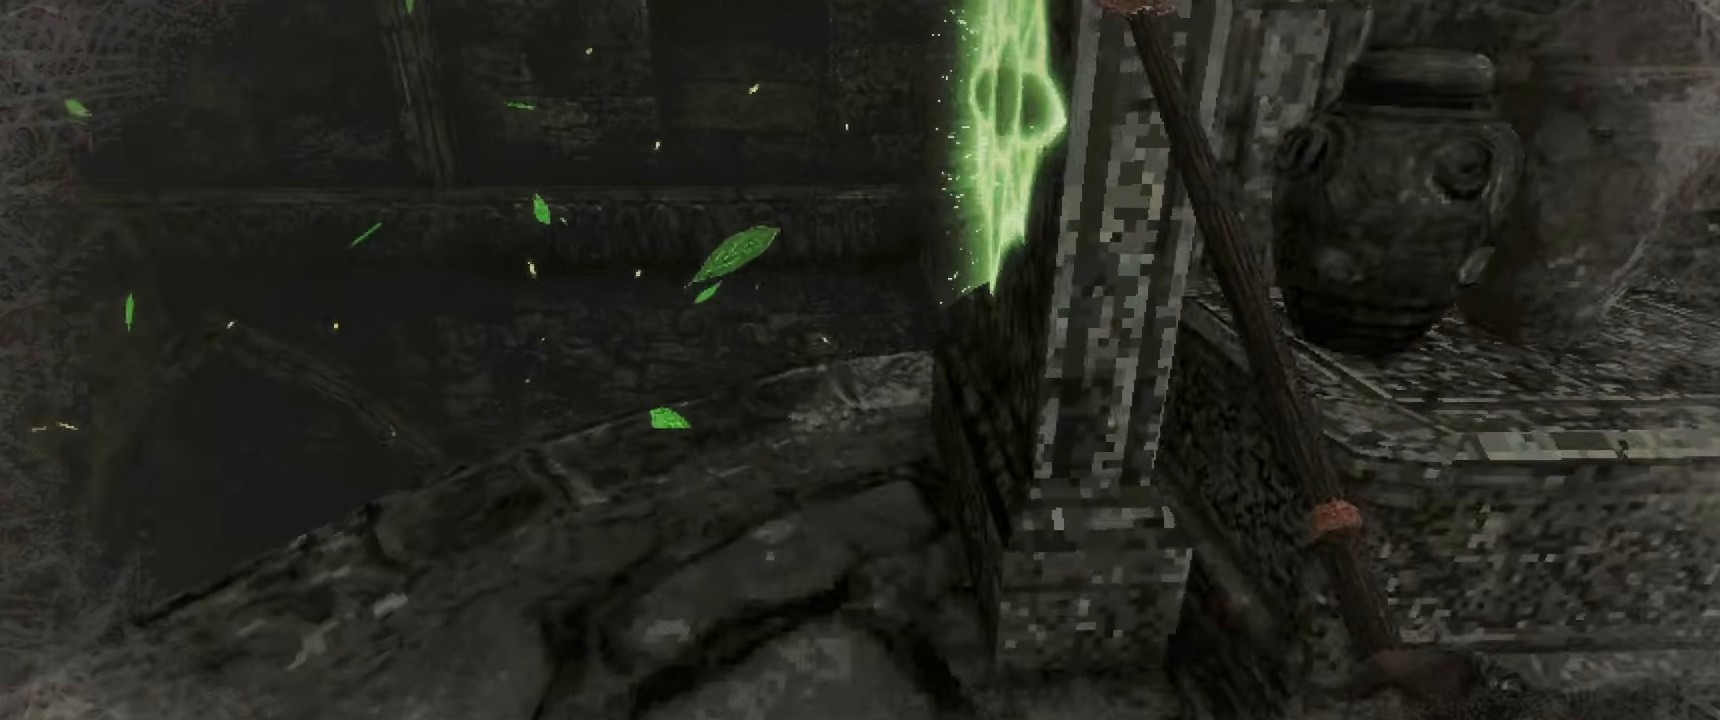
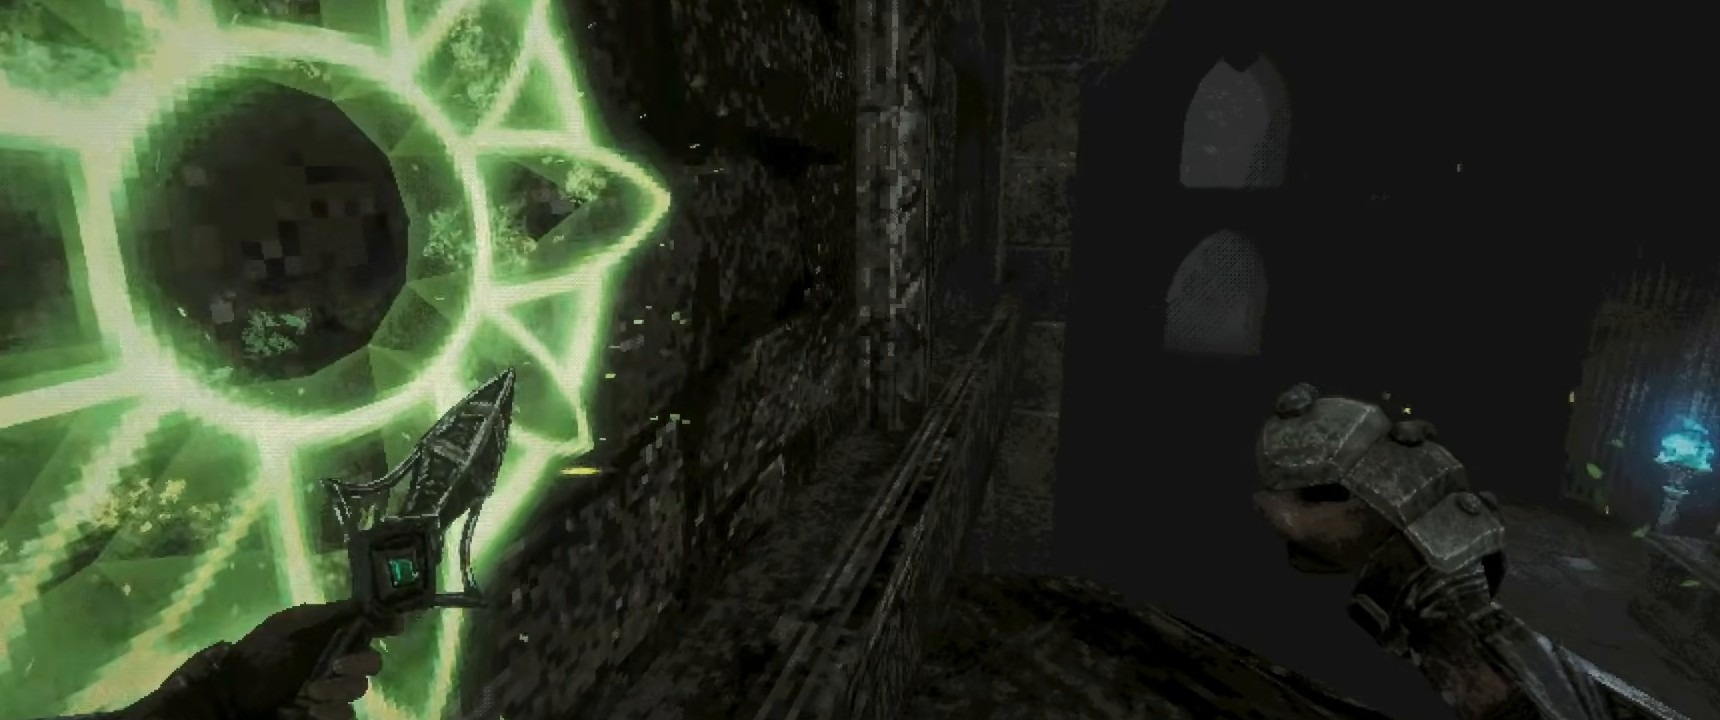
Radiant Fruit makes the dark rooms easier, and it is worth carrying several. If you have five and cannot find the last one, go back through rooms you cleared before you had the mask, since the sigils only show with it on. The same corridor can run at two heights here, which is how marks get missed.
Poenir and Duenir share one health bar and have no weakness
The sealed door is in a green-lit hall near Chef Gagi’s kitchen. Once all six sigils are gone, the six markers there light up and the door slides open onto a red chamber with a large tomb in the middle. Save and top up first. Our bosses guide lists this fight against every other one in the game.
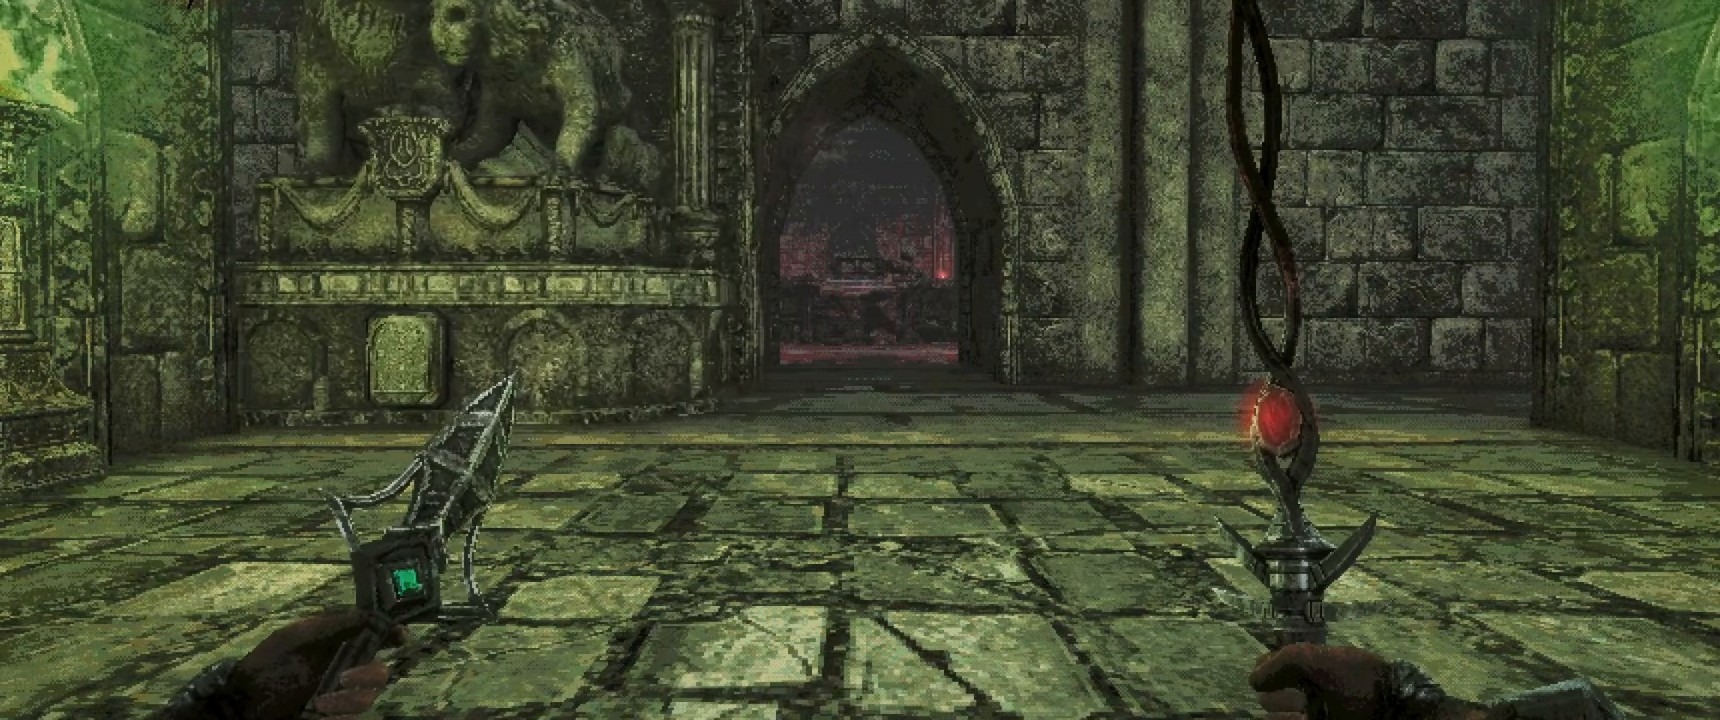
The boss bar reads Poenir and Duenir, Malformed Demonic Aberrations, and it covers both monsters. Poenir, Rotten Wings of Despair, is the giant bat. Duenir, Depraved Horns of Agony, is the giant red spider on the ground. Poenir’s bestiary entry lists 2,500 EXP, 940 Life Points, 50 Attack Power, and Slash, Impact and Pierce all at Normal, so no weapon type is the answer here. Use your highest level weapon instead. One of the players we watched started with a level one weapon, stopped to switch, and then won comfortably.
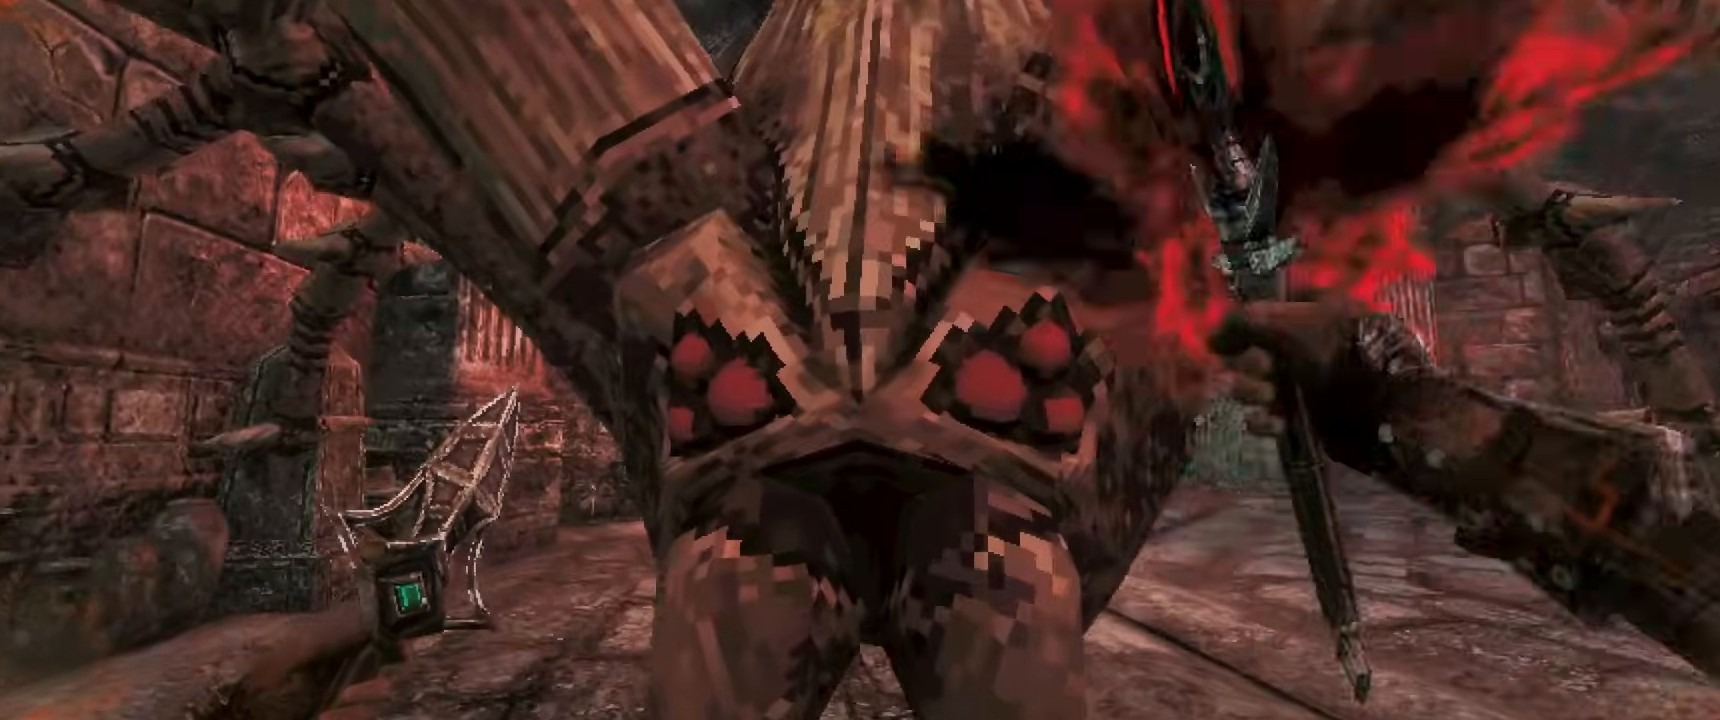
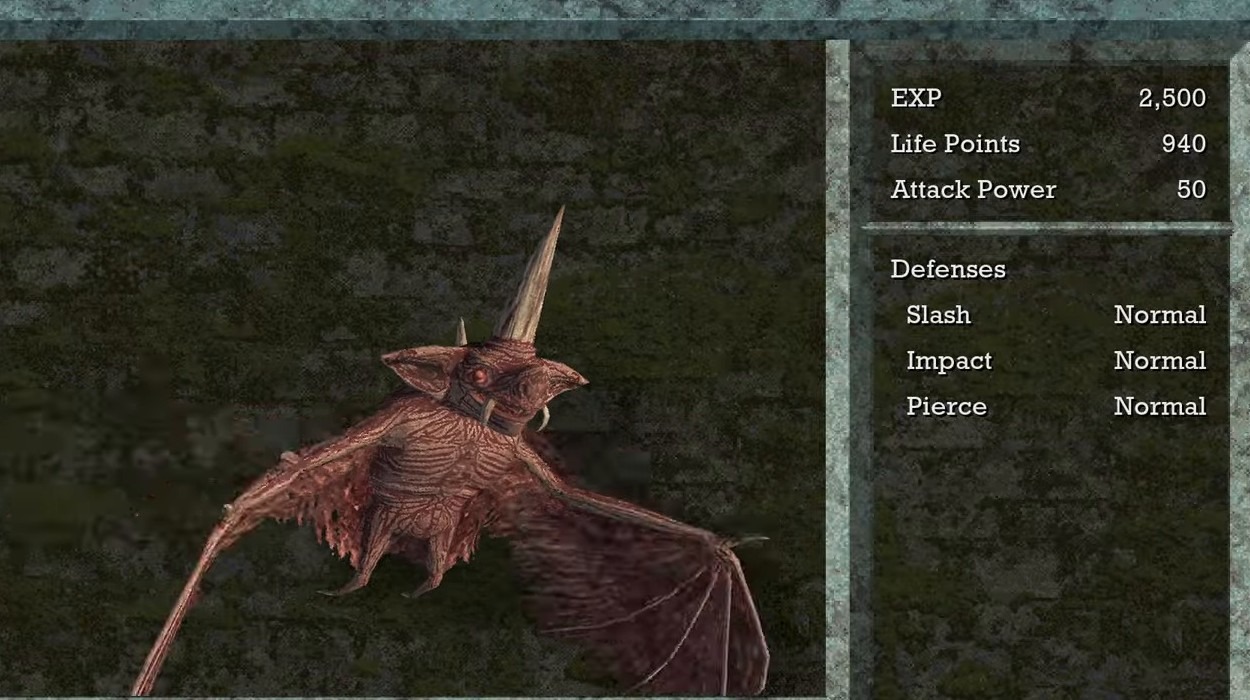
The fight is short if you stay moving. Both runs we watched ended in about two to three minutes, at levels 38 and 41. The one community guide that breaks it down says to pressure Poenir in short openings and kite Duenir rather than trade with both, which matches how both runs played out. Use Wind Dash for space and heal only once you are clear. We could not confirm Duenir’s own stat page, so we are leaving those numbers out. Killing them unlocks Demonic Servitude, which 21.3 percent of Steam players have.
Poenir can get stuck in the ceiling, and a reload clears it
Several players in the Steam bug forum report Poenir getting stuck in the ceiling, on the central pillar, or in the entrance doorway, often right after they backed toward the door at the start of the fight. Avoid retreating into the entrance tunnel when the fight begins.
- If the bat is stuck but visible, one player killed it with daggers because it had clipped just far enough to hit.
- If you teleport out and cannot get back into the room, one player on Switch 2 reports that reloading the game let them back in.
- One player who force-quit after the spider died came back to a bat with no spider and no reward. A later relaunch reopened the room and the rematch played out normally.
After the boss, King Gius Abraon points you down to the Ancient World
Just beyond the arena you find your father, King Gius Abraon, wounded. He tells you Unok was shattered upon Queen Siraatsu’s body and asks you to gather its pieces. Pick up Unok’s Remains, then head through the fissure behind him.
“Beyond that fissure is a truth of this world I prayed you might never need know of, yet I have failed, and so you must… to protect our kingdom and all other people of this world.”
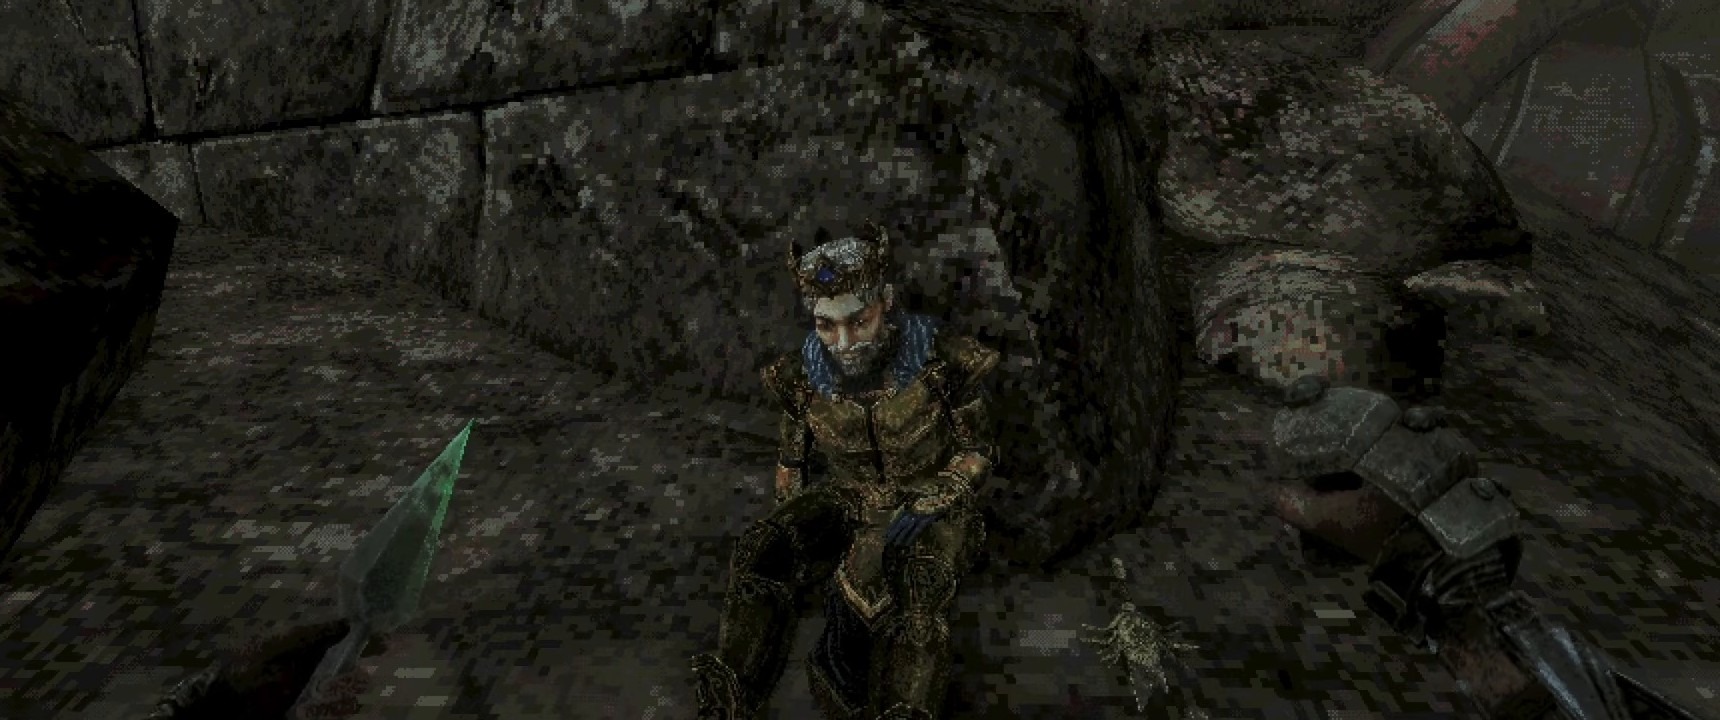
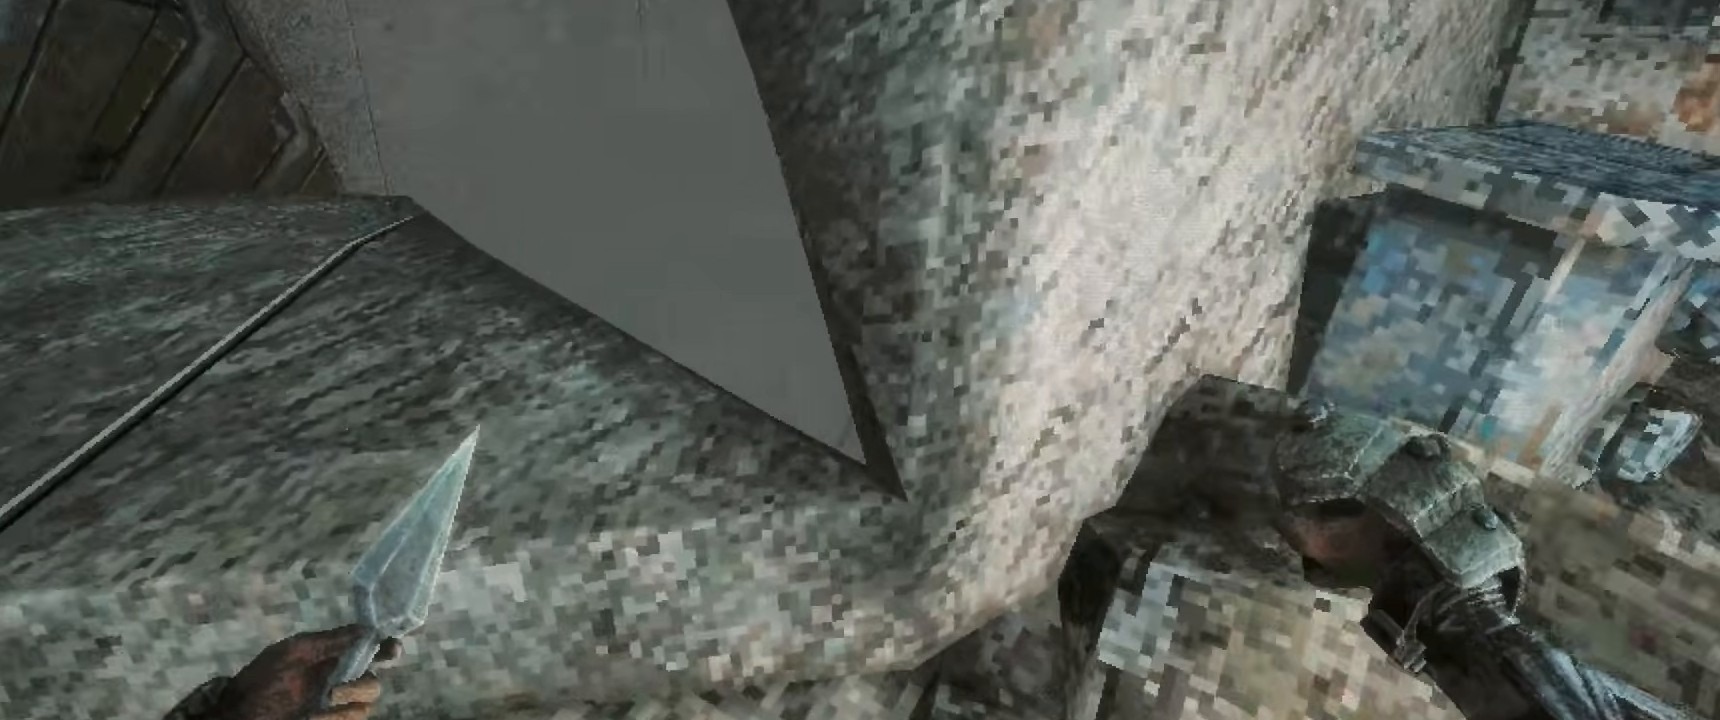
The route drops through a long shaft that players call the ventilation shaft, and it ends in the Ancient World, which unlocks the Genesis achievement. Before you leave for good, remember what stays open. The Noble Sentinel waits on the Mausoleum roof, and a Sipeha seal and later lens routes bring you back to Deimpo with the Mask of Second Sight. The mask becomes essential later, so keep it. Our bosses guide has the fights ahead.
FAQ
How do I get to Deimpo Mausoleum in Queen’s Domain?
Beat the Necronomicon, take the Acid Vial, and use your throwing daggers on the faces in the flesh beside Budaen in the Tower of Knowledge. The passage leads out over a bridge to the Mausoleum.
How do I open the boss door in Deimpo Mausoleum?
Equip the Mask of Second Sight with Puwema’s Lens and dispel all six green sigils in the Mausoleum. The door near Chef Gagi’s kitchen opens once all six are gone.
Where is the Mask of Second Sight?
On a blue stone statue among the blue-flame tombs near Chef Gagi’s kitchen, after you get Puwema’s Lens from Peha.
Where are the six Puwema sigils?
See the table in this guide: a brick vault, a tombstone slab, a dark gravestone, a sarcophagus with candles, a slab in a cobwebbed room, and a wall by a high ledge. Follow the green leaves that drift toward them.
Do I need Meal Tickets to open the boss door?
No. Chef Gagi’s Meal Ticket quest is separate from the six sigils.
Why is Poenir stuck in the ceiling?
It is a reported bug. Players have killed the bat where it hangs or reloaded the game to reset the fight. Avoid backing into the entrance when the fight starts.
Where do I go after Poenir and Duenir?
Talk to King Gius Abraon past the arena, collect Unok’s Remains, and go through the fissure and down the shaft to the Ancient World.
Checklist
0 of 12
Source & credit
Queen’s Domain is developed by Freshly Baked Games and published by Future Friends Games. Achievement percentages are Steam’s global stats, checked in November 2026. Route, boss and bestiary details were confirmed from gameplay footage by Indie James, whose no-commentary playthrough is the source of the screenshots here, and Sabi’s playthrough series, the source of the bestiary page, plus the Queen’s Domain Steam community guides and discussions. Thanks to all of them.