- Easy
- Difficulty
- 9 min
- Read time
- 8
- Steps
- 1.0
- Checked on
The best early weapons in Queen’s Domain are the rusty sword from the starting guard, the spear in the tower up the stairs, the throwing knives on the small island by the beach, and the wooden club deep in the ruins. This guide walks you from the starting area to the gate that leads to your first boss, picking up every weapon, both hidden rooms, and a handy shortcut on the way. It’s written for players who got stuck early, because the opening area hides a lot behind a wooden barrier and a few easy-to-miss clues.
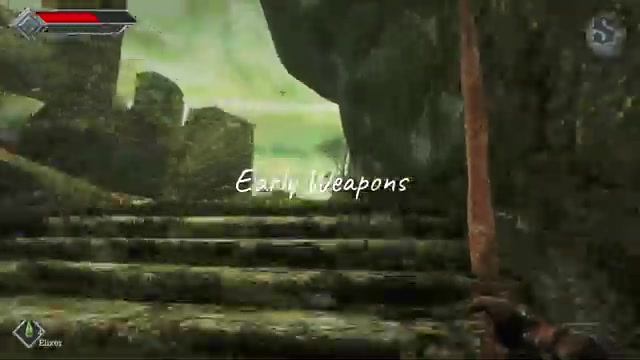
Quick start: get all four early weapons and reach the first boss in 8 steps
You can collect every early weapon and unlock the route to the first boss by following these eight steps in order.
- Talk to the guard at the start and take the rusty sword.
- Break the box beside the guard for an elixir. It takes several hits.
- Keep hitting the wooden barrier until it breaks, then save at the crystal monument just beyond it on your left.
- Climb the stairs into the tower and grab the spear.
- Follow the route to the beach and cross the small island for the throwing knives. Equip them right away.
- Find the two hidden entrances, loot the containers, and eat the meals you find.
- At the ruins, hit two switches with a throwing knife: one opens a shortcut to the start, the other opens the way down. Pick up the wooden club below.
- Take the key, return to the injured guard, and unlock the gate to the first boss.
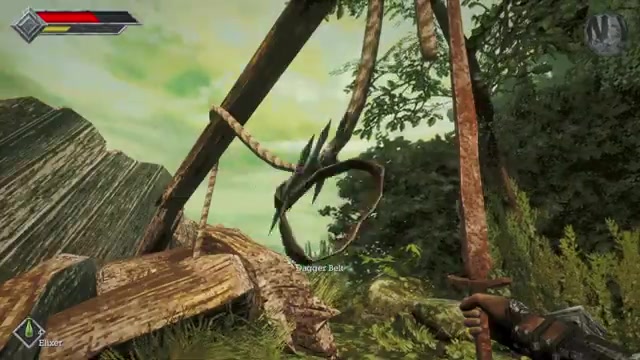
What you need before leaving the starting area of Queen’s Domain
You only need the rusty sword and the elixir from the guard’s box before you set off, and everything else is picked up as you go.
Talk to the guard first. He hands over the rusty sword, which is your first weapon. Before you leave, break the box beside him. It takes several hits, so don’t give up after the first swing or two. Inside is an elixir, your first healing item.
Early fights in Queen’s Domain can be rough, so pick up healing supplies as you explore rather than saving the hunt for later. Healing items are worth grabbing from every corner of the early area.
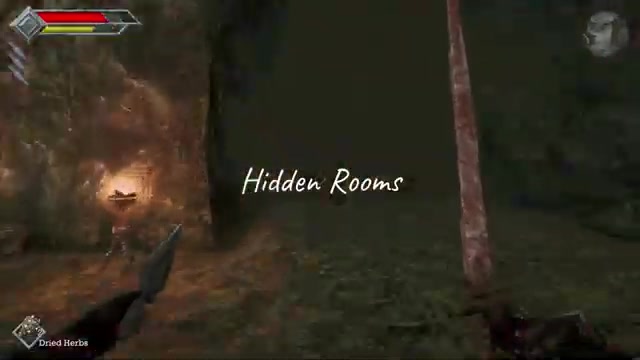
The route from the starting guard to the first boss gate
The full route runs from the starting guard, through the wooden barrier to the crystal monument, up into the spear tower, out to the beach island for the throwing knives, then through two hidden rooms and the ruins before looping back to the injured guard’s gate.
In plain terms: start at the guard, break through the barrier, save at the monument, then climb to the tower. From there you follow the path toward the beach and cross to a small island. After that, you search for two hidden entrances, then work through the ruins, where two switches open a shortcut back to the start and a path downward. The key you find at the bottom takes you back to the injured guard, whose gate leads to the first boss.
How to get every early weapon and secret room, step by step
Work through the area in this order and you’ll pick up all four weapons, both secret rooms, and the shortcut without backtracking more than once.
Break the wooden barrier and save at the crystal monument
The wooden barrier blocking your path breaks if you keep attacking it. Plenty of players hit it once or twice, assume it’s solid, and wander off in the wrong direction. Don’t. Keep swinging until it gives way.
Just beyond it, look left for the crystal monument. This is your save point, and resting there refills your health without spending any healing items. The catch: resting respawns the enemies, so be ready to fight them again.
Climb the stairs and take the spear from the tower
Head up the stairs and into the tower to find the spear. It’s a straightforward pickup and gives you a second melee option early on.
Cross the small island and equip the throwing knives
The throwing knives are on a small island you reach by following the route toward the beach. Cross the island, grab them, and equip them before moving on.
Having a ranged attack makes a huge difference in the early fights. The knives return after a cooldown, so you never need to ration them for a special occasion. Throw freely.
Fight with space, charge attacks, and a recovering power meter
The most reliable early combat approach is to back up, throw a knife, and wait for an opening instead of swinging constantly. Give yourself space and let your power meter recover between attacks. You can also hold your attack to charge it before releasing for a stronger hit.
Find the first hidden entrance and loot the room
The first hidden entrance leads to a room full of containers. Break them all and collect the loot. Don’t miss the meal in here: food can increase your stats. After eating, check underneath the spot where you found it and pick up the paper left behind.
Spot the second hidden entrance by following the skeleton
The second hidden entrance is revealed by a skeleton sitting against the wall and pointing toward it. That pointing skeleton is the clue, so treat any oddly posed skeleton as a hint throughout the game.
Inside, you’ll find another meal and an extra pickup. These are easy to walk past when you’re focused on finding the way forward, so look around the room before leaving.
Hit the ruins switches with a throwing knife to open the shortcut and the way down
At the ruins, there are two switches and both need a throwing knife. The first opens a door that creates a shortcut back toward the starting area, which makes returning to the crystal monument to heal and save much quicker.
Then head back into the ruins and hit the second diamond-shaped switch with a throwing knife to open the way down. There are enemies below, but also more loot. Grab the wooden club here as you work through.
Take the key and unlock the injured guard’s gate
Keep following the route below the ruins until you find the key. Return to the injured guard and use it to unlock the gate. That gate is your route to the first boss, and you’ll arrive with more equipment and a useful shortcut already open.
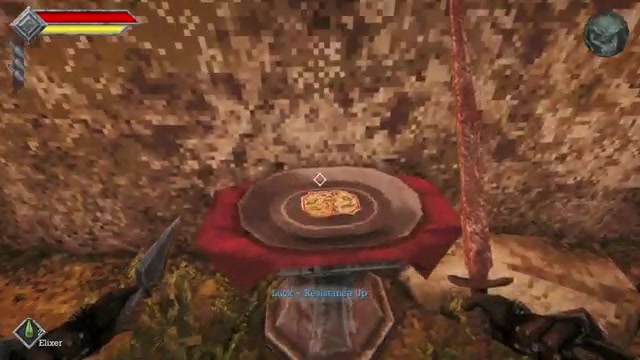
Queen’s Domain
5 mistakes that stall you in the Queen’s Domain starting area
Most early stalls come from giving up on breakable objects, skipping clues, or fighting without using your ranged option.
- Giving up on the wooden barrier. It looks impassable, but it breaks. Keep attacking it.
- Stopping after a couple of hits on the guard’s box. It takes several hits. Keep going for the elixir.
- Leaving the throwing knives unequipped. Equip them before moving on, since you need them for the ruins switches too.
- Constantly swinging in melee. Back up, throw, and wait for an opening while your power meter recovers.
- Ignoring the skeleton’s pointing. It marks the second hidden entrance. Watch for similar clues.
- Walking past meals and pickups. Food can boost your stats, and extra pickups are easy to miss when you’re hunting for the exit.
- Forgetting that resting respawns enemies. Heal at the crystal monument, but expect to fight again.
Queen’s Domain Best Early Weapons and Where to Find Them FAQ
Where do I get the first weapon in Queen’s Domain?
Talk to the guard in the starting area and he gives you the rusty sword. Before you leave him, break the box beside him with several hits to get an elixir.
Where is the spear in Queen’s Domain?
The spear is inside the tower you reach by climbing the stairs after the crystal monument. Head up the stairs and into the tower to pick it up.
Where do I find the throwing knives in Queen’s Domain?
The throwing knives are on a small island you cross after following the route toward the beach. Equip them before moving on, and they return after a cooldown so you can use them freely.
How do I get the wooden club in Queen’s Domain?
The wooden club is below the ruins. Hit the second diamond-shaped switch with a throwing knife to open the way down, then grab the club as you work through the enemies and loot there.
Does resting at the crystal monument heal me in Queen’s Domain?
Yes. Resting at the crystal monument saves your progress and refills your health without using healing items, but enemies respawn when you use it.
Queen’s Domain best early weapons and where to find them checklist
0 of 11
Source & credit
This guide draws on the excellent video walkthrough by The Tavern Times — watch it for the full visual run-through, and give the creator your view: