- Easy
- Difficulty
- 14 min
- Read time
- 10
- Steps
- 1.0
- Checked on
If you’re lost in Queen’s Domain, follow this order: crypt key, Shrine Guardian, Holy Sword of Endu, second wind gem, Obelbiar Temple, three gargoyle bells, then the Tower of Knowledge. This route covers roughly the first third to half of the game, depending on how much you explore, and ends at the mausoleum behind the big door you see at the start. It’s written for players who feel buried by the map’s density and want a clear next objective.
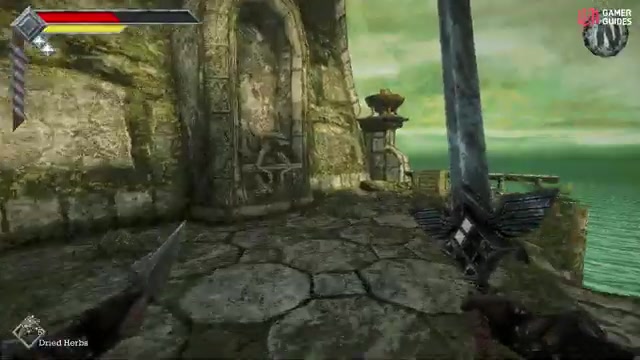
Quick start: reach the mausoleum in 10 steps
The shortest path through the first half of Queen’s Domain is a chain of unlocks, each one giving you the tool for the next area.
- Grab the rusty sword from the soldiers at the campfire, smash the wooden planks, and reach the first safe point. Pick up the dagger belt as early as you can.
- Loop around the beach to the crypt, throw a dagger at the switch near its entrance, and take the crypt key from the bottom.
- Use the key on the shrine gate and beat the Shrine Guardian to claim the Holy Sword of Endu and its wind gem.
- Take the Azure Torch from the gargoyle statue in the Tower of Knowledge area to the east, then find the second wind gem near the second save point for a double air dash.
- Light the first gargoyle at the top of the broken stairway, then the second gargoyle north of the elevator.
- Double dash across the broken bridge to the west, collect four triangular slates, and open Obelbiar Temple.
- Grab the third wind gem and two trident keys, defeat three royal guard sub bosses, and beat Daggum, the sea king.
- Light the third gargoyle with the Azure Torch, fast travel back, and head to the Tower of Knowledge.
- Light gargoyles number three and seven, get the Storm Gem, and unlock the Forbidden Archives with Bodine’s key.
- Beat the Necronomicon, take the acid vial, pop the right face pimple near Bodine, and walk out to the mausoleum.
What you need before you start the route
The most important prep item is the dagger belt, because throwing weapons make nearly every fight in this stretch much more manageable.
Beyond that, you collect your key tools as you go:
- Dagger belt: Grab it right after the opening safe point, even if you’ve got to run past enemies.
- Throwing weapons: Stockpile daggers, piercing daggers, and occult knives. Occult knives drop after you fall through a trapdoor in the Tower of Knowledge.
- Healing herbs and elixirs: You’ll find a lot of them. Use them freely, especially on bosses.
- Wooden club: Found in the crypt. Skeletons are weak to impact damage, so it’s your best answer to the Shrine Guardian.
- Azure Torch: Needed to light gargoyle statues. Also useful in boss fights for passive burn damage.
- Optional but helpful: The trident weapon looted outside Obelbiar Temple. Raising it to max level breaks off a piece that becomes a trident key, but you don’t need it to progress.
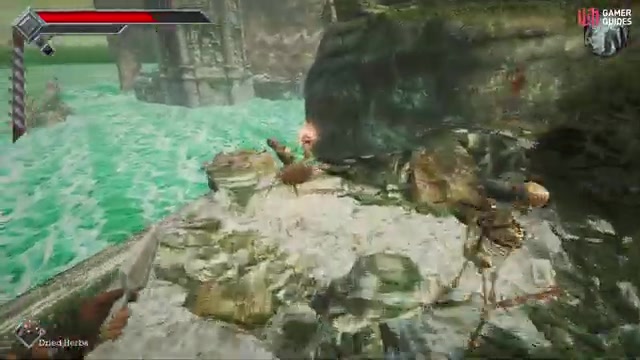
The route from the first campfire to the mausoleum door
The flow is a loop: you unlock wind dashes one at a time, and each new dash opens the next region.
You start with the crypt and shrine for the Holy Sword of Endu. The sword’s wind gem is your main way of reaching new areas. Next you collect a second wind gem for a double dash, then use it to ring bells with three gargoyle statues scattered across the map. Obelbiar Temple gives you the third wind gem and the Daggum boss fight, and the Tower of Knowledge finishes the loop with the Storm Gem, the Necronomicon, and the acid vial that opens the way to the mausoleum. In short: crypt, shrine, east side, high ground, west water area, temple, tower, mausoleum.
How to get through the crypt, shrine, and early gargoyles, step by step
These steps get you from the beach to a double air dash and your first lit gargoyle.
Take the rusty sword and break the planks at the campfire
Talk to the soldiers at the campfire to get their rusty sword, then smash the wooden planks blocking the way to the safe point. Your first objective is the gate to the nearby shrine, which is locked.
Grab the dagger belt and run past early enemies
Don’t stop to fight everything here. Pick up the dagger belt as soon as you can, since thrown daggers carry you through combat for the rest of the route.
Loop around the beach and unlock the crypt
The shrine key is in a crypt you reach by looping around the beach. Throw a dagger at the laser flowers and at the switch near the crypt entrance to open the door. You can rush through or fight methodically down the stairs. At the bottom you’ll find the crypt key and an elevator that returns you to near the safe point.
Rest and fight the Shrine Guardian with the wooden club
Rest at the safe point and head to the shrine. The Shrine Guardian is manageable if you keep your distance. Like other skeletons, he’s weak to impact damage, so equip the wooden club from the crypt. Use herbs and elixirs without guilt.
Take the Holy Sword of Endu and its wind gem
After the guardian falls, pick up the Holy Sword of Endu. It comes with a wind gem that lets you wind dash through the air, which is how you’ll reach nearly every new area from here on.
Cross the east bridge and take the Azure Torch
Your long-term goal is a second wind gem for the broken bridge to the west, but go east first. Dash across the bridge to the Tower of Knowledge area and grab the Azure Torch from the gargoyle statue.
Climb to the second save point and find the second wind gem
Back at the first save point, head up the hill, wind dash across, and loop around to a second save point high up. From there, climb the rocks between the pillars and fly over to the second wind gem. You now have two air dashes. Don’t go west yet.
Light the first gargoyle on the broken stairway
Return to the pillars and leap up to a small blue lantern, then dash across to a broken stairway. Defeat the skeletons at the top and ignite the first of three gargoyle statues, which rings a bell high above.
Use the elevator and light the second gargoyle
Above the first save point, near where you dashed to the second one, a higher area now opens with an elevator leading back to ground level. Wrap north from the elevator to find the second gargoyle and a locked gate you can’t open yet. Light the gargoyle, then head east to where you first fought a centipede enemy.
Double dash across the broken bridge to the west
Wind dash twice to cross the broken bridge and reach the third save point in the water area.
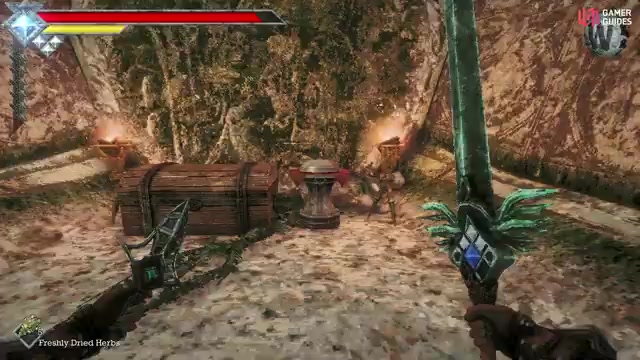
Queen’s Domain
Where to find all four triangular slates to open Obelbiar Temple
You need four triangular slates to open the door at the back of the water area, and the red murder fish make the search annoying.
- Slate one: Right behind the circular area filled with little red murder fish, turn east instead of west. It sits on a rock guarded by skeletons.
- Slate two: On broken columns west of the first slate. Climb up along the broken wall to reach it.
- Slate three: From the main area with several skeletons, where you loot the trident weapon, drop down and head to the western corner.
- Slate four: On a large broken platform or column in the middle of the area. You have to wind dash to it. Several skeletons wake up, but you can grab the slate and jump off.
Bring all four to the door at the back to enter Obelbiar Temple.
How to clear Obelbiar Temple and find the third wind gem
In the temple, your goals are two trident keys and the third wind gem, though the keys are optional for progress.
Find the first trident key near the entrance
After dropping in, the first trident key is in a watery area near the entrance. Use it to continue to the second save point, then wind dash into the hole in the wall that’s down below in the large pit.
Find the second key and the third wind gem
The second trident key is in an area where a couple of skeletons ambush you. The third wind gem is in the same area, giving you a total of three air dashes. Three dashes let you cross the large pit near the save point.
Don’t waste time on the trident key holes
You’ll reach a third save point in a room with several trident key holes. Skip them for now. The temple only holds two keys. A third comes from raising the trident weapon to max level, and a fourth is bought from the shop after you beat the Tower of Knowledge boss. All of it’s extra loot, and none of it’s required.
Defeat the three royal guard sub bosses
From the save point room, head into the large cavern and beat three royal guard sub bosses. They aren’t hard to find. Once all three are down, a door opens in the cavern leading to the boss.
How to beat Daggum, the sea king
Daggum is manageable if you arrive with healing items and a stockpile of throwing weapons.
- Hit him with the Azure Torch whenever possible to proc passive damage.
- Use your air dash to escape the current he creates and the poison he spreads in the water.
- His small fish minions die quickly to slash attacks, so clear them as they come.
After Daggum falls, leave the dungeon and light the third and final gargoyle with the Azure Torch. A fast travel point nearby takes you back to the starting area near the second gargoyle and the locked gate. With all three gargoyles lit and their bells rung, return to the Tower of Knowledge.
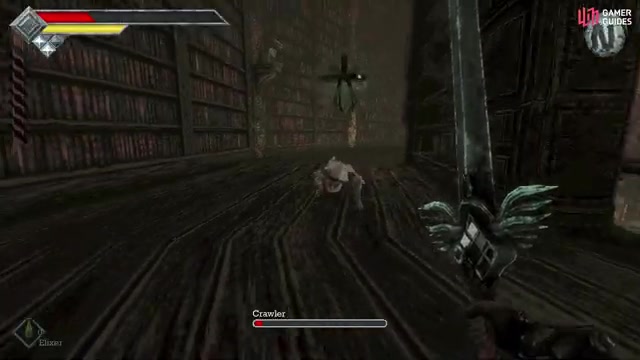
How to solve the Tower of Knowledge gargoyle puzzle and get the Storm Gem
Light gargoyle number three and gargoyle number seven on the balcony to unlock the door back into the tower.
The tower itself isn’t confusing at first, but it’s a slog of difficult enemies that inflict status effects. You can’t deal with the screaming faces or the blobs of flesh until you beat the area’s boss, so ignore them for now.
Light gargoyles three and seven on the balcony
Three plaques, including one in the rubble, tell you which two gargoyles to light. Light the wrong ones and the gargoyle attacks with a horde of book bugs. Light number three and number seven, and a nearby door opens back inside the tower.
Climb to the top and claim the Storm Gem
Through that door, work to the next safe point and climb the stairwell to the top, where a fast travel point waits. You may need to talk to War-Hat in her study nearby. Up a massive staircase you’ll find the Storm Gem for the Sword of Endu, which adds a charge meter for an ultimate attack.
Rotate the stairway and get the Forbidden Archives Key
The locked doors at the top look like a dead end, but from beneath the Storm Gem you can air dash to a switch that rotates the stairway. Head up it, then take the elevator down to Bodine, who gives you the Forbidden Archives Key. That key unlocks the doors near the Storm Gem.
How to beat the Necronomicon and open the way to the mausoleum
The Necronomicon spams status effects from range, so the winning plan is to stay back and throw things.
Past the safe point and the elevator, a gauntlet of enemies leads to the boss. Keep your distance and throw daggers, piercing daggers, and occult knives until the book falls down long enough to slash it. Hit it with the Azure Torch to set it on fire. When it changes into its goat form, keep your distance until it changes back.
Use the acid vial to pop the face pimples
Burning the book earns an acid vial that coats your basic throwing daggers with acid. Acid daggers pop the face pimples throughout the Tower of Knowledge, which reveal secrets and new weapons. The important one is near Bodine, who has died. Popping it opens a path out to the mausoleum and a way to open the big door near the now-dead campfire soldiers from the start of the game.
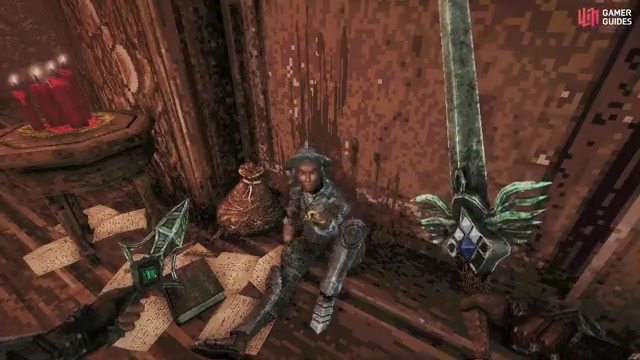
5 mistakes that get players lost in Queen’s Domain
- Heading west too early: Without the second wind gem you can’t cross the broken bridge. Go east and up to the second save point first.
- Skipping the dagger belt: Throwing weapons carry the combat. Grab the belt before anything else.
- Hunting for trident keys in the temple: Only two exist inside it, and you don’t need any to progress. Move on to the sub bosses.
- Lighting random tower gargoyles: Wrong choices summon book bugs. Light numbers three and seven only.
- Stopping at the Tower of Knowledge locked doors: The way forward is the rotating stairway switch below the Storm Gem, reached by air dash.
- Fighting the Shrine Guardian with the wrong weapon: He’s weak to impact damage, so use the wooden club from the crypt.
Queen’s Domain progress route: where to go next if you’re lost FAQ
Where do I go first in Queen’s Domain?
Go to the crypt by looping around the beach, because it holds the key to the shrine gate. Get the rusty sword from the campfire soldiers, break the planks to the safe point, then take the dagger belt before heading out.
How do I get the second wind gem in Queen’s Domain?
Reach the second save point high above the first, then climb the rocks between the pillars and fly across to the gem. From the first save point, head up the hill, wind dash across, and loop around to that second save point. This gives you the double air dash needed for the west bridge.
How do I open Obelbiar Temple?
Collect four triangular slates from the water area and bring them to the door at the back. They’re found east of the red murder fish ring, on broken columns west of that, in the western corner below the trident weapon area, and on a platform in the middle of the area.
Which gargoyles do I light in the Tower of Knowledge?
Light gargoyle number three and gargoyle number seven. This unlocks a nearby door back inside the tower, while lighting the wrong ones summons book bugs.
Do I need the trident keys to progress?
No, trident keys are only for extra loot. Two are in the temple, one comes from maxing out the trident weapon, and one is bought in the shop after you beat the Tower of Knowledge boss.
How do I reach the mausoleum in Queen’s Domain?
Beat the Necronomicon, take the acid vial, and use acid daggers to pop the face pimple near Bodine. That opens the path to the mausoleum and a way to open the big door near the campfire soldiers.
Queen’s Domain progress route: where to go next if you’re lost checklist
0 of 11
Source & credit
This guide draws on the excellent video walkthrough by Gamer Guides — watch it for the full visual run-through, and give the creator your view: