- Easy
- Difficulty
- 9 min
- Read time
- 11
- Steps
You can collect the rusty sword, spear, throwing knives, and wooden club in Queen’s Domain before the first boss by talking to the guard, climbing the tower, crossing the beach island, and clearing the ruins. Along the way you’ll find two hidden rooms with meals and extra pickups, a shortcut back to the crystal monument, and the key that opens your route to the boss. This guide is for players who stalled in the starting area or walked past loot without knowing it.
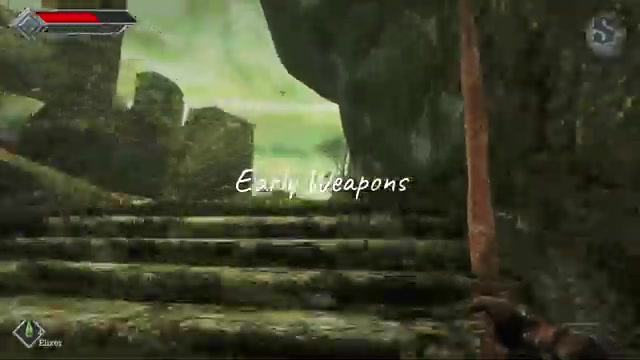
Quick start: get all four early weapons and reach the first boss
- Talk to the guard to receive the rusty sword, then break the box beside him for an elixir.
- Keep hitting the wooden barrier until it breaks, then save at the crystal monument just beyond it, on your left.
- Climb the stairs into the tower and take the spear.
- Follow the route toward the beach and cross the small island for the throwing knives. Equip them.
- Find the two hidden entrances, break the containers, and pick up the meals and extra items inside.
- At the ruins, hit the first switch with a throwing knife to open a shortcut to the starting area, then hit the second diamond-shaped switch to open the way down.
- Grab the wooden club below, find the key, and return to the injured guard to unlock the gate to the first boss.
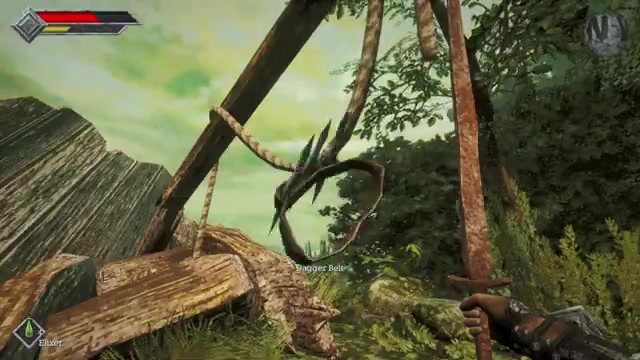
What you need before leaving the Queen’s Domain starting area
You only need the rusty sword from the guard and a willingness to break things, because several progress items sit behind objects that take multiple hits. Early fights are rough, so treat healing supplies as part of your kit.
- Rusty sword: given by the guard. This is your first weapon.
- Elixir: inside the box next to the guard. It takes several hits to break.
- Healing supplies: pick them up as you explore. You’ll want a stock before the harder fights.
- Throwing knives (ranged option): you’ll collect these on the beach island. Optional but helpful, since they changed how the early fights play out, and they return after a cooldown, so you never need to save them.
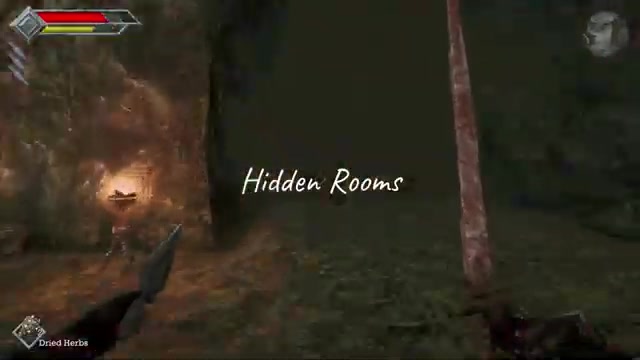
The route from the guard to the first boss gate
The full early route runs guard, barrier, crystal monument, tower, beach island, two hidden rooms, ruins, key, and back to the injured guard’s gate. In plain terms: you start at the guard, break through the wooden barrier, save at the crystal, then loop out through the tower and the beach island for weapons. The two hidden rooms are optional side trips for food and pickups. The ruins hold two switches: the first creates a shortcut home, the second opens the way down to the club and the key. Bring the key back to the injured guard and the gate opens.
How to collect every early weapon and secret room, step by step
Talk to the guard and take the rusty sword
The guard hands you the rusty sword as soon as you speak to him. Before you walk off, break the box beside him for an elixir. It takes several hits, so keep swinging rather than assuming it’s indestructible.
Keep hitting the wooden barrier until it breaks
The wooden barrier blocking your way is breakable, and it works like the box: repeated hits. A lot of players hit it once or twice, assume it’s a wall, and wander off. Stay on it until it breaks.
Save at the crystal monument on your left
Just past the barrier, look left for the crystal monument. It saves your progress, and resting there refills your health without using healing items.
Climb the tower stairs for the spear
Head up the stairs and into the tower to pick up the spear. Grab any healing supplies you see on the way, since you’ll burn through them in these early fights.
Cross the beach island for the throwing knives
Follow the route toward the beach and cross the small island to find the throwing knives. Equip them before moving on. They return after a cooldown, so you can throw them freely instead of hoarding them for a special occasion.
Fight with space, a charged attack, and your range option
Back up, throw a knife, and wait for an opening instead of swinging constantly. Give yourself room and let your power meter recover between attacks. You can also hold your attack to charge it before releasing. Spacing and ranged pokes work far better than button-mashing in the early encounters.
Enter the first hidden room and loot it
The first hidden entrance leads to a room full of breakable containers, so smash them all and collect the loot. Don’t skip the meal: food can increase your stats. After eating, check underneath where the meal was and pick up the paper left behind.
Follow the skeleton’s pointing arm to the second hidden room
The second hidden entrance is marked by a skeleton sitting near a wall and pointing at it. Walk into the wall it points toward to find the way in. Inside is another meal and an extra pickup, both easy to miss when you’re focused on the main path.
That skeleton is a useful lesson for the rest of the game: environmental clues like pointing bodies can signal secrets, so keep an eye out for them.
Hit the first ruins switch with a throwing knife to open the shortcut
At the ruins, throw a knife at the switch to open the door. This creates a shortcut back toward the starting area, which makes returning to the crystal monument to heal and save much quicker.
Hit the second diamond-shaped switch to open the way down
Head back into the ruins and throw a knife at the second, diamond-shaped switch to open the path downward. There are enemies below, but there’s also more loot. Grab the wooden club here as you work through.
Find the key and unlock the injured guard’s gate
Keep following the route below the ruins until you find the key. Take it back to the injured guard and use it to unlock the gate. That opens your path to the first boss, and by now you’ll have more weapons and a shortcut to the crystal monument if you need to reset.
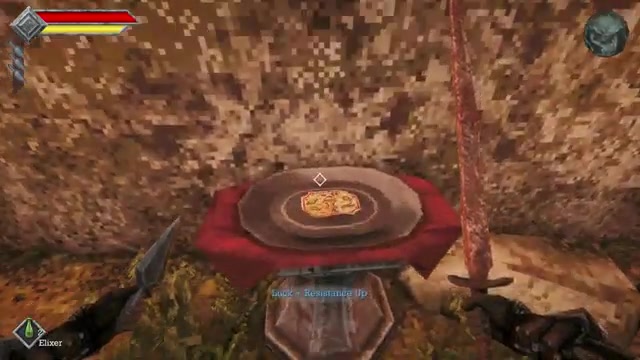
Queen’s Domain
5 mistakes that stall your early Queen’s Domain run
- Giving up on the wooden barrier after a hit or two. Keep attacking until it breaks.
- Leaving the elixir box after one swing. It takes several hits, so keep going.
- Forgetting that resting respawns enemies. Plan to fight your way back through after saving at the crystal monument.
- Not equipping the throwing knives. Equip them right after you pick them up, then use them for ranged pokes and for the ruins switches.
- Ignoring the skeleton clue. The skeleton pointing at the wall marks the second hidden entrance.
- Skipping the meals. Both hidden rooms contain food, and food can increase your stats.
- Swinging nonstop. Back up, throw, let your power meter recover, and hit when there’s an opening.
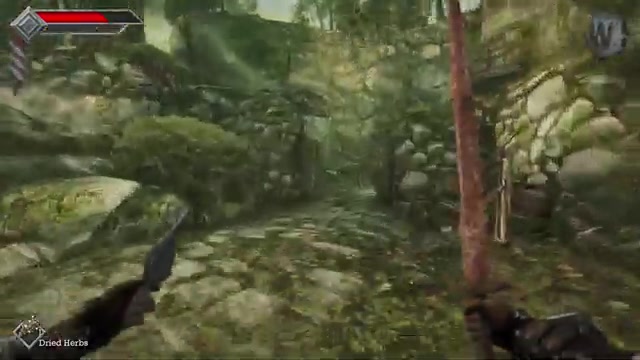
Queen’s Domain early weapons locations FAQ
Where do I get the first weapon in Queen’s Domain?
Talk to the guard in the starting area and he gives you the rusty sword. Before you leave him, break the box beside him for an elixir.
Where is the spear in Queen’s Domain?
The spear is inside the tower. After passing the crystal monument, head up the stairs and into the tower to pick it up.
How do I get the throwing knives in Queen’s Domain?
Follow the route toward the beach and cross the small island to find them. Equip them before you continue. They return after a cooldown, so you can throw them freely.
How do I get past the wooden barrier in Queen’s Domain?
Keep attacking it until it breaks. It looks like an obstacle you can’t get through, but repeated hits destroy it, and the crystal monument is just beyond it on your left.
Where are the two secret rooms in Queen’s Domain?
There are two hidden entrances in the early area. The first holds breakable containers, a meal, and a piece of paper under where the meal sat. The second is marked by a skeleton pointing at a wall, and holds another meal and an extra pickup.
How do I unlock the gate to the first boss in Queen’s Domain?
Find the key below the ruins, then take it back to the injured guard and use it on the gate. To reach it, open the way down by hitting the second diamond-shaped switch with a throwing knife.
Queen’s Domain early weapons locations checklist
0 of 11
Source & credit
This guide draws on the excellent video walkthrough by The Tavern Times — watch it for the full visual run-through, and give the creator your view: