- Medium
- Difficulty
- 10 min
- Read time
- 5
- Steps
- 1.0
- Checked on
The boss that stalls most players in the late chapters is Kudigra, a two-phase abomination guarding the university’s deepest labs, and you beat it by burning it, keeping your endurance high, and punishing its recovery windows. Winning drops the research papers needed to progress the main quest and unlocks the “Kudigra defeated” achievement. This guide is for Valor Mortis players who reach the university with sticky movement, scarce healing, and one-shot-happy enemies, and want a clear route to the boss and a plan for the fight.
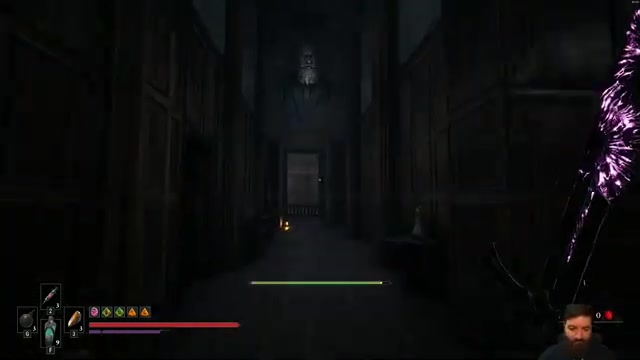
Quick start: beat Kudigra in 7 steps
You beat Kudigra by arriving with a Shield transmutation, fire or stasis on your weapon, and every flask you can carry, then fighting patiently through both phases.
- Clear the sewers and collect the sewer key, mask key, and master key, then follow the Shrike’s route to the university.
- Take the Shrike’s university key, then pick up the Shield transmutation in the new university area. It lets you walk through green infestation gas.
- Level up and spend your points on health and firearm damage before the fight. Buy or craft extra healing flasks, since you’ll want at least one more than you think you need.
- Upgrade a firearm at the shop with the Masterwork and Exquisite firearm parts you find along the way.
- Equip fire spread and wetstone effects, and use fire on the boss. Check before the fight whether its second form resists fire.
- In phase one, dodge early and stay moving. In phase two, the arm detaches, so pay attention to the new attack pattern and keep your stamina topped up.
- After the kill, collect the papers and return them to Louis at camp.

What you need before fighting Kudigra
The most important prep is the Shield transmutation, a good firearm upgrade, and enough healing flasks to survive two phases.
- Shield transmutation: Hold the power button to veil yourself in a barrier that blocks enemy attacks at the cost of nephlobin. Press it again after blocking an attack to launch a damaging wave; damage scales with how much you blocked. It also protects you from infestation effects, which is how you cross green gas fields. Expect it to drain if you hold it too long.
- Firearm upgrade: A Masterwork firearm part lets you upgrade a single firearm to max (this unlocks the Gun of Glory achievement: shots fired from behind enemies deal increased posture damage). Pistol and blunderbuss use the same rounds, so the pistol is the better target. An Exquisite firearm part gives another pistol tier.
- Melee upgrade: Maxing a single melee weapon unlocks Bladesmith, which stores health when you spend rampage. Rampage builds as you attack and can be spent to boost your next heavy attack or reduce the cost of your next transmutation. Watch for the little sword symbol at the bottom of the screen.
- Healing flasks: You’ll want at least one more refreshing vial than your instinct says. Also check the shop for Distilled, Pure, and Superior materials; some upgrades need specific ones, so confirm before you spend.
- Fire effects: “Spread the flame / increase the range” boosts fire on bosses. “Wet stones last longer after a successful dodge” helps keep your melee buff up. “Fire breathing” (attacking while dodging causes a burning explosion) is a strong pickup.
- Optional but helpful: “Payback” (getting hit when low on health causes a stasis explosion) works well if you tend to fight at low health anyway. Level your health toward 200 and put the rest into firearm damage.
The route from the sewers to the university
You reach Kudigra by finishing the sewers, meeting the Shrike, taking her university key, and working through the university’s locked doors.
In the sewers you need the sewer key, the mask key, and finally the master key, and you’ll meet several unknown enemies and an immortal guard along the way. The mice help guide you, and you can choose to spare or kill the plague-ridden creatures they call Mommy and Daddy. Feeding them cheese and sparing them is the choice that avoids bad consequences later. After the sewers, you find the Shrike at a chandelier-lit rendezvous, and your dialogue choices there decide how she treats you. She hands over the key to the university and warns that Napoleon’s power has a hidden truth below it.
Inside the university you’ll find locked doors, a secret door that’s broken, a lift or elevator you can use as a shortcut later, and a lab wing. The auditorium key is required for the deeper sections and you may need to backtrack. The path ends at a slaughterhouse-like lab and the boss arena.
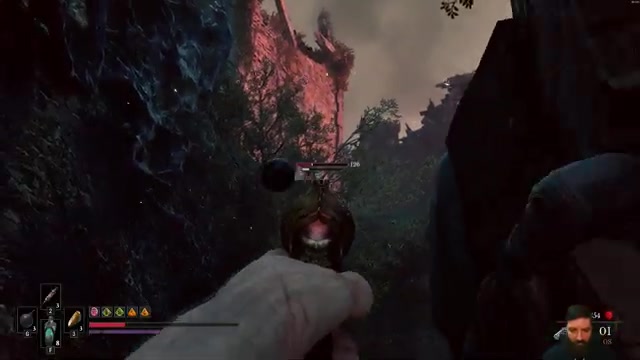
How to get through the university, step by step
Work through the university in this order: get the Shrike’s key, clear the entry hallways, find the Shield transmutation, then cross the infested areas to the lab wing.
Talk to the Shrike and take her key
Pick the dialogue options that keep her helpful. You can’t use every option, and there’s no preview of what you’ll say, so if you misstep you can reload your save and try again. She gives you the key and says the truth lies below the university.
Fight through the entry hallways
The first rooms are tight, and enemies can hit you through floors and walls. When you get stuck on geometry, back out and reposition rather than mashing dodge. Close doors behind you where possible so you can take enemies one at a time.
Grab the Shield transmutation
Once you pick it up, you can finally cross green gas fields that were blocking earlier chapters. You’ll need it to reach backtracking quests, too. Test the shield on a weak enemy so you know how quickly it drains.
Use the elevator and shortcuts
The elevator is a shortcut you can use later, so unlock it once and note where it takes you. Several enemies respawn in the lab area, but certain larger mini-bosses stay dead once killed.
Read the lab documents
The experimental reports tell you what’s down there, and one room will shut a door behind you until you read them. The experiments describe volunteers turned into monsters, and one survivor called the Orphan. It’s context for what you’re about to fight.
Kudigra’s two phases and how to punish each
Kudigra is a large two-phase abomination: phase one is a heavy melee brawl, and phase two begins when its arm detaches and changes the fight.
Phase one: stay mobile and dodge early
Don’t stand still in front of it. Dodge before you see the hit land, because dodging late will leave you walking slowly into the attack. Take hits only when your health is high, and use Heat actions on openings. Burn it with fire if it’s not immune, and keep your wet stone buff active.
The phase change
When the arm comes loose, the boss changes its pattern and your window to heal shrinks. Heal when it recovers, not when it’s mid-swing. Use Shield to block an attack and fire back the wave if you’ve got the nephlobin to spare.
Phase two: protect your stamina
Don’t spend your endurance on long combos. Land a heavy or two, then back off. Dodge away from its feet and body rather than into corners, since the arena’s collision can trap you. If you get stuck, reposition immediately and don’t burn dodges against a wall.
After the kill
Collect the papers from the room and take them to Louis at camp. You also get the Kudigra defeated achievement. Louis reads the papers and moves the story toward the castle and the relic.
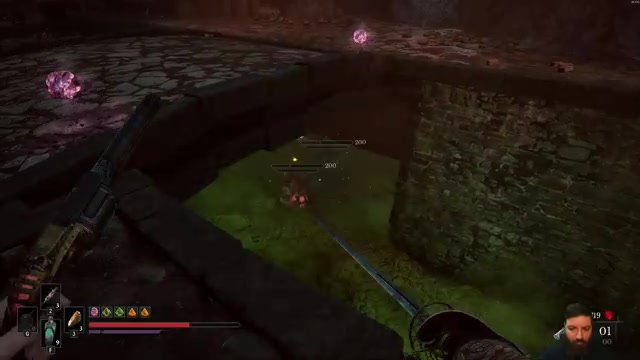
Build choices used for the Kudigra fight
The build that worked is a fire-focused melee setup with a maxed pistol, the Shield transmutation, and around 200 health.
- Melee weapon with wet stone support and fire on top. A claymore is mentioned as the later weapon in use.
- Maxed pistol using the Masterwork part, since it shares ammo with the blunderbuss and gets posture bonuses from behind.
- Shield transmutation for blocking and gas fields.
- Amber effects that spread fire, extend range, and trigger explosions on dodge. A Copy amber that increases the ranks of other equipped tier one and two ambers is also available from the fortress quest.
Conservative variant for under-geared players: raise health before damage, carry extra flasks, and rely on Shield blocks rather than trading hits. This is a likely approach based on context rather than a tested alternate.
6 mistakes that get you killed fighting Kudigra
- Dodging late: If you wait to see the hit, you walk into it. Dodge early.
- Trusting fire blindly: Some enemies are immune and take zero burn damage. Swap to wet stones if burn does nothing.
- Fighting in corners: Tight geometry traps your character. Keep to open ground.
- Burning all your stamina on combos: Low endurance leaves you unable to dodge. Take a heavy and back off.
- Holding Shield too long: It drains your resource eventually. Use it to block a specific attack, then release.
- Healing during a swing: Heal during recovery windows only, and keep a spare flask for phase two.
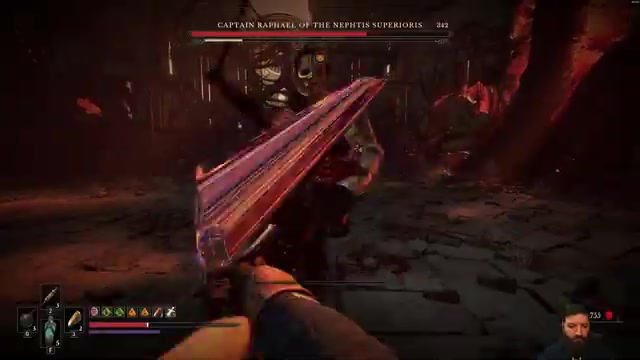
Valor Mortis boss that broke Moist FAQ
What is the Valor Mortis boss that broke Moist?
It’s Kudigra, the two-phase abomination in the university labs. Defeating it drops the research papers and awards the Kudigra defeated achievement.
How do I cross the green gas in Valor Mortis?
Use the Shield transmutation found in the university. Its barrier protects you from infestation effects, so you can walk through green gas that blocked you earlier.
Is fire good against Kudigra?
Fire’s worth trying, but check for immunity. Other fire-immune enemies take zero burn damage, so if the first test does nothing, switch to wet stone buffs.
Should I spare the creatures the mice call Mommy and Daddy?
Yes. A hint after sparing them says it was the wise choice and that killing either would have haunted you to the end of your journey.
What should I do right after beating Kudigra?
Take the papers to Louis at camp. He then points you toward the castle and the relic as your next objective.
How many chapters are left after this boss?
The run in question was around chapter nine with three chapters remaining, so expect the castle, the relic, and the endgame to follow.
Kudigra fight checklist
0 of 11
Source & credit
This guide draws on the excellent video walkthrough by BigBeard — watch it for the full visual run-through, and give the creator your view: