
30-Second Quick-Start (TL;DR)
- Trigger: Complete the Day 7 rescue of survivor Rob Low to unlock the Day 8 “Ask Your Mom” quest from the Major.
- Graffiti 1: Interact with graffiti outside your sleeping quarters.
- Graffiti 2–4: Use your flashlight to spot footprints after each interaction; follow them to the next graffiti location (lab area, behind lab, guard tower, central area under lab sign).
- Talk to Ape Crow: He’ll react angrily to the graffiti.
- Visit Storage: Speak to the scientist; he reveals the paint was left unlocked.
- Scan Survivors: Return to living quarters and scan each survivor with flashlight on to find red paint on their clothing.
- Choose Your Reward: Take $1,000 cash (pick it up inside tent before leaving) or report them for $200.
- Biggest Mistake: Leaving the tent before picking up the cash reward—you won’t be able to return for it.

What This Guide Helps You Do
This guide walks you through the complete All Graffiti quest in Quarantine Zone: The Last Check, helping you locate all four graffiti markers, identify the culprit, and claim the maximum cash reward ($1,000) for your efforts. You’ll learn the exact footprint-following mechanic, the order of locations, and the critical decision point that determines your payout. It’s essential for players on Day 8 who’ve already rescued Rob Low and want to complete the Major’s assignment without missing hidden rewards or sequence breaks.
Best for: Players who have reached Day 8, completed the Rob Low rescue, and want a clear path through the graffiti locations without trial-and-error exploration.
Requirements & Prep
- Quest Unlock: Must have rescued survivor Rob Low on Day 7 (prerequisite for the “Ask Your Mom” quest to appear on Day 8).
- Flashlight: Essential—you can’t see footprints or identify the paint on survivors without it. Keep it active throughout the entire quest.
- Free Inventory Space: You’ll receive cash as a reward; ensure you’ve got room if carrying other items.
- Access to Camp Areas: You need free movement through sleeping quarters, laboratory, guard tower, and living quarters.
Optional but Helpful: Familiarize yourself with the camp layout beforehand. The footprint mechanic is straightforward, but knowing where the lab is, where the guard tower sits, and how the central area connects will speed up your navigation.
Route Overview
The All Graffiti quest is a sequential investigation that chains together four graffiti locations via footprint tracking. You start outside your sleeping quarters, then follow glowing footprints (visible only with flashlight on) from graffiti to graffiti. The path takes you through the laboratory area, behind the lab (past a dead-end “Don’t Open Dead Inside” door), up to a guard tower, and finally to the central area under the lab sign. After finding all four, you confront Ape Crow, speak to a scientist in storage, then identify the culprit by scanning survivors for red paint on their clothing. The final choice—whether to take the cash or report them—determines your payout: $1,000 or $200.

Step-by-Step Walkthrough
Step 1: Receive the Quest from the Major
Action: On Day 8, speak to the Major. He’ll tell you someone’s vandalizing the camp with graffiti and ask you to investigate.
Why it matters: This is your quest trigger. The Major sets the context and directs you to the first graffiti location.
Expected outcome: You’ll be instructed to check outside your sleeping quarters.
Step 2: Locate and Interact with Graffiti #1 (Sleeping Quarters)
Action: Go to the area outside your sleeping quarters. You’ll see graffiti on a surface. Interact with it to activate the quest marker.
Why it matters: Interacting with each graffiti is mandatory—you can’t progress to the next location without doing so. The game locks subsequent graffiti until you’ve activated the previous one.
Common mistake: Trying to find Graffiti #2 without interacting with Graffiti #1. The game won’t reveal the next location or footprints until you’ve completed the interaction.
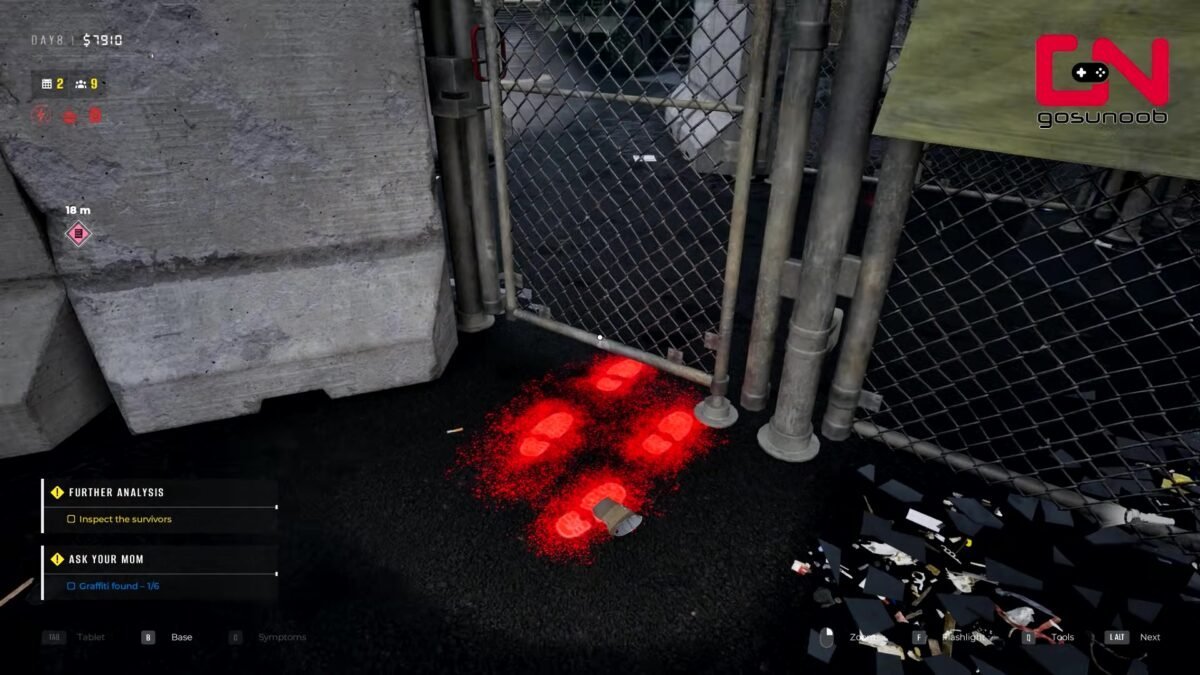
Critical: Turn on your flashlight immediately after this interaction to see the footprints leading to Graffiti #2. Without the flashlight, the tracks are invisible.
Step 3: Activate Flashlight and Follow Footprints to Graffiti #2 (Lab Area)
Action: Turn on your flashlight and look at the ground around the graffiti. You’ll see glowing footprints pointing in a direction. Follow them continuously until you reach the next graffiti location.
Why it matters: The footprints are your navigation system for this entire quest. They’re directional and lead you safely through the camp without requiring you to guess or backtrack.
Expected outcome: The footprints will lead you toward the laboratory portion of the camp. Graffiti #2 is located in this area. Interact with it to proceed.
Common mistake: Losing focus on the footprints and wandering off-path. The tracks are clear and consistent; stay on them and you won’t get lost.
Step 4: Follow Footprints Behind the Laboratory
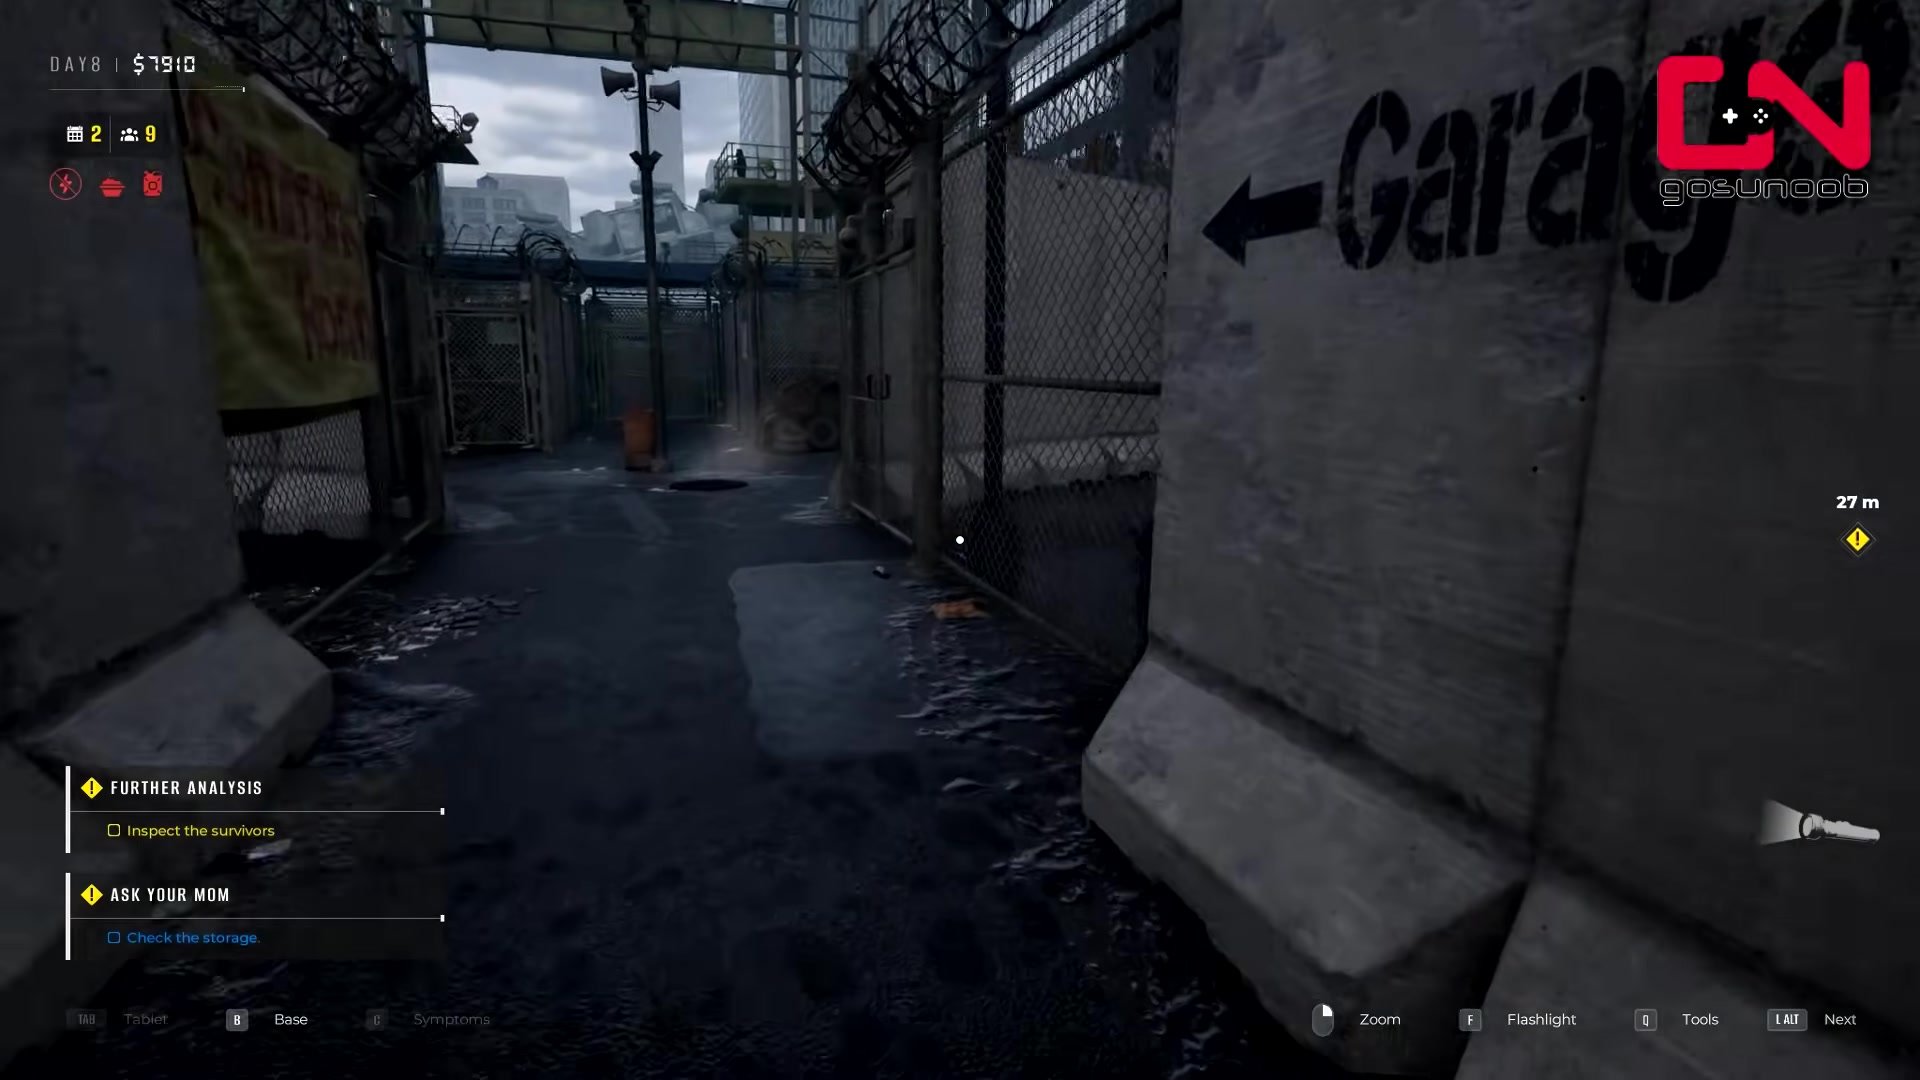
Action: After interacting with Graffiti #2, activate your flashlight again. The new footprints will lead you behind the laboratory. You’ll see distinctive doors marked with “Don’t Open Dead Inside” graffiti.
Why it matters: This is a landmark to orient yourself. However, those doors are a dead end and don’t contain graffiti or progression items. Don’t waste time investigating them.
Expected outcome: Continue following the footprints past the dead-end doors. They’ll guide you around and away from that area, leading to Graffiti #3.
Common mistake: Thinking the “Don’t Open Dead Inside” doors are important to the quest. They’re a red herring. Stick to the footprints and move on.
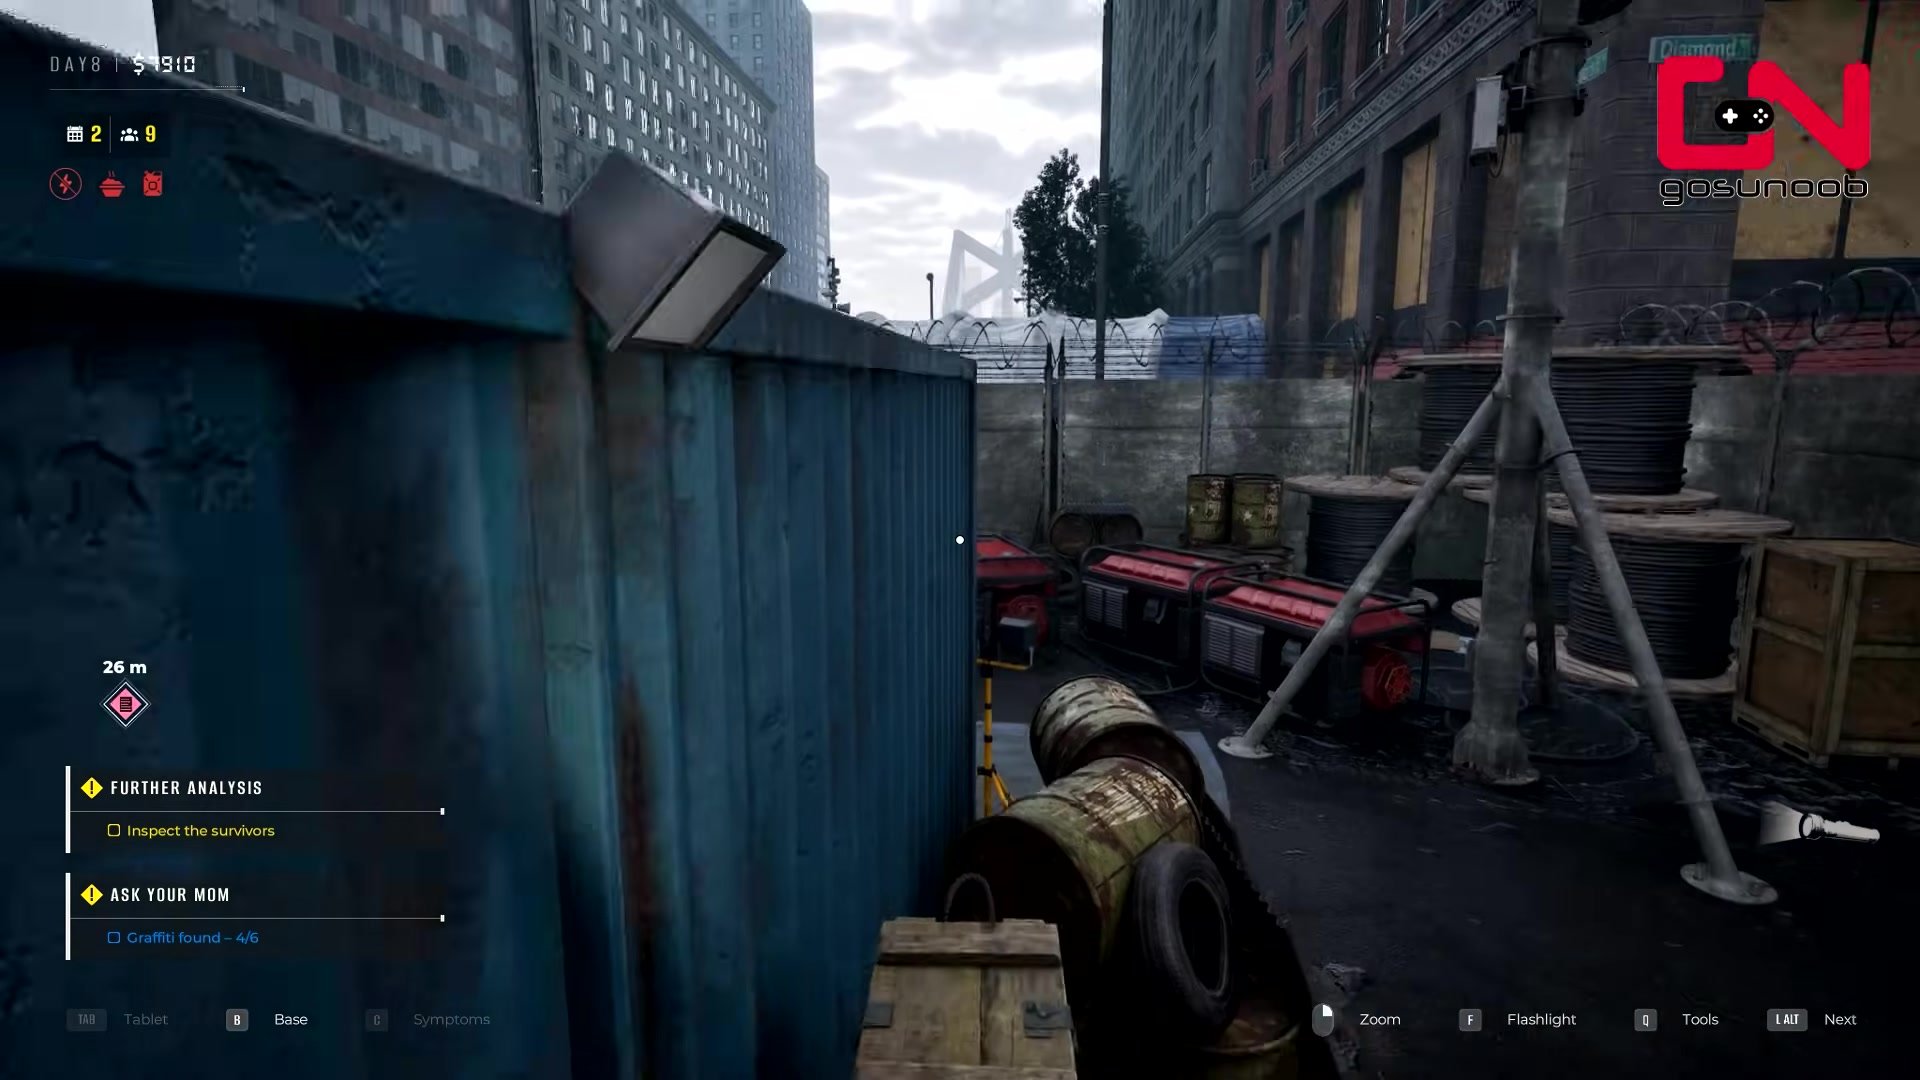
Step 5: Locate Graffiti #3 (Behind Lab / Infected Area)
Action: Continue following the footprints. They’ll take you to an infected area where Graffiti #3 is located. Interact with it.
Why it matters: This is your third checkpoint. Each interaction unlocks the next set of footprints and brings you closer to identifying the culprit.
Optional exploration: You can jump onto the containers in this area (a detail not required for the quest but possible if you want to explore). This doesn’t affect progression.
Step 6: Follow Footprints to Guard Tower and Locate Graffiti #4
Action: Activate your flashlight and follow the new footprints. They’ll lead you up to a guard tower where Graffiti #4 is located. Interact with it to complete the graffiti collection phase.
Why it matters: This is the final graffiti location. Once you interact with it, you’ve gathered all the evidence and can move to the confrontation phase.
Expected outcome: After interacting, you’ll have four graffiti locations marked in your quest log. The next step is to confront Ape Crow.
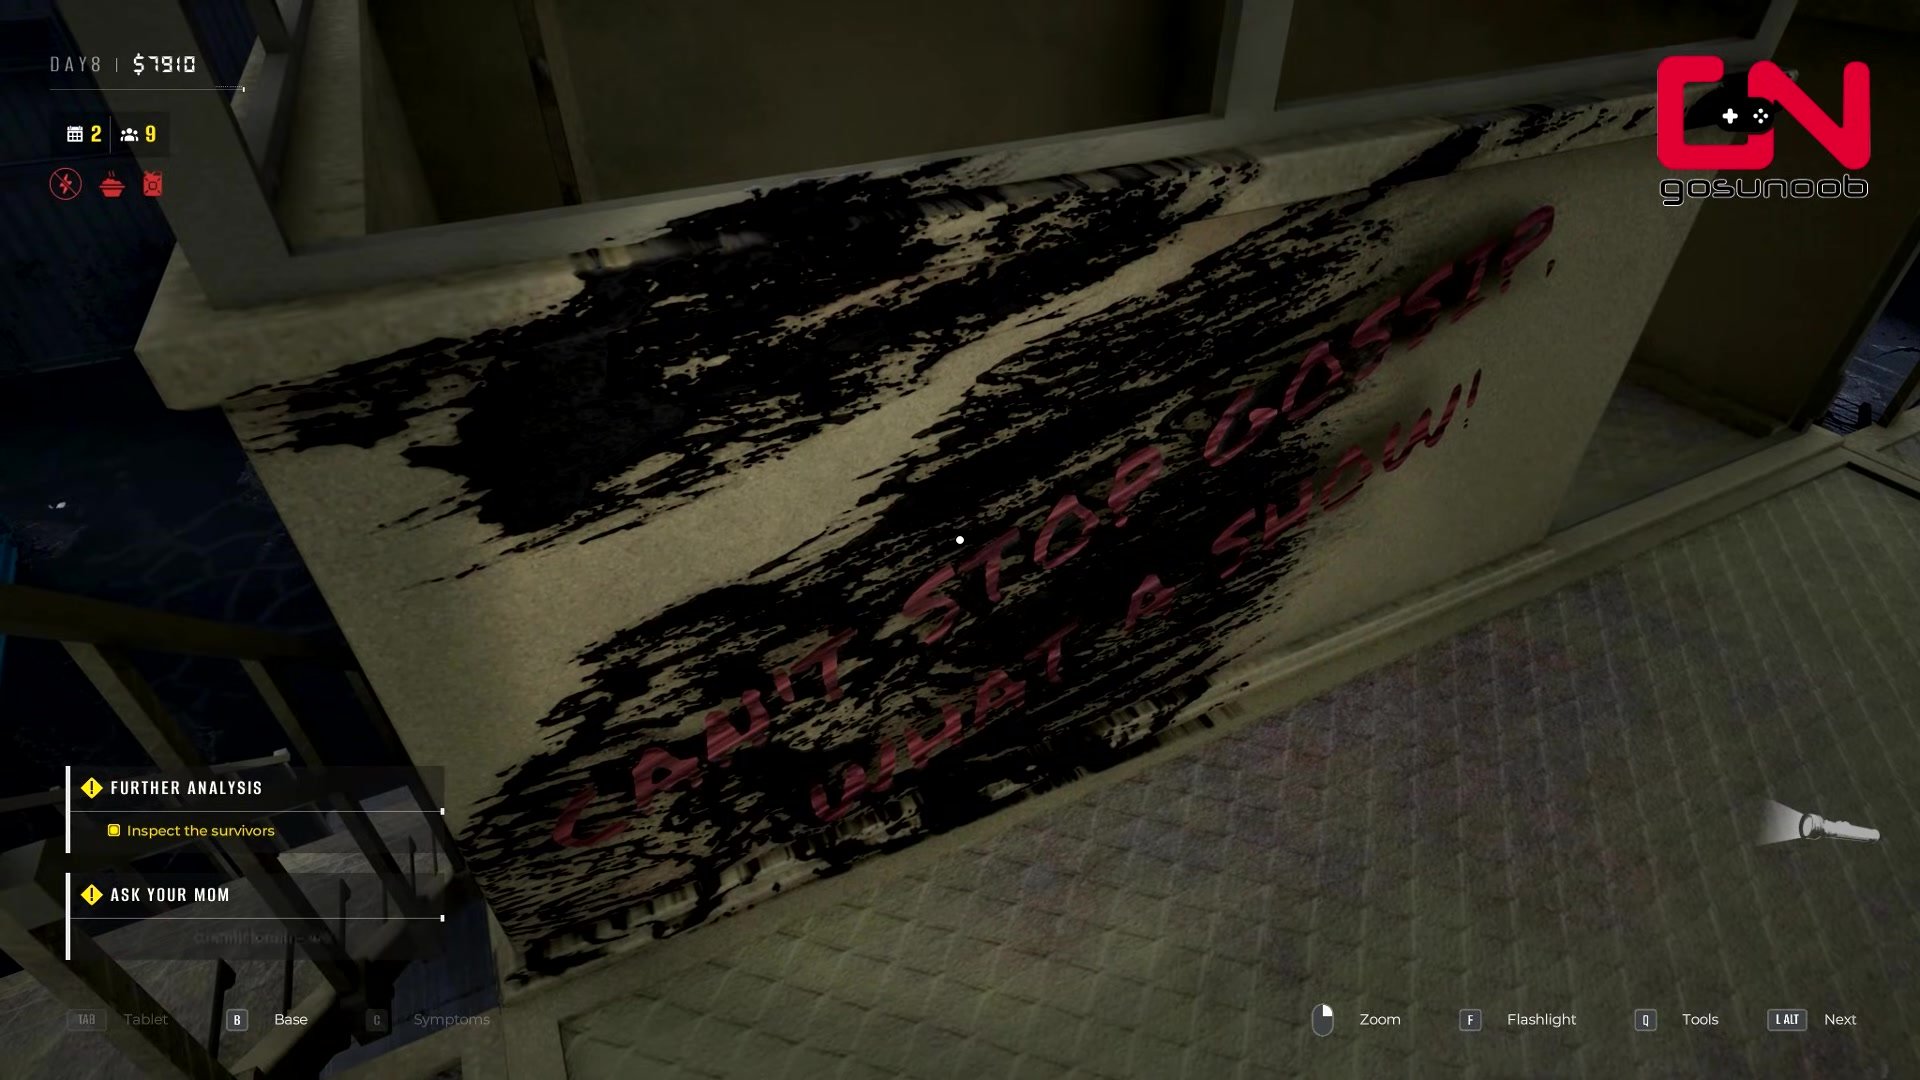
Step 7: Return to Central Area and Locate Graffiti #5 (Lab Sign Area)
Action: Head back down from the guard tower and go left toward the central area of the camp. Look under the laboratory sign for Graffiti #5 and interact with it.
Why it matters: This completes your graffiti collection. All five locations are now marked, and the quest transitions to the investigation phase.
Expected outcome: You’ve now seen all the graffiti in the camp, all of which reference Ape Crow.
Step 8: Confront Ape Crow
Action: Find Ape Crow in the camp and speak to him. He’ll react with anger and frustration upon learning about the graffiti.
Why it matters: This confirms that Ape Crow is aware of the vandalism and provides context for the next phase. His emotional reaction sets up the investigation into who actually did it.
Expected dialogue: Ape Crow will express anger about the graffiti and demand to know who’s responsible.
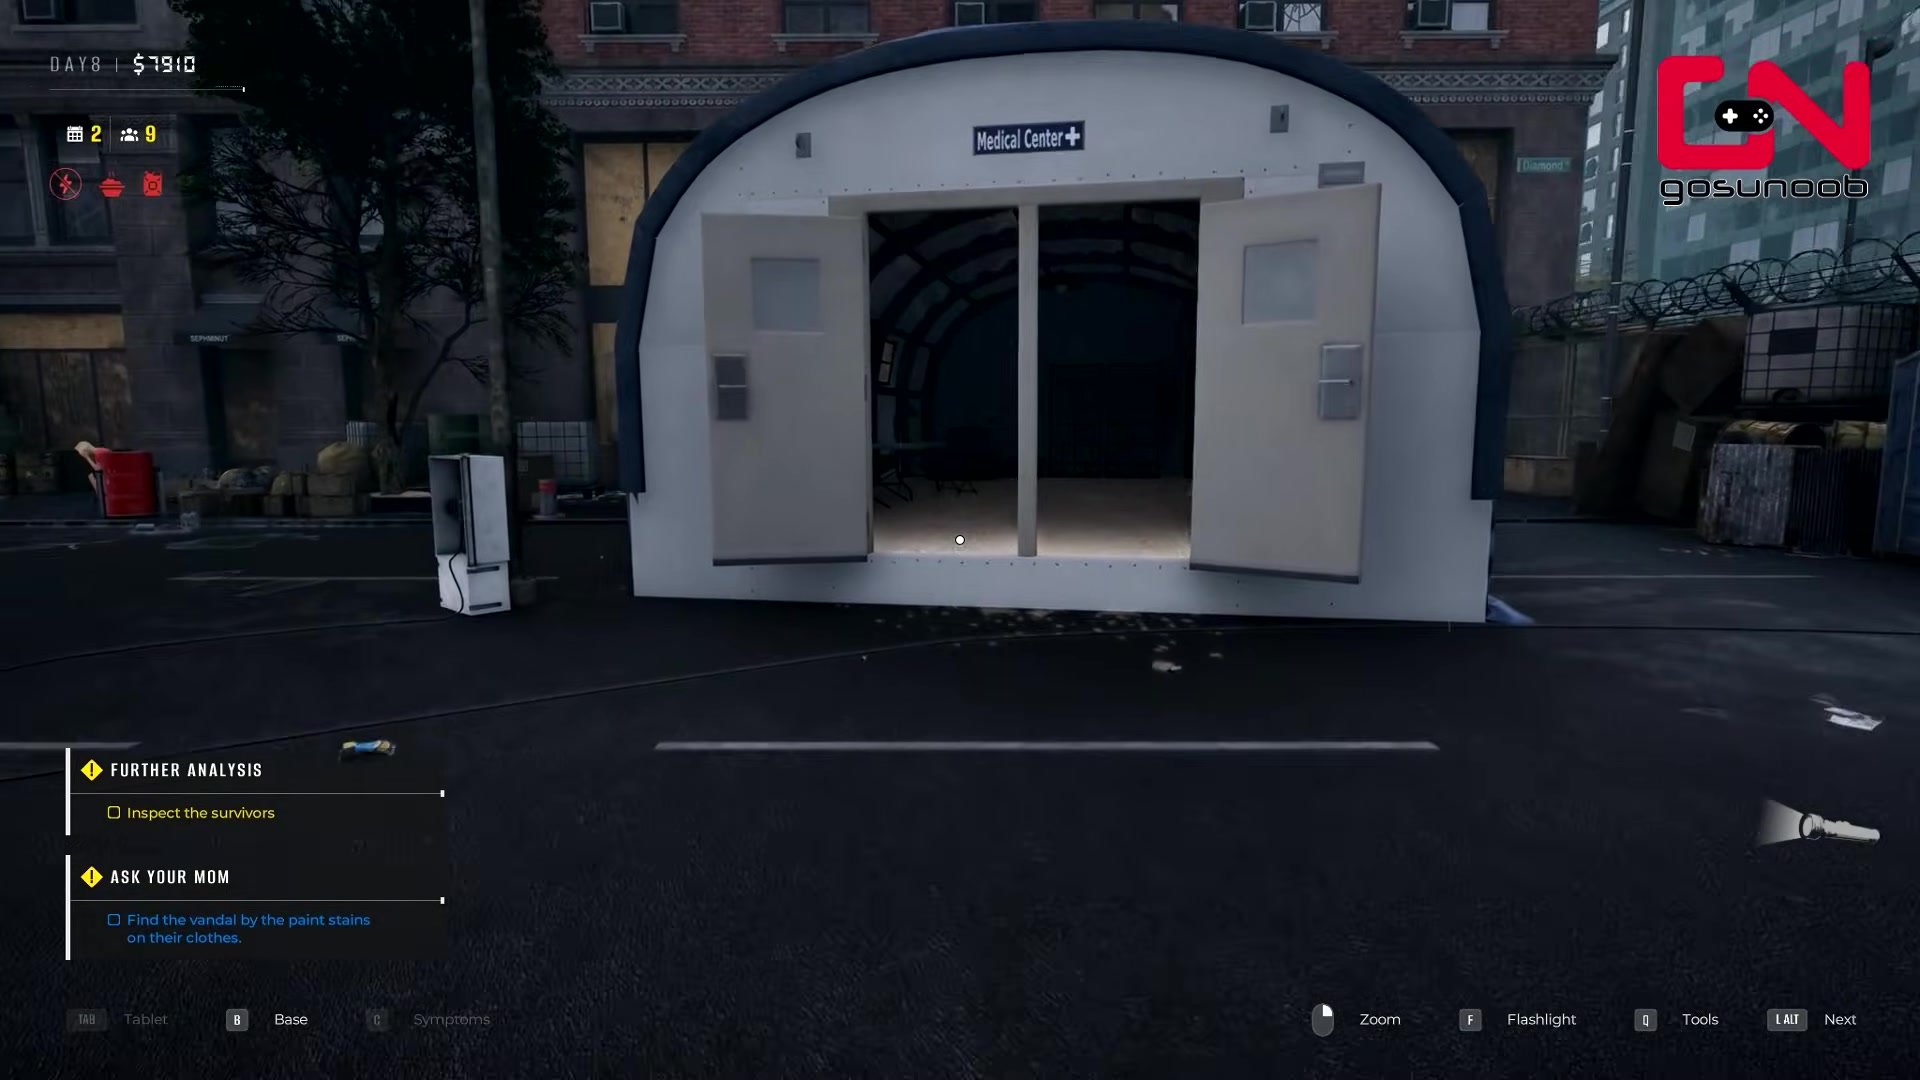
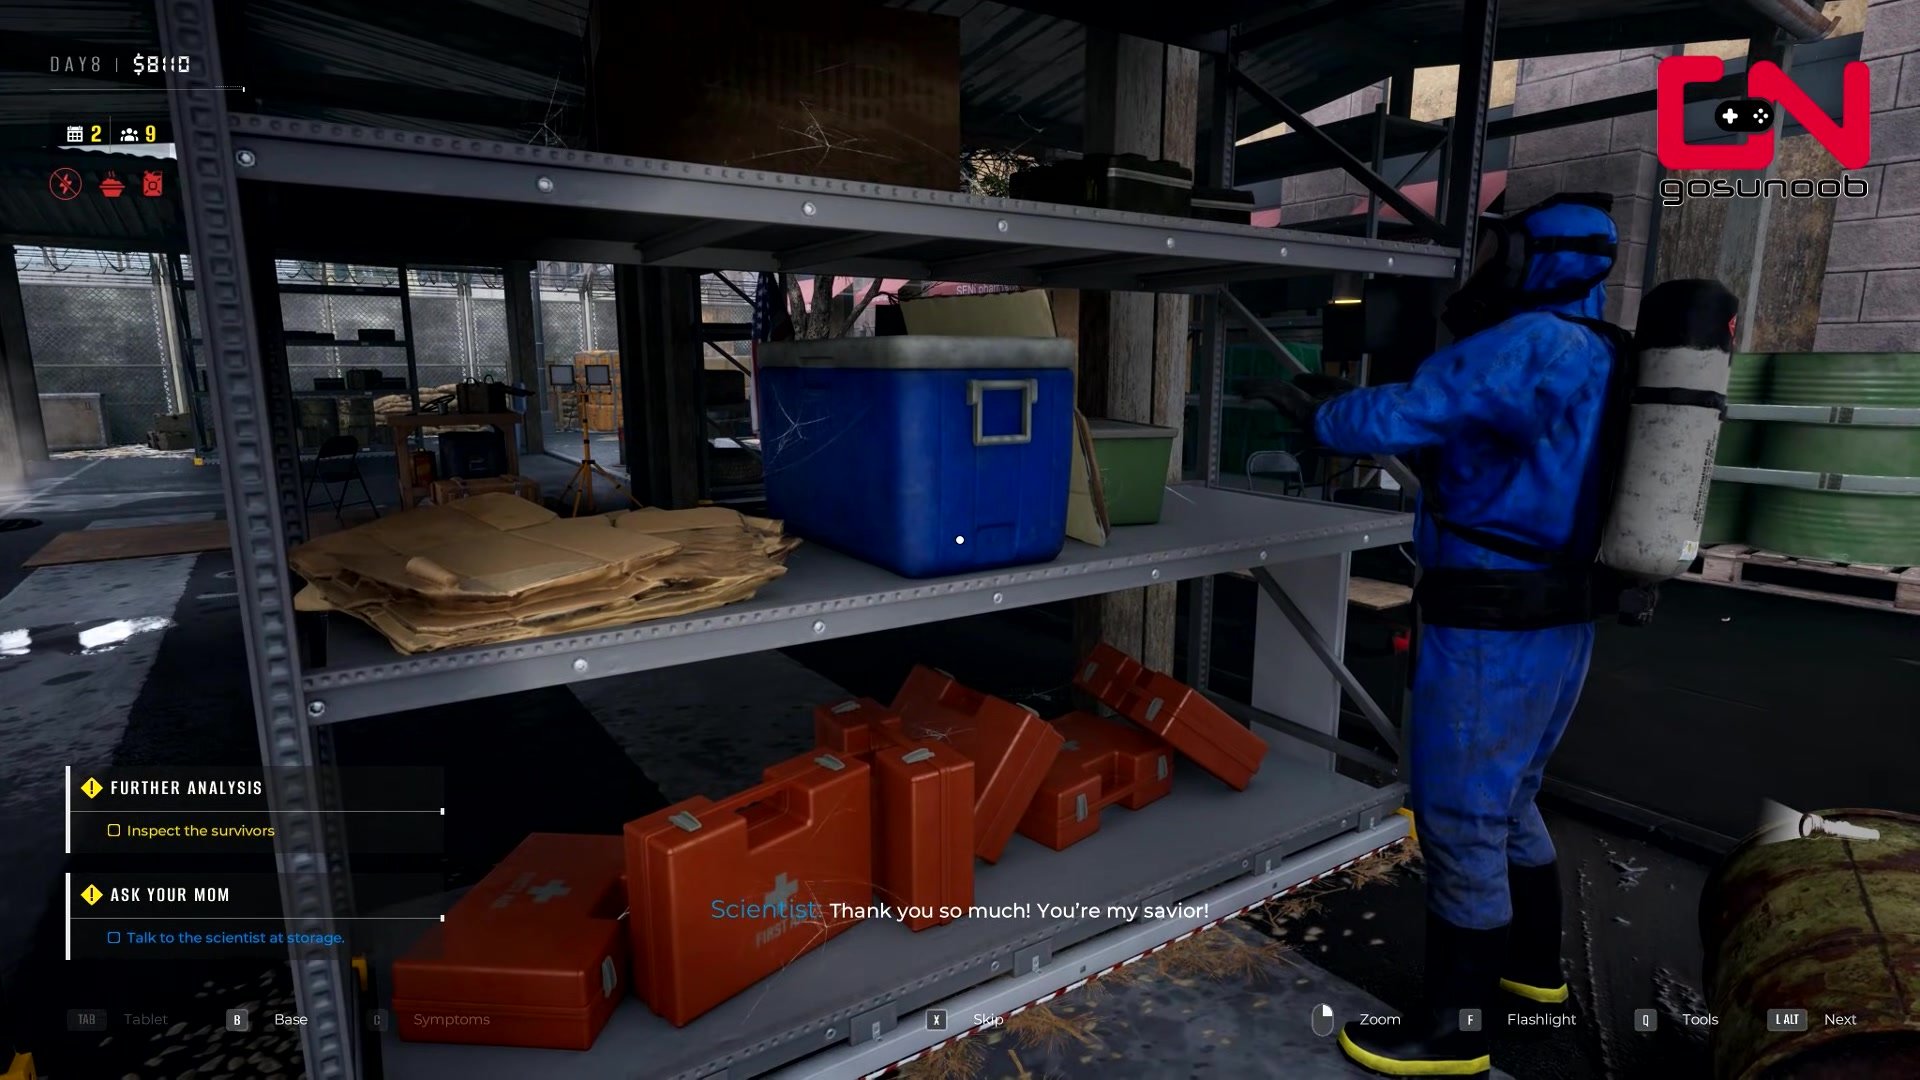
Step 9: Visit Storage and Speak to the Scientist
Action: Go to the storage area and find the scientist. He’ll reveal that he accidentally left the storage area unlocked, allowing someone to access paint that’s now being used for the graffiti.
Why it matters: This reveals the source of the paint and explains how the graffiti was possible. It also indicates that the culprit is someone in the camp with access to the storage area.
Expected outcome: The scientist will admit his mistake, and you’ll learn that the paint is detectable with a flashlight (it appears as red marks on clothing).
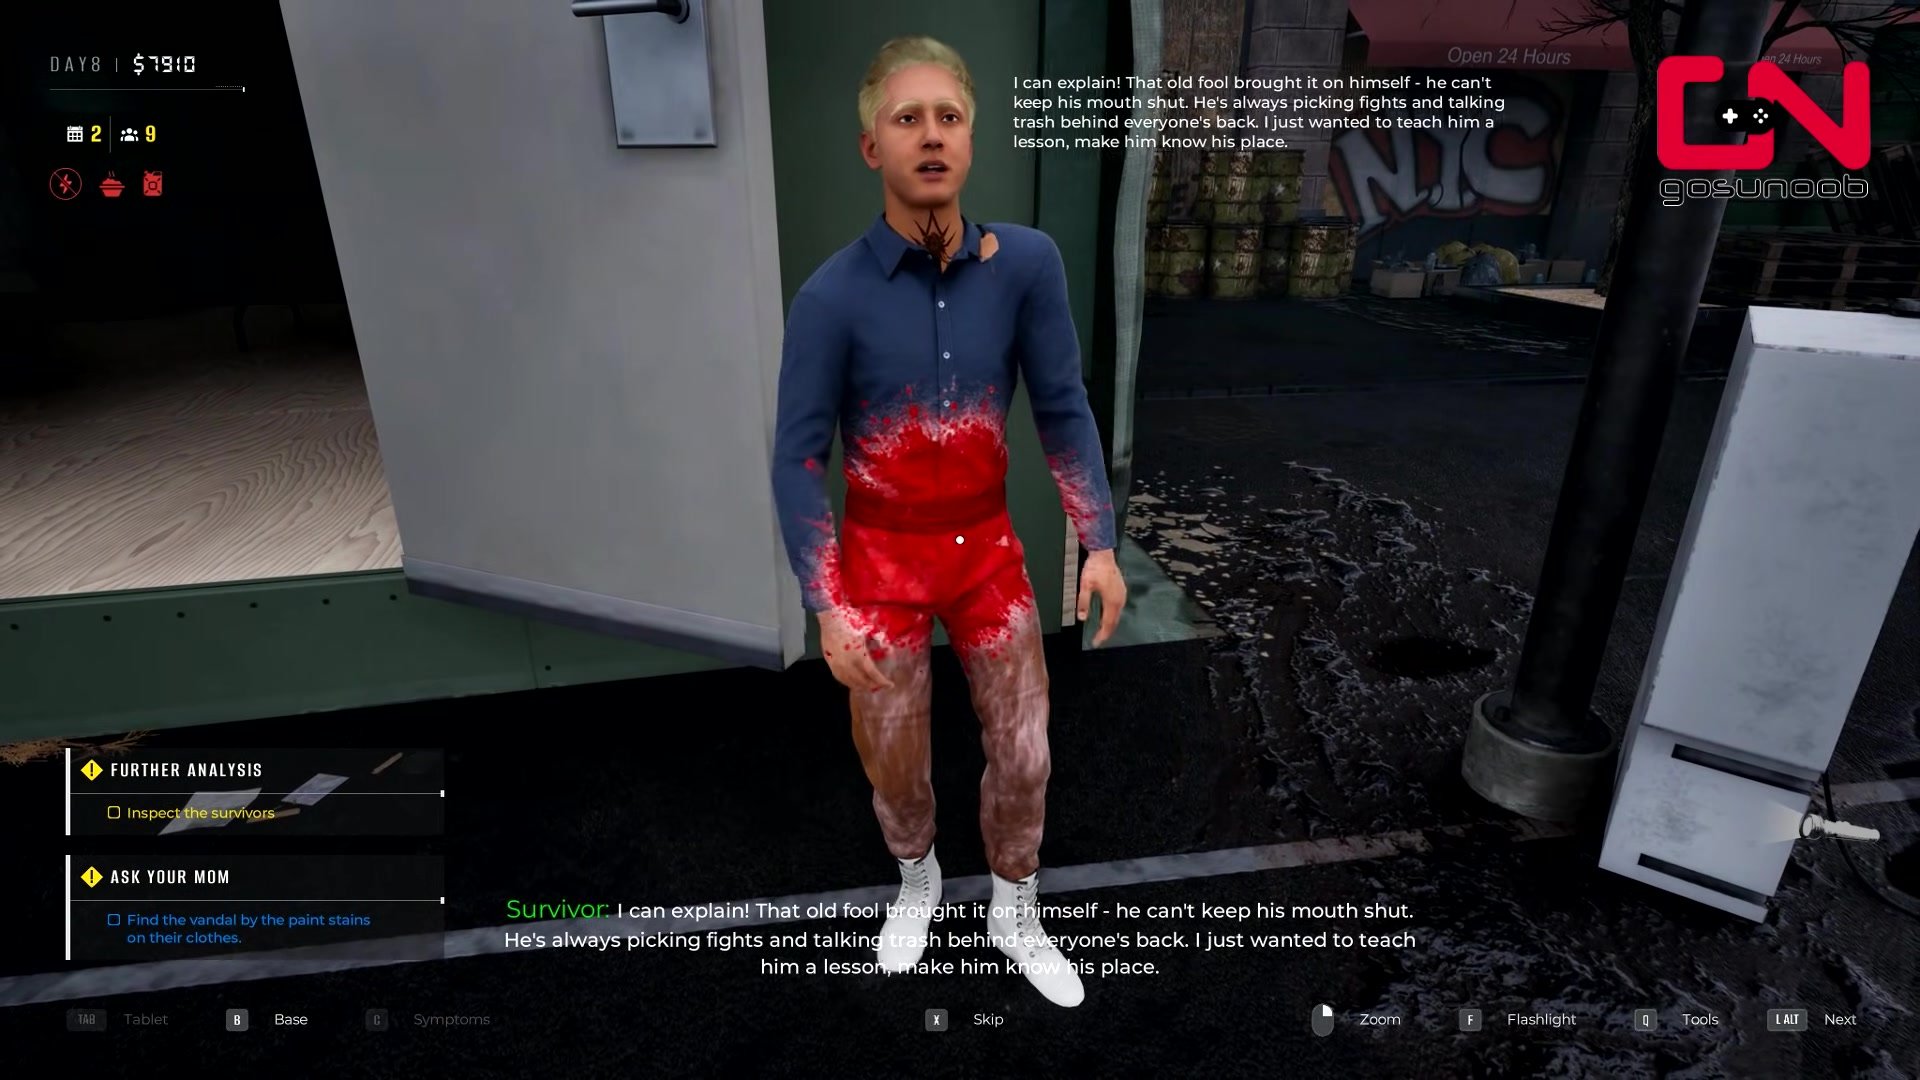
Step 10: Return to Living Quarters and Scan All Survivors
Action: Go back to the living quarters where survivors are gathered. Keep your flashlight on at all times and scan each survivor one by one. The culprit will have red paint on their shorts or trousers.
Why it matters: This is the identification phase. The culprit’s identity is randomized—it could be any survivor in the living quarters. The red paint is your tell.
Scanning technique: Approach each survivor and interact or examine them with the flashlight active. Look for red marks on their lower clothing.
Common mistake: Not keeping the flashlight on. Without it, the red paint won’t be visible, and you can’t identify the culprit.
Buggy Behavior: Sometimes the red paint doesn’t display properly. If you scan all survivors and don’t see the paint immediately, keep scanning. It should appear eventually. If it persists, try turning the flashlight off and back on.
Step 11: Choose Your Reward
Action: Once you’ve identified the culprit, you’ll have a choice: take cash from them or report them to the Major.
Option A – Take the Cash (Recommended): Pick up the $1,000 cash reward. Critical timing: You must pick up the money while inside the tent. If you leave the tent before collecting it, you can’t return to get it later.
Option B – Report Them: Leave the tent without taking the cash and report the culprit. You’ll receive $200 as your reward from the Major.
Why it matters: The cash difference is substantial ($1,000 vs. $200). Taking the cash is the optimal financial choice, but it requires you to remember to pick it up before exiting.
Biggest Mistake: Walking out of the tent without grabbing the cash. Once you leave, the money’s gone permanently. If you’re unsure, always grab it first, then exit.
Troubleshooting & Common Mistakes
- Can’t see footprints: Your flashlight is off. Turn it on immediately after interacting with each graffiti.
- Lost the footprint trail: Stop moving and look around carefully with your flashlight on. The prints are glowing and should be visible on the ground. Backtrack to the last graffiti location if needed.
- Can’t find the next graffiti: Make sure you’ve interacted with the previous graffiti. The game locks progression until you do. Retrace your steps and check for an interaction prompt.
- Red paint not showing on survivors: Keep your flashlight on and continue scanning. The visual sometimes glitches but will appear with persistence. Try turning the flashlight off and back on if needed.
- Missed the cash reward: If you exited the tent without picking it up, the money’s permanently lost. You can’t retrieve it. Plan ahead and grab it before leaving.
- Ape Crow not responding: Make sure you’ve interacted with all four graffiti locations first. He only responds after the Major sends you to investigate.
- Scientist not in storage: Storage is a specific camp location. If you can’t find the scientist, check that you’re in the correct area. He should be present once you’ve confronted Ape Crow.
- Survivors not appearing in living quarters: They gather there after you’ve completed the graffiti investigation. If the area is empty, progress through the earlier steps first.
Advanced Tips & Time Saves
- Pre-plan your route: Once you know the graffiti locations (sleeping quarters → lab → behind lab → guard tower → central area), you can move more efficiently by anticipating the next destination while following footprints.
- Flashlight management: Don’t turn off your flashlight between graffiti locations. Keep it on continuously to spot footprints and avoid backtracking.
- Survivor scanning shortcut: Scan survivors in a systematic pattern (e.g., left to right) rather than randomly. This reduces the chance of missing the culprit and speeds up identification.
- Container exploration (optional): The containers near Graffiti #3 are climbable but not required. Skip them if you’re rushing; they don’t affect quest completion or rewards.
FAQ
Q: Do I have to rescue Rob Low before starting this quest?
A: Yes. The “Ask Your Mom” quest (which is the graffiti quest) appears on Day 8, and you must rescue Rob Low on Day 7 to unlock it. Completing the Rob Low rescue is a prerequisite.
Q: Can I find graffiti without following footprints?
A: No. You can’t find the graffiti without following the footprints and activating each previous graffiti. They’re just not going to be available. The game locks progression until you interact with each one in sequence.
Q: Is the culprit always the same person?
A: No. The culprit is randomized each playthrough. It can be any of the survivors in the camp.
Q: What’s the difference between taking cash and reporting?
A: Taking cash rewards you $1,000 (if you pick it up from the tent before leaving). Reporting the culprit to the Major rewards $200. The cash option is significantly more lucrative.
Q: What happens if I leave the tent without picking up the cash?
A: The money’s permanently lost. You won’t be able to come back and get it. Always grab it before exiting.
Q: Do I need to be a specific level or have specific gear?
A: No. There are no level requirements, gear checks, or combat involved. This is a pure investigation quest.
Quick Reference Card (Screenshot This)
- Quest Name: Ask Your Mom (All Graffiti Quest)
- Quest Giver: The Major (Day 8)
- Prerequisite: Rescue survivor Rob Low on Day 7
- Graffiti Locations (in order):
- 1. Sleeping quarters (starting point)
- 2. Laboratory area
- 3. Behind laboratory (follow footprints past “Don’t Open Dead Inside” doors)
- 4. Guard tower (up from infected area)
- 5. Central area under lab sign
- Key Mechanic: Use flashlight to see footprints after each graffiti interaction. Footprints lead to next location.
- Investigation Phase: Talk to Ape Crow → Visit scientist in storage → Return to living quarters → Scan survivors for red paint on clothing
- Culprit Identification: Randomized. Look for red paint on survivor’s shorts/trousers with flashlight on.
- Reward Choice: Take $1,000 cash (pick up inside tent) OR report for $200
- CRITICAL: If taking cash, grab it from tent before leaving. You can’t return for it.
- Keep flashlight on at all times during footprint tracking and survivor scanning.
“`