
30-Second Quick-Start (TL;DR)
- Call the owner: Use numpad to dial 08609553 from your phone. Wait for the call to end naturally—don’t hang up early.
- Buy the car: Visit the seller during daylight hours at the map marker. Pay 500 MK for the Chorus Rivet.
- Transport home: Use the Kekmitt to haul the bare shell back to your house.
- Gather parts: Source missing components from Fleetari’s shop, the classifieds magazine (PSK), or NPCs. This is the longest phase.
- Build in sequence: Chassis → engine (on bench) → engine install → transmission → cooling/fuel → electrical → wheels → body → final checks.
- Final test: Verify battery charge, choke engagement, fuel, oil, coolant, spark plugs, and tire pressure before starting.
- Turn the key: If the engine starts and revs smoothly, you’ve completed one of My Winter Car’s toughest builds.
Biggest Mistake to Avoid: Hanging up the owner’s call early. If you do, the seller won’t spawn and you’ll have to dial again from scratch.
What This Guide Helps You Do
This guide walks you through acquiring and fully assembling the Chorus Rivet, My Winter Car’s premier project car that demands a deep, modular rebuild from a bare shell to a running vehicle. You’ll learn how to unlock the car, source every missing part, and execute a methodical build sequence that respects the game’s mechanical logic and winter conditions. This isn’t a quick task—expect a substantial time investment—but you’ll master My Winter Car’s most complex assembly challenge and end up with a fully functional classic car.
Best for: Players who’ve progressed past early game, have 500 MK available, and are ready to commit to a multi-phase project that tests planning, patience, and attention to detail.
Requirements & Prep
Before You Start
- 500 MK in your wallet – The non-negotiable purchase price for the Chorus Rivet.
- Access to a phone numpad – You’ll dial 08609553 to unlock the seller. Keyboard numpad is the standard input.
- Daytime availability – The seller only appears and sells during daylight hours. Plan your visit accordingly.
- The Kekmitt (tow truck) – Already in your garage; you’ll use it to haul the unpowered car home.
- A heated workspace – Ideally the parent’s house or a heated garage. Cold conditions make assembly harder and engine starts more difficult.
- Time and patience – This is a marathon build. Sourcing parts alone can consume hours of gameplay.
Optional but Helpful
- Pre-plan your target spec: Check the bin to see what engine block, cylinder head, and transmission options exist before committing. Some parts can’t be bought as spares, so your early decisions lock in your final build.
- Stock up on common fluids: Engine oil, coolant, and fuel are easier to acquire early and store in bulk.
- Winter tires: The roads are slippery. Have winter tires ready before your final test drive.
Pro Tip: The classifieds magazine is your lifeline for used parts. Many components only appear there, and you’ll need to call sellers via numpad and wait them out. Plan to check classifieds regularly and allow 2 days for PSK delivery after receiving a post notice.
Route Overview
The Chorus Rivet build unfolds in five distinct phases, each with its own rhythm and challenge.
Phase 1: Unlock and Acquire – Call the owner using your numpad (08609553), wait for the call to complete, drive to the marked location during daylight, and buy the bare shell for 500 MK. Transport it home via Kekmitt.
Phase 2: Parts Sourcing – This is the longest and most grinding phase. You’ll scour Fleetari’s shop, the classifieds magazine, and NPCs for every missing component. Some parts (engine block, cylinder head, steering column) are unique and can’t be replaced, so your early choices determine your final spec.
Phase 3: Modular Assembly – Follow a strict sequence: chassis and suspension first, then build the engine on a workbench before lowering it into the car, install the transmission and drivetrain, add cooling and fuel systems, wire the electrical system, mount wheels, and finish the body.
Phase 4: Integration and Testing – Verify all bolts, fluid levels, battery charge, and connections. Check that lights, wipers, and brakes function.
Phase 5: Cold Start – Ensure the choke is engaged, clutch is pressed, and all fluids are topped off. Turn the key. If the engine starts, revs, and the heater clears the windows, you’ve succeeded.
Step-by-Step Walkthrough
Step 1: Dial the Owner and Unlock the Seller
Why it matters: This is your only path to acquiring the Chorus Rivet. The call must complete fully; interrupting it prevents the seller from spawning.
How to do it:
- Open your phone and navigate to the numpad.
- Dial 08609553 using the keyboard numpad.
- Don’t hang up. Wait until the owner finishes speaking and the call ends on its own.
- Once the call disconnects, a map marker will appear on your screen indicating the seller’s location.
Common mistake: Hanging up early because you think the call is over. The owner will keep talking; if you cut him off, the marker won’t spawn and you’ll have to dial again.
Warning: If the marker doesn’t appear, you hung up too early. Repeat the entire call sequence.
Step 2: Drive to the Seller During Daylight
Why it matters: The seller only conducts business during daylight hours. If you arrive at night, he won’t be there and you can’t buy the car.
How to do it:
- Check the in-game time and ensure it’s daylight.
- Drive to the map marker that appeared after your call.
- Approach the seller and wait for him to finish talking.
- Once he’s done, you can proceed to purchase.
Common mistake: Arriving at night and finding no seller. Plan your call and drive during the game’s daylight window.
Step 3: Purchase the Chorus Rivet for 500 MK
Why it matters: This is the point of no return. You’re committing 500 MK and beginning the build project.
How to do it:
- Interact with the seller after he finishes speaking.
- Confirm the purchase of the Chorus Rivet for 500 MK.
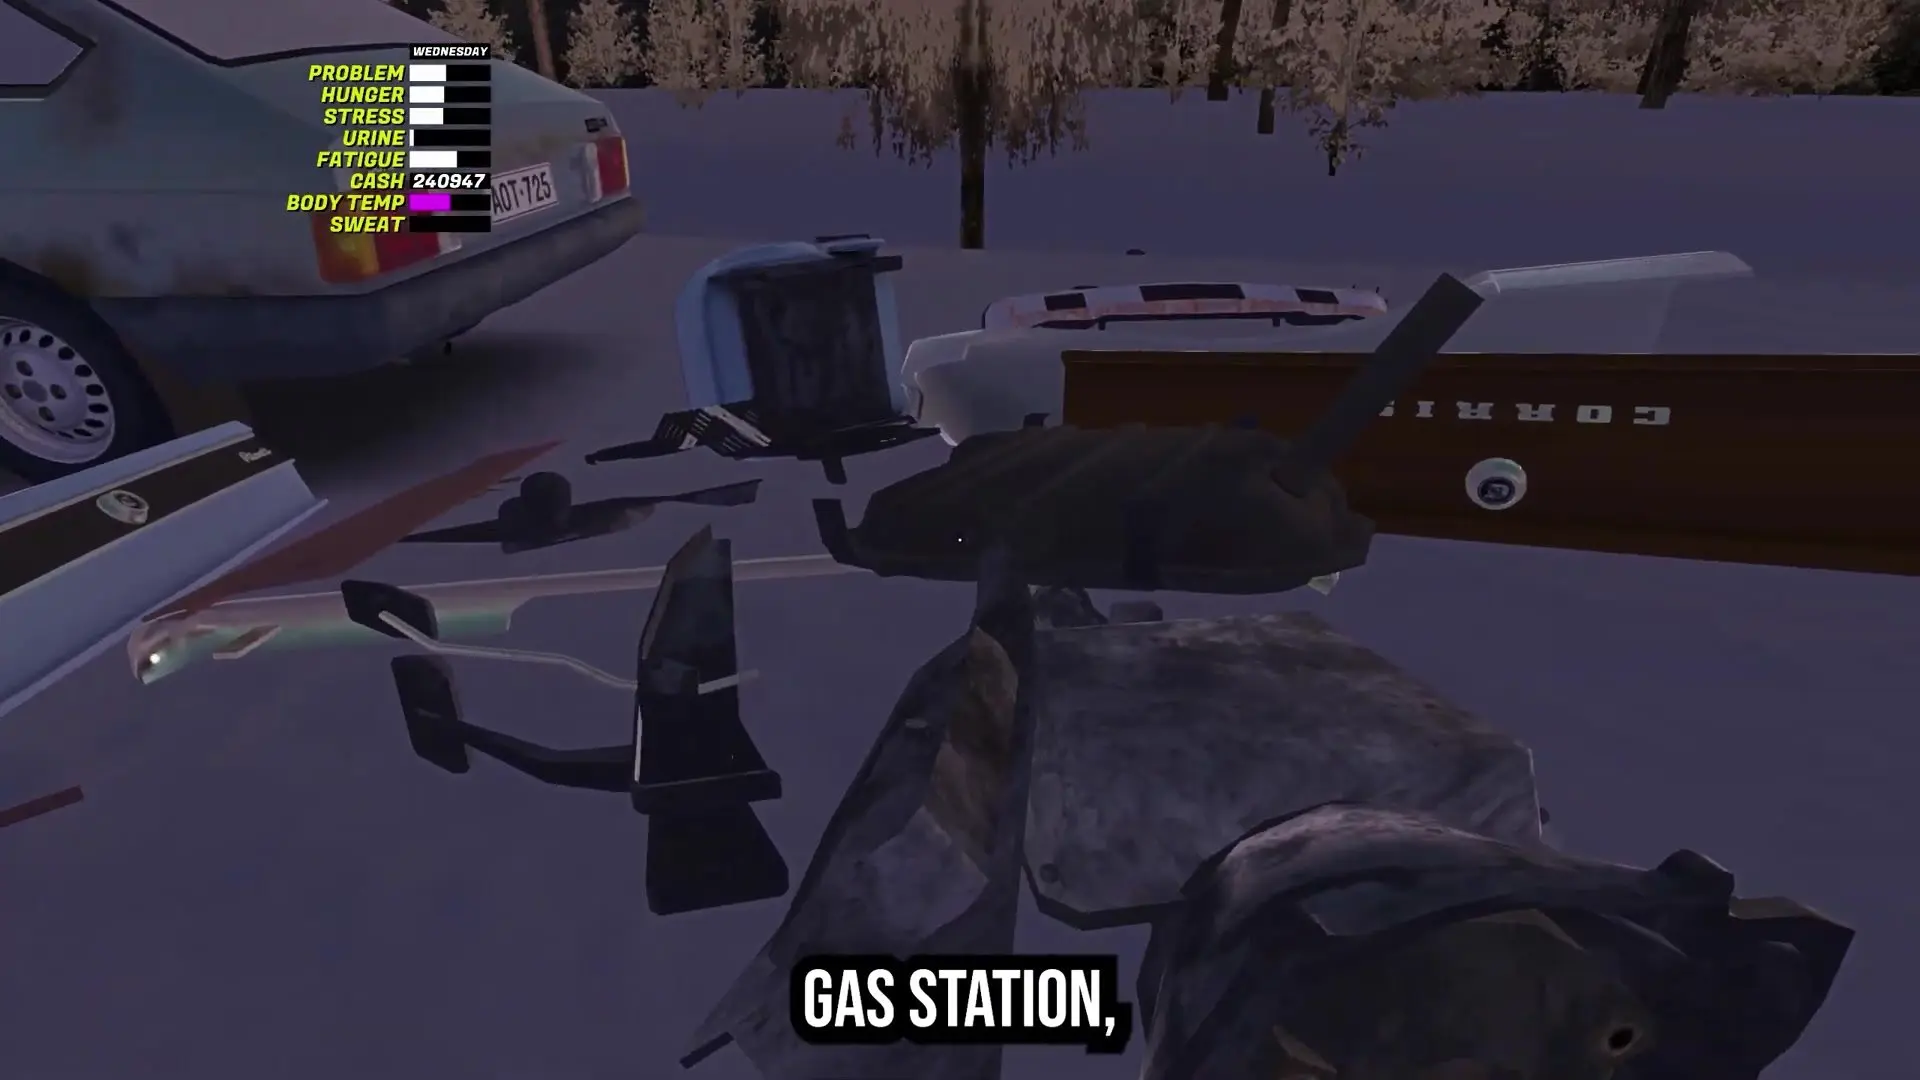
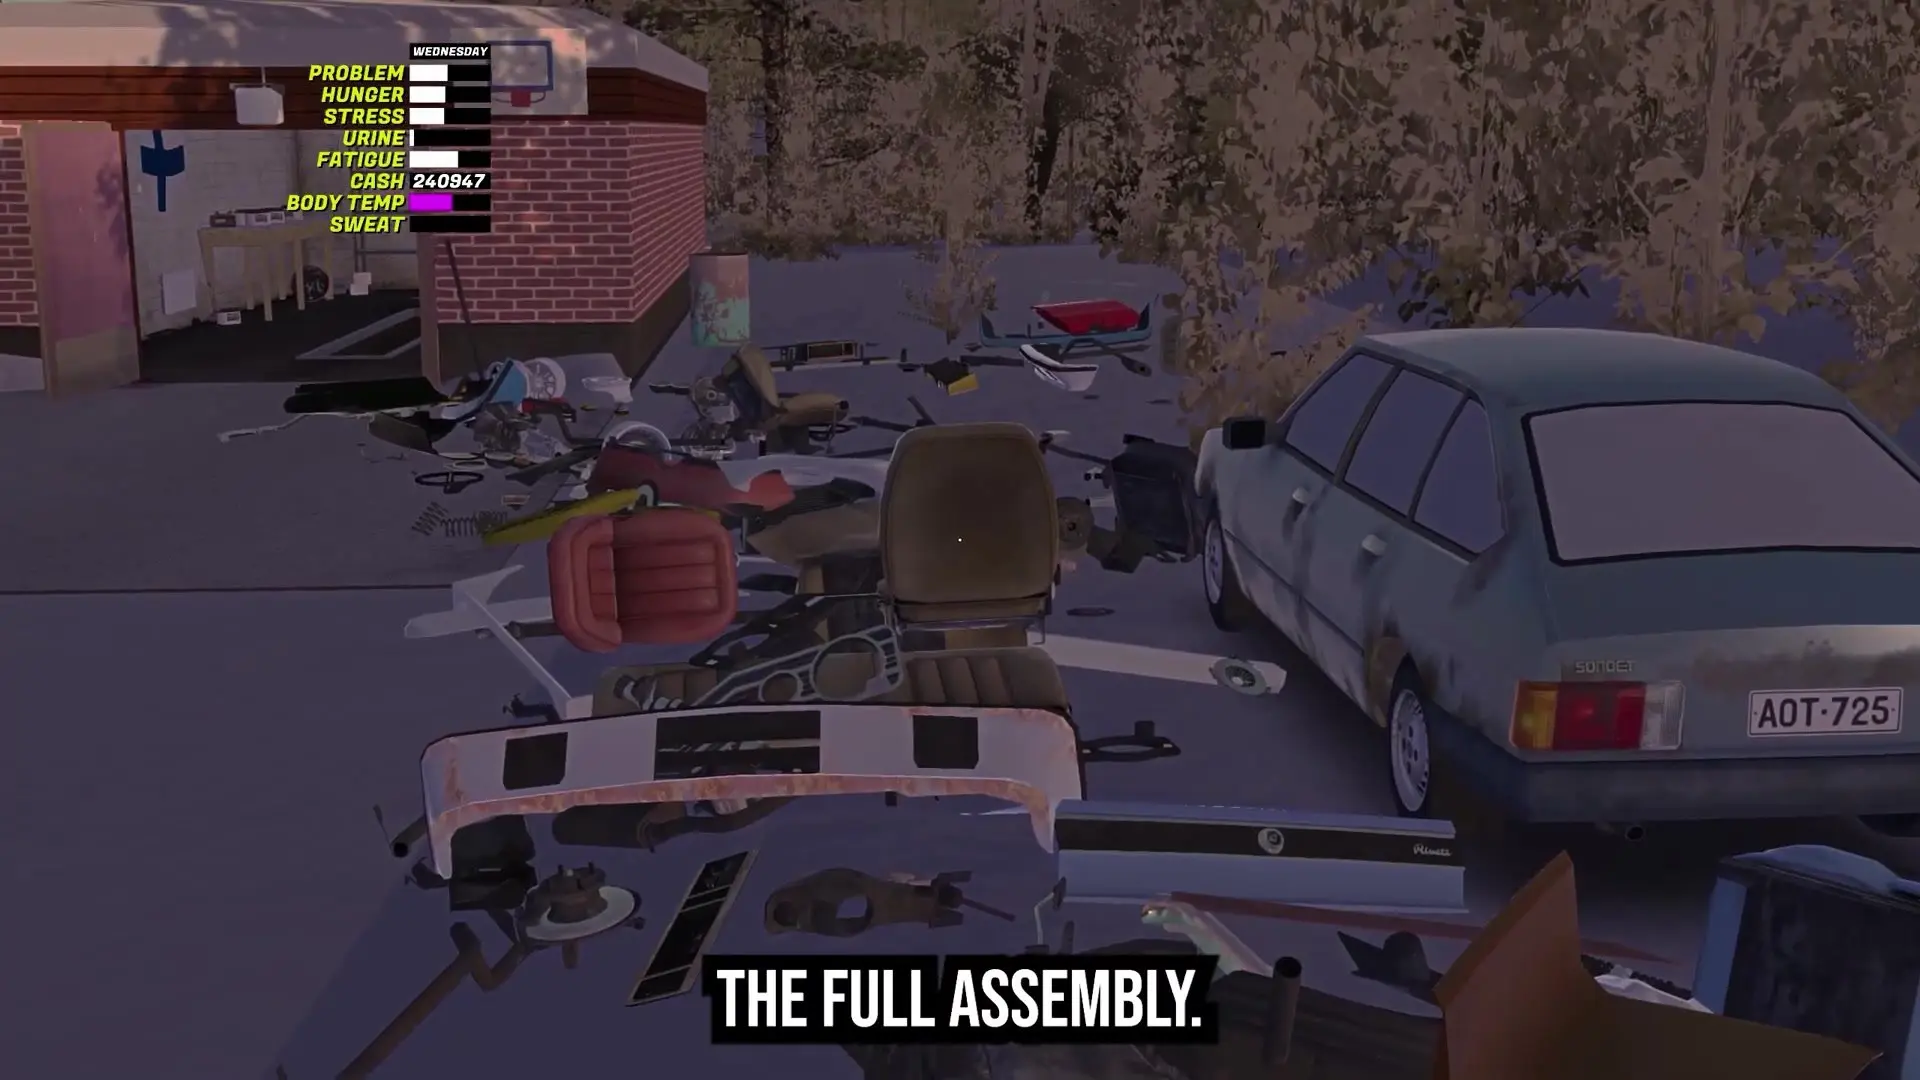
- The car is now yours, but it’s not drivable. You’ll receive a bare shell with roughly 10–12 random loose parts.
Common mistake: Not having 500 MK available. Check your wallet before driving to the seller.
Step 4: Transport the Car Home via Kekmitt
Why it matters: The Chorus Rivet can’t be driven. The Kekmitt is your only way to move it to your workspace.
How to do it:
- Drive the Kekmitt (your tow truck) to the seller’s location.
- Load the Chorus Rivet onto the Kekmitt.
- Drive home and unload the car at your house.
- The car is now officially unlocked and ready for assembly.
Common mistake: Trying to push or drive the car yourself. It won’t move under its own power; use the Kekmitt.
Step 5: Source All Missing Parts (The Grind)
Why it matters: This phase determines the timeline and difficulty of your entire build. Missing parts are your bottleneck.
Where to find parts:
- Fleetari’s shop: Your primary source for new and common parts. Visit regularly.
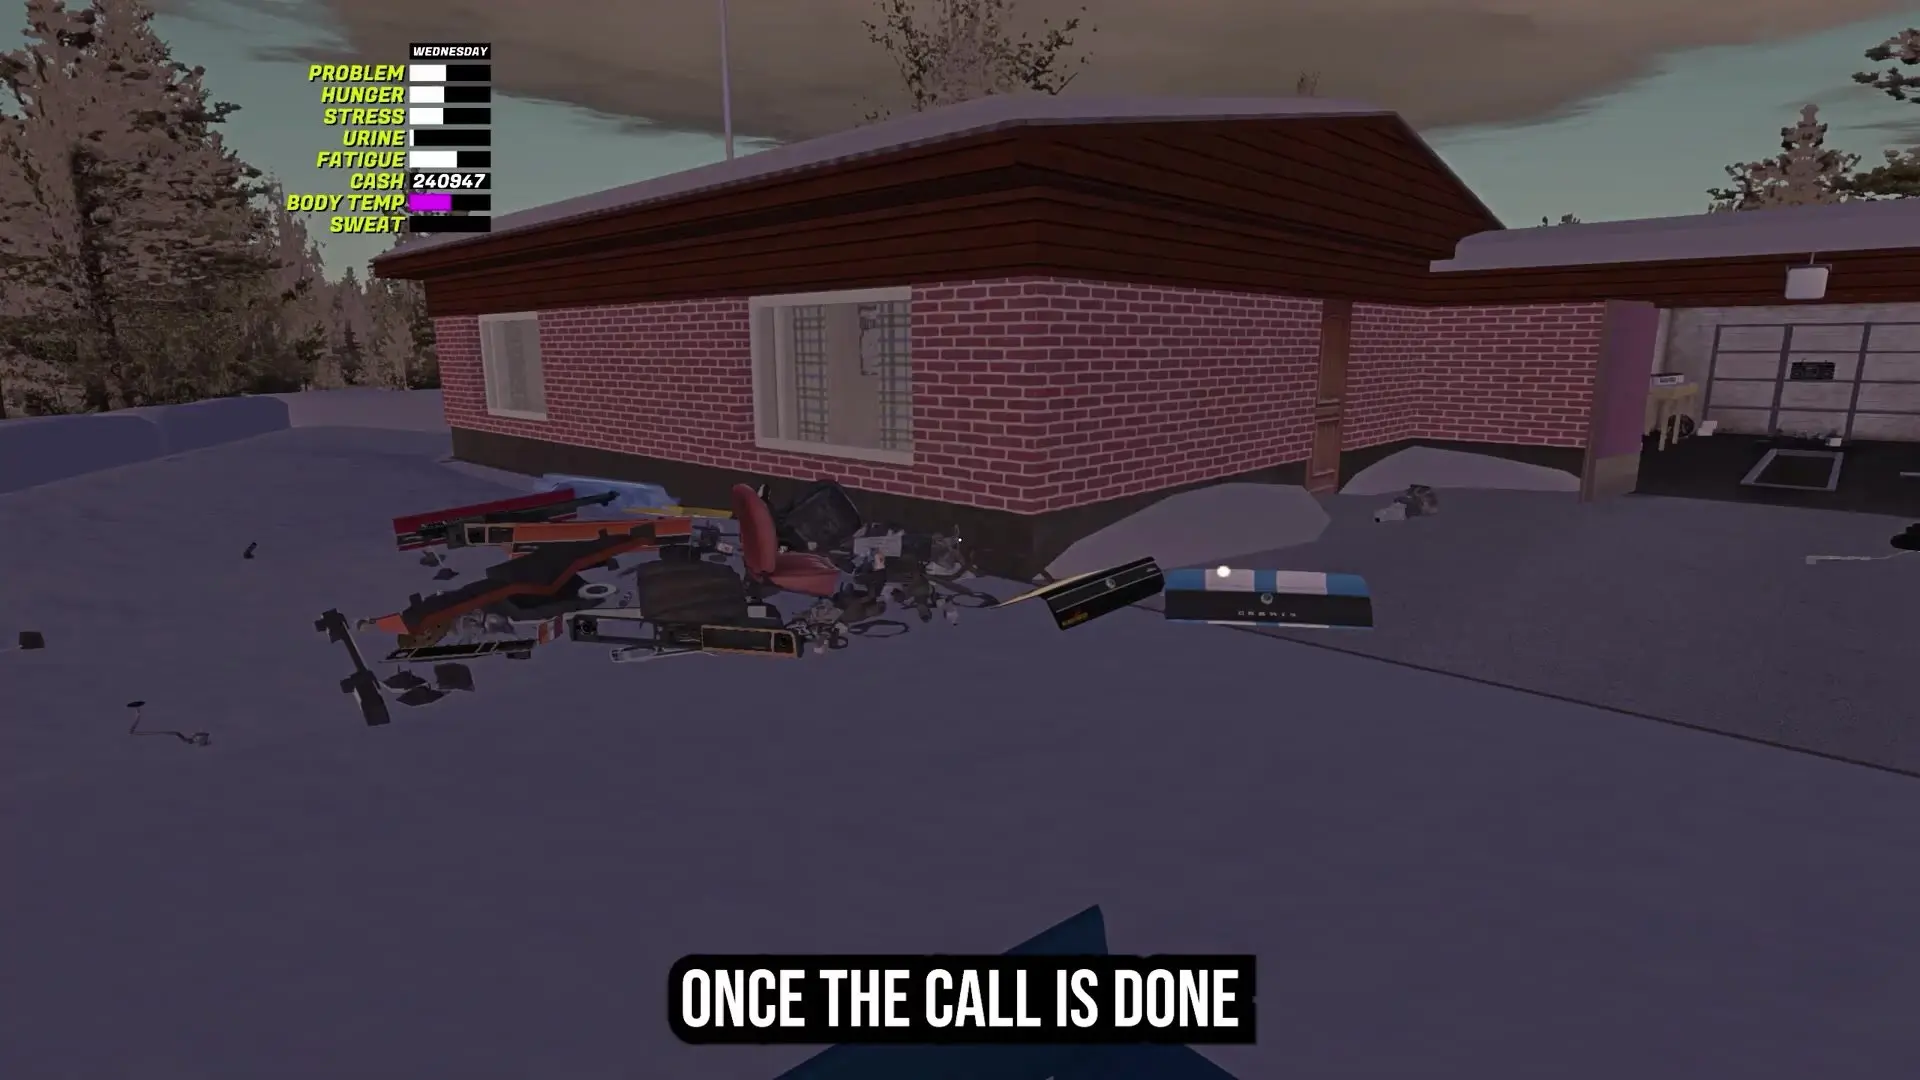
- Classifieds magazine (PSK): Many used parts only appear here. You’ll need to call the seller using the numpad, wait for them to finish speaking, and then pick up the parts from PSK 2 days later after receiving a post notice.
- NPCs: Some parts can be purchased directly from NPCs, though this is less common.
Critical planning step: Before you start gathering parts, check the bin to see what engine block, cylinder head, and transmission options are available. These unique parts can’t be bought as spares; your choice here locks in your final build spec (2.0L inline four-cylinder engine, four-speed manual, five-speed manual, or three-speed automatic transmission).
Common mistake: Buying parts without a plan and then realizing you’ve locked yourself into an incompatible configuration. Decide your target spec first.
Pro Tip: The classifieds magazine is essential. Check it frequently, and allow 2 days of in-game time for PSK delivery. Stock up on multiple used parts when they appear—you may not see them again.
Step 6: Begin Assembly – Chassis and Suspension
Why it matters: A solid foundation prevents issues downstream. Suspension and steering must be correct before the engine goes in.
Assembly sequence:
- Install the front suspension.
- Install the rear axle and Ferlink rear suspension setup.
- Install coil springs.
- Install the steering column.
- Install the steering rack.
- Install steering rods.
- Install all brake components (rotors, pads, lines, master cylinder).
Common mistake: Rushing this phase. Take time to verify each component is seated and bolted correctly. Loose suspension will cause handling problems later.
Step 7: Build the Engine on the Workbench
Why it matters: Assembling the engine outside the car gives you space and prevents costly mistakes. The engine is the heart of the build; any error here cascades.
Assembly sequence:
- Start with the engine block (2.0L inline four-cylinder).
- Install the crankshaft.
- Install connecting rods.
- Install pistons.
- Install the oil pump.
- Install the cylinder head.
- Install the timing belt.
- Install the camshaft.
- Install cam followers.
- Install the alternator.
- Install the starter motor.
- Install the water pump.
- Install the carburetor.
- Install the exhaust manifold.
Common mistake: Installing components out of order or forgetting the timing belt. Follow the sequence strictly. The timing belt is critical; a missed step here will cause the engine to fail.
Warning: Work in a heated area if possible. Cold conditions make assembly harder and can cause parts to bind or crack.
Step 8: Lower the Engine Into the Car and Bolt It Down
Why it matters: This is the moment your project becomes a real car. Secure mounting is non-negotiable.
How to do it:
- Use a hoist or jack to carefully lower the completed engine into the engine bay.
- Align the engine with the mounting points.
- Bolt the engine to the mounts. Make sure all bolts are tight.
Common mistake: Rushing the lowering process and misaligning the engine. Take your time; a crooked engine will cause vibration and may damage components.
Step 9: Install the Transmission and Drivetrain
Why it matters: Your transmission choice (four-speed manual, five-speed manual, or three-speed automatic) determines how the car drives and what power output you achieve (approximately 98 horsepower at 5,500 RPM).
Assembly sequence:
- Choose your transmission based on your target spec.
- Install the clutch (if manual).
- Attach the transmission to the engine.
- Install the drive shaft.
- Connect the exhaust system.
Common mistake: Not checking that the clutch is properly seated before bolting the transmission. A misaligned clutch will cause grinding or slipping.
Step 10: Install Cooling and Fuel Systems
Why it matters: Without cooling and fuel, the engine won’t run. These systems must be leak-free and properly pressurized.
Assembly sequence:
- Install the fuel tank.
- Install fuel lines and connect them to the tank.
- Install the fuel filter.
- Install the radiator.
- Install the fan belt.
- Fill the radiator with coolant.
- Check for leaks in both systems.
Common mistake: Forgetting to check for leaks. Run the engine briefly and inspect under the car for drips before a full test drive.
Step 11: Wire the Electrical System
Why it matters: Without proper wiring, the engine won’t start and lights won’t function. This is detail-heavy but critical.
Assembly sequence:
- Install the battery.
- Wire the alternator to the battery.
- Wire the starter motor to the battery.
- Install the fuse box.
- Connect headlights and tail lights.
- Connect indicator lights.
- Wire all switches (ignition, wipers, etc.).
- Verify all circuits with a multimeter if available.
Common mistake: Reversing positive and negative battery terminals. Double-check polarity before connecting anything.
Pro Tip: Take a photo of your wiring before covering it up. It’s a lifesaver if you need to troubleshoot later.
Step 12: Mount Wheels and Install Tires
Why it matters: The Chorus Rivet sits on heavy, low-revving suspension. Proper tire choice is essential for winter driving.
Assembly sequence:
- Choose your wheel type based on availability and aesthetics.
- Install brake rotors on the hubs.
- Mount the wheels.
- Install winter tires (highly recommended due to slippery roads).
- Check tire pressure and torque all lug nuts.
Common mistake: Using summer or all-season tires in winter. Winter tires are a must for this build; they provide grip on icy roads.
Step 13: Finish the Body
Why it matters: The body is the final layer. It protects you and makes the car feel complete.
Assembly sequence:
- Install doors.
- Install the hood.
- Install the trunk lid.
- Install fenders.
- Install seats.
- Install bumpers (front and rear).
- Install the dashboard.
- Install interior panels.
- Install the steering wheel.
Common mistake: Installing the steering wheel before the dashboard. Follow the sequence to avoid interference.
Step 14: Final Checks Before Starting
Why it matters: This is your last chance to catch problems. A missed bolt or empty fuel tank will prevent a successful start.
Verification checklist:
- Battery: Fully charged and terminals are clean and tight.
- Choke: Engaged (if the engine is cold, the choke is essential for starting).
- Clutch pedal: Pressed in fully before turning the key (manual transmissions require this).
- Engine oil: Filled to the correct level.
- Coolant: Radiator is full.
- Fuel: Tank has gas.
- Spark plugs: Installed and gapped correctly.
- Wipers: Attached and functional.
- Tires: Properly inflated and winter tires installed.
- All bolts: Torqued to spec; nothing is loose.
- Brake system: Pedal is firm; no leaks.
Common mistake: Forgetting to engage the choke on a cold start. The engine will crank but won’t fire.
Step 15: Turn the Key and Test
Why it matters: This is the moment of truth. If the engine starts, you’ve completed one of My Winter Car’s toughest builds.
How to do it:
- Ensure the parking brake is set.
- Press the clutch pedal fully (if manual).
- Turn the ignition key.
- Listen for the starter to engage and the engine to fire.
- If it starts, let it idle for a moment.
- Check that the heater and blower clear the windows (a sign that all systems are functional).
- Rev the engine gently and listen for smooth operation.
If the engine doesn’t start: Check battery voltage, fuel pressure, spark plug firing, and compression. These are the most common culprits.
Common mistake: Revving the engine hard immediately after start. Let it warm up for a minute first.

Builds & Loadouts
The Chorus Rivet Spec
The Chorus Rivet is based loosely on the Ford Thomas TC and comes with a fixed engine (2.0L inline four-cylinder) that produces approximately 98 horsepower at 5,500 RPM. The car features a heavy body, low-revving nature, and solid torque output—making it feel very different from lighter project cars.
Transmission Options
You can choose one of three transmissions, each with different handling and performance characteristics:
- Four-speed manual: Classic, direct engagement. Fewer gears but simpler to maintain.
- Five-speed manual: More gear ratios, smoother acceleration curve. Slightly more complex.
- Three-speed automatic: Easiest to drive. No clutch pedal; shifts automatically.
Likely based on context: The five-speed manual is often the recommended balance between traditional feel and modern drivability, though the transcript doesn’t explicitly state a preference.
Suspension and Steering
- Rear suspension: Ferlink setup (a period-appropriate independent rear suspension).
- Front suspension: Standard coil-spring design (assembled as part of the chassis phase).
- Steering: Rack-and-pinion via steering column, rack, and rods.
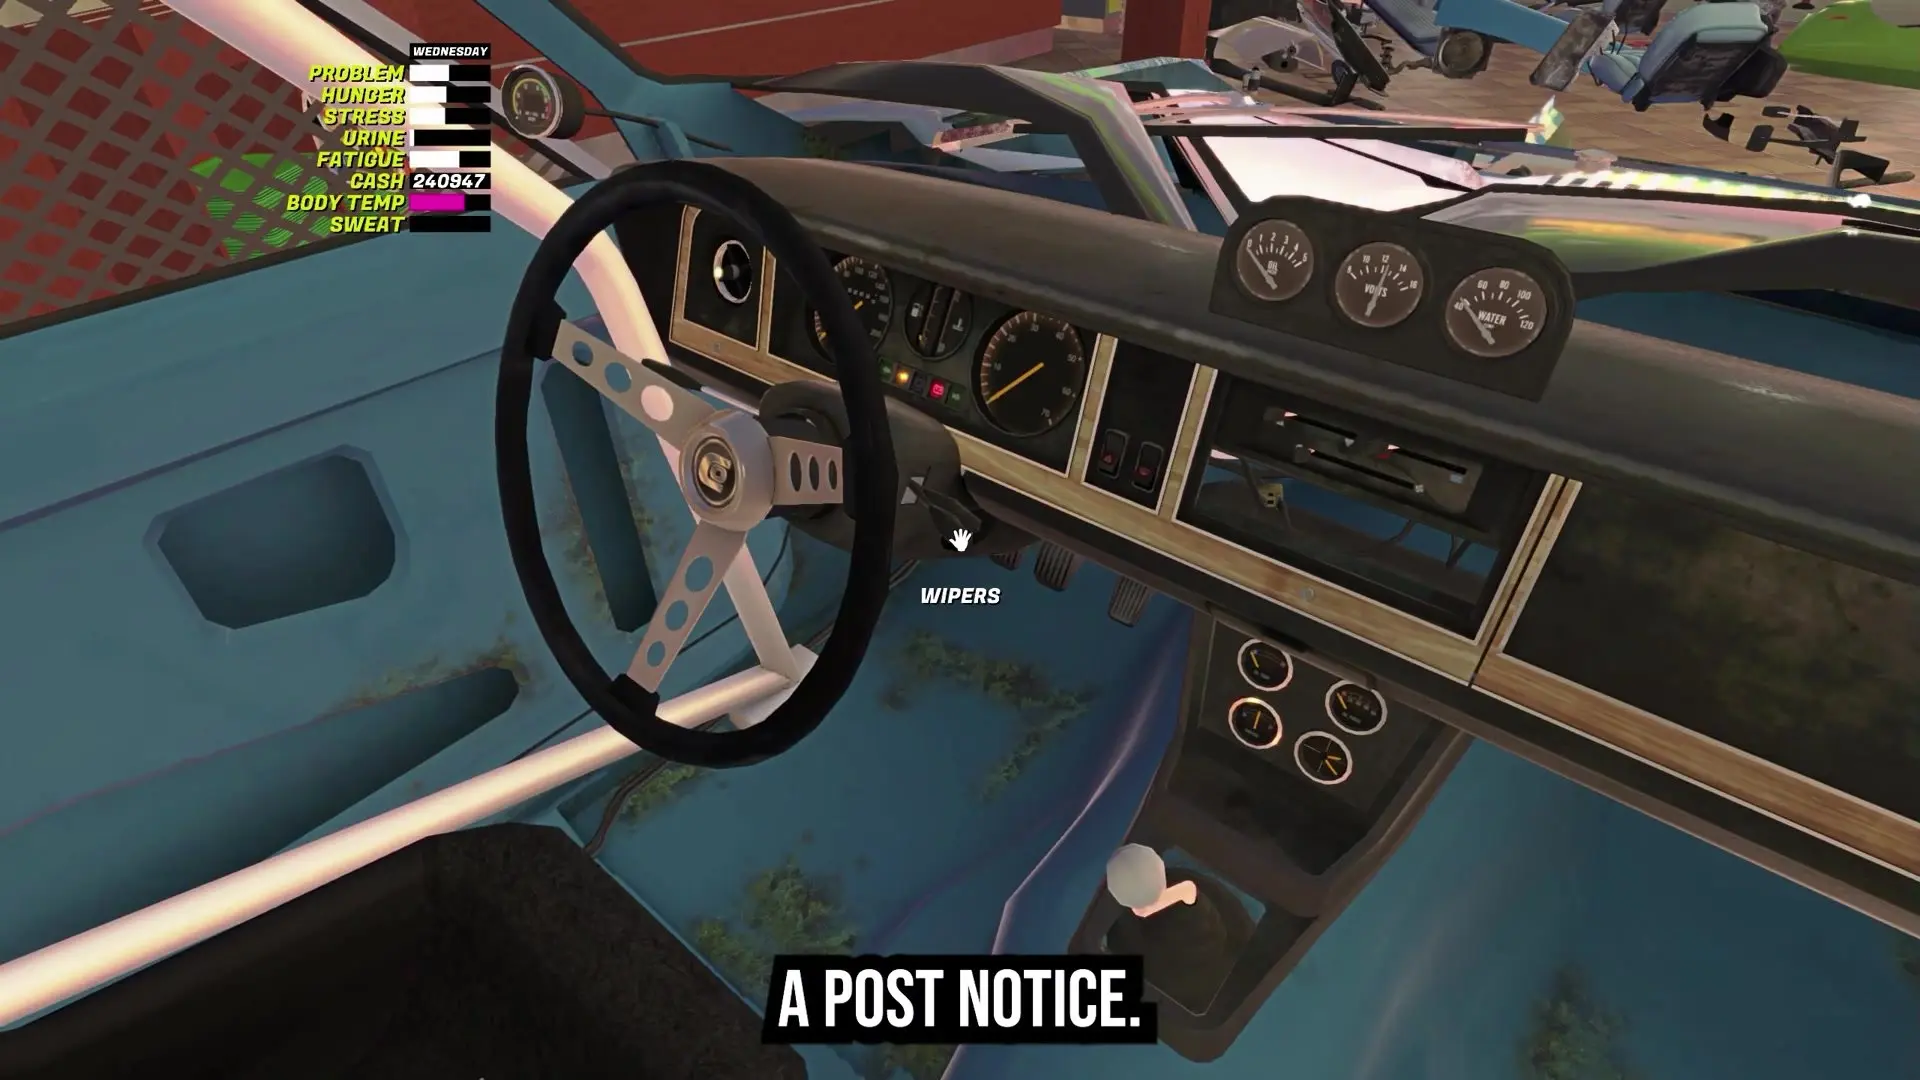
Gauge and Interior Options
Depending on the trim you acquire, your dashboard may include:
- Fuel gauge and temperature gauge.
- A clock.
- A tachometer (reading up to 7,000 RPM).
- A speedometer (reading up to 220 km/h).
Note: The transcript doesn’t specify how to choose these options; they appear to be determined by the specific car shell you acquire.
Troubleshooting & Common Mistakes
- Seller doesn’t appear: You hung up the call early. The owner must finish speaking and the call must end on its own. Dial 08609553 again and wait the full duration.
- Seller isn’t at the location during daylight: You arrived at night. Check the in-game time and return during daylight hours.
- Engine won’t start: Verify the battery is charged, the choke is engaged (if cold), fuel is in the tank, spark plugs are installed, and the clutch is pressed (if manual). Check for spark at the plugs and fuel pressure at the carb.
- Engine cranks but doesn’t fire: Likely a fuel or ignition problem. Check that the carburetor is primed and the alternator is wired correctly to the ignition system.
- Transmission grinds or won’t shift: The clutch may not be fully seated or the transmission may be misaligned with the engine. Verify the clutch disk is centered and the transmission bolts are tight.
- Brakes feel soft or spongy: Air in the brake lines. Bleed the brakes by opening the bleeder valves at each wheel and pumping the pedal until fluid runs clear.
- Coolant leaks: Check all hose clamps and radiator connections. Tighten or replace as needed. Refill the radiator and retest.
- Electrical gremlins (lights won’t turn on, starter won’t engage): Trace the wiring from the battery to the component in question. Look for loose connections, corroded terminals, or reversed polarity.

Advanced Tips & Time Saves
Pre-Plan Your Spec
Before you buy a single part, visit the bin and check what engine blocks, cylinder heads, and transmissions are available. This single decision will save you hours of grinding. Some parts can’t be replaced once chosen, so lock in your target spec early.
Classifieds Magazine Workflow
The classifieds magazine is your most valuable resource for rare used parts. Call sellers as soon as they appear, then check your mailbox 2 days later. Many used parts only show up once or twice; don’t miss them.
Work in a Heated Space
Cold conditions make assembly harder and engine starts more difficult. The parent’s house or a heated garage is ideal. Winter roads are slippery, so winter tires are non-negotiable for your first test drive.
Batch Your Assembly
Build the engine fully on the workbench before lowering it into the car. This prevents mistakes and gives you space to work. Once it’s in the bay, you’re committed.
Document Your Wiring
Take a photo of your electrical connections before covering them. If something fails later, you’ll have a reference.
FAQ
Q: What happens if I hang up the owner’s call early?
A: The map marker won’t appear and the seller won’t spawn. You’ll have to dial the owner again (08609553) and wait for the full call to complete.
Q: Can I buy the Chorus Rivet at night?
A: No. The seller only appears and sells during daylight hours. Plan your visit accordingly.
Q: Are some parts truly irreplaceable?
A: Yes. The engine block, cylinder head, and steering column can’t be bought as spares. Your early choice of these components locks in your final build. Check the bin first and decide your target spec before committing.
Q: How long does the entire build take?
A: The transcript doesn’t specify a total time, but it emphasizes that this is “not a quick job” and describes parts sourcing as “one of the hardest parts of the rivet build.” Expect several hours of gameplay, with parts sourcing being the longest phase.
Q: What transmission should I choose?
A: The transcript lists three options (four-speed manual, five-speed manual, and three-speed automatic) but doesn’t recommend one over the others. Choose based on your preference: manual for classic feel, automatic for ease of driving.
Q: What do I do if the engine won’t start after assembly?
A: Verify the battery is charged, the choke is engaged (if cold), fuel is in the tank, spark plugs are installed, and the clutch is pressed (if manual). Check for spark at the plugs and fuel pressure at the carburetor. If still no start, trace each system systematically.

Quick Card (Screenshot-Friendly Summary)
CHORUS RIVET BUILD QUICK REFERENCE
UNLOCK & ACQUIRE:
• Dial 08609553 on phone numpad (wait for call to end naturally)
• Drive to seller location during daylight
• Buy car for 500 MK
• Haul home via Kekmitt
PARTS SOURCING:
• Check bin first; lock in your engine block, cylinder head, transmission
• Fleetari’s shop: new/common parts
• Classifieds magazine (PSK): rare used parts (call seller, pick up 2 days later)
• NPCs: occasional direct sales
BUILD SEQUENCE:
1. Chassis & suspension (front, rear axle, springs, steering, brakes)
2. Engine on workbench (block → crank → rods → pistons → pump → head → timing belt → cam → alternator → starter → water pump → carb → exhaust)
3. Lower engine into car, bolt to mounts
4. Transmission, clutch, driveshaft, exhaust
5. Fuel tank, lines, filter; radiator, coolant, fan belt
6. Battery, alternator, starter, fuse box, lights, switches
7. Wheels, brake rotors, winter tires
8. Doors, hood, trunk, fenders, seats, bumpers, dashboard, steering wheel
FINAL CHECKS BEFORE START:
✓ Battery charged, terminals clean
✓ Choke engaged (cold start)
✓ Clutch pressed (manual only)
✓ Oil filled, coolant filled, fuel in tank
✓ Spark plugs installed
✓ Wipers attached, winter tires mounted
✓ All bolts torqued, brakes firm
ENGINE SPECS:
• 2.0L inline four-cylinder
• ~98 hp @ 5,500 RPM
• Solid torque, heavy body, low-revving
• Transmission: 4-speed, 5-speed manual, or 3-speed automatic
• Ferlink rear suspension
KEY MISTAKE TO AVOID:
Hanging up owner’s call early = seller won’t spawn. Wait for call to end naturally.
“`