30-Second Quick-Start (TL;DR)
- Nitra (red): Collect 80 units to call supply drops. Check walls constantly.
- Red Sugar (orange): Heals health. Mark waypoints so you find it in emergencies.
- Gold (yellow): Converts to credits at mission end. Found everywhere.
- Bismol (large yellow-green cube): Always on cave floors. Easiest secondary resource to spot.
- Compressed Gold: Rare (1 in 3 spawn chance). Worth 150–250 units per chunk.
- Bitter Gems (bright pink): Rarest common ore (1 in 21 chance). 1,000–1,500 credits each.
- Mission-specific ores: Adapt your search based on mission type (Egg Hunt, Point Extraction, Escort Duty, etc.).
Biggest Mistake to Avoid: Ignoring Nitra early in a mission. You’ll regret it when you need a supply drop and have no ammo or health.
—

What This Guide Helps You Do
This guide teaches you how to identify, locate, and collect every ore and resource type in Deep Rock Galactic—from common minerals like Gold and Nitra to ultra-rare finds like Bitter Gems and Error Cubes. You’ll learn which minerals appear in which mission types, what they’re used for, and the visual cues that make them easy to spot even in dark caves.
Best for: New players building ore-hunting instincts, returning players who want a complete reference, and anyone grinding for specific resources (credits, upgrades, cosmetics, or seasonal pass progress).
—
Requirements & Prep
- Mining Laser: Standard equipment. Breaks most ores into collectible chunks.
- Pickaxe: Alternative for breaking ore (slower than laser, but works).
- Bosco (Drone): Can help break ores if you’re in a pinch, though less efficient than your laser.
- Flashlight: Useful for spotting most ores, except when hunting Quarks—turn it off for those, as the blue glow shows better in darkness.
- Waypoint Tool: Mark Red Sugar and other critical resources so you can return if needed.
Optional but Helpful: Learn to recognize each ore’s silhouette from a distance. Starch Nuts and Barley Bulbs are easy to spot by their bright pink coloring; Jadiz and Umanite glow faintly green. This saves time scanning walls.
—

Route Overview
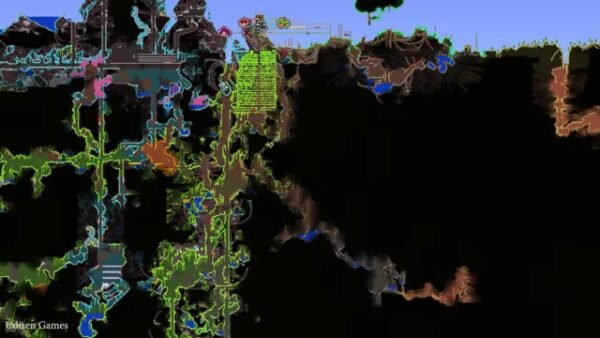
Deep Rock Galactic’s ore types fall into four broad categories: common base resources (Nitra, Red Sugar, Gold), regional upgrade materials (Bismol, Croppa, Enor Pearl, Jadiz, Magnite, Umanite), mission-objective-specific ores (Alien Eggs, Quarks, Morkite, etc.), and secondary-objective resources (Alien Fossils, Apoca Blooms, Ebonuts, and beer ingredients). Your search strategy changes based on mission type: Egg Hunt missions require you to dig Alien Eggs from pulsing fleshy cores; Point Extraction missions hide Quarks behind blue lights; Escort Duty missions demand you collect Oil Shale to fuel the drill. Common resources like Gold and Nitra appear in all mission types, so prioritize them early. Rare resources like Bitter Gems and Error Cubes spawn unpredictably (1 in 21 and 1 in 26 chances respectively) and are pure luck—but worth mining if you spot them.
—
Step-by-Step Walkthrough
Finding Common Base Resources
Locate and Mine Nitra (Red Mineral)
Why it matters: Nitra is your lifeline. Every 80 units calls a supply drop, which refills ammo and health. Running out of Nitra mid-mission means you’re stuck without resupply.
How to find it: Nitra grows on cave walls as a red mineral. Scan walls as you move through tunnels—it’s distinctive enough to spot once you know the color. You’ll find multiple veins scattered throughout the level.
How to collect it: Use your mining laser to break it into chunks, then pick up the chunks. Each chunk contributes to your 80-unit supply drop threshold.
Common mistake: Ignoring small Nitra veins early, thinking you’ll find more later. You won’t always have time. Grab it when you see it.
—
Spot and Mark Red Sugar (Orange, Glowing)
Why it matters: Red Sugar restores your health. You won’t find it reliably, so marking its location with a waypoint is essential—you may need it during a tough fight or when waves of enemies spawn.
How to find it: Red Sugar is a glowing orange mineral. It stands out visually because of its glow, but it doesn’t spawn on every mission. When you find it, use your waypoint tool immediately.
How to collect it: Walk over it to pick it up. It’s instant, no mining required.
Common mistake: Forgetting where you left it. Mark the waypoint, don’t rely on memory.
—
Collect Gold (Yellow, Everywhere)
Why it matters: Gold converts to credits at mission end. Credits unlock upgrades, cosmetics, and access to the Forge and Abyss Bar. It’s your primary income.
How to find it: Gold appears in all mission types and all cave regions. You’ll find it embedded in walls or scattered on floors. Look for yellow glints.
How to collect it: Mine with your laser, pick up chunks. Each chunk is typically small, so you’ll gather many per vein.
Common mistake: Skipping small gold clusters thinking they’re not worth it. In Deep Rock, every gold unit adds up—grab it all.
—
Finding Regional Upgrade Materials
These ores appear in specific regions of Hoxxes 4 and are used to upgrade gear, purchase cosmetics, or spend in the Forge. They’re not mission-critical, but essential for long-term progression.
Mine Bismol (Large Yellow-Green Cube)
Why it matters: Bismol is a crafting material for upgrades and cosmetics. It’s also one of the easiest ores to spot because of its size and cube shape.
How to find it: Bismol always spawns on cave floors (never on walls). It’s a large, yellow-green cube with brown spots. You can see it from a distance.
How to collect it: Mine with your laser. It breaks into multiple chunks.
Common mistake: Passing by Bismol because it looks like terrain. It’s always an ore—mine it.
—
Break Off Croppa (Green Metallic with Purple Spikes)
Why it matters: Croppa is another upgrade material. It’s slightly harder to spot than Bismol but still distinctive.
How to find it: Croppa is a green metallic ore with purple spikes. It usually spawns on cave floors, but can also appear higher up on walls. Scan at multiple heights.
How to collect it: Mine with your laser. Works like any other ore.
Common mistake: Missing wall-mounted Croppa because you only scan the floor. Look up.
—
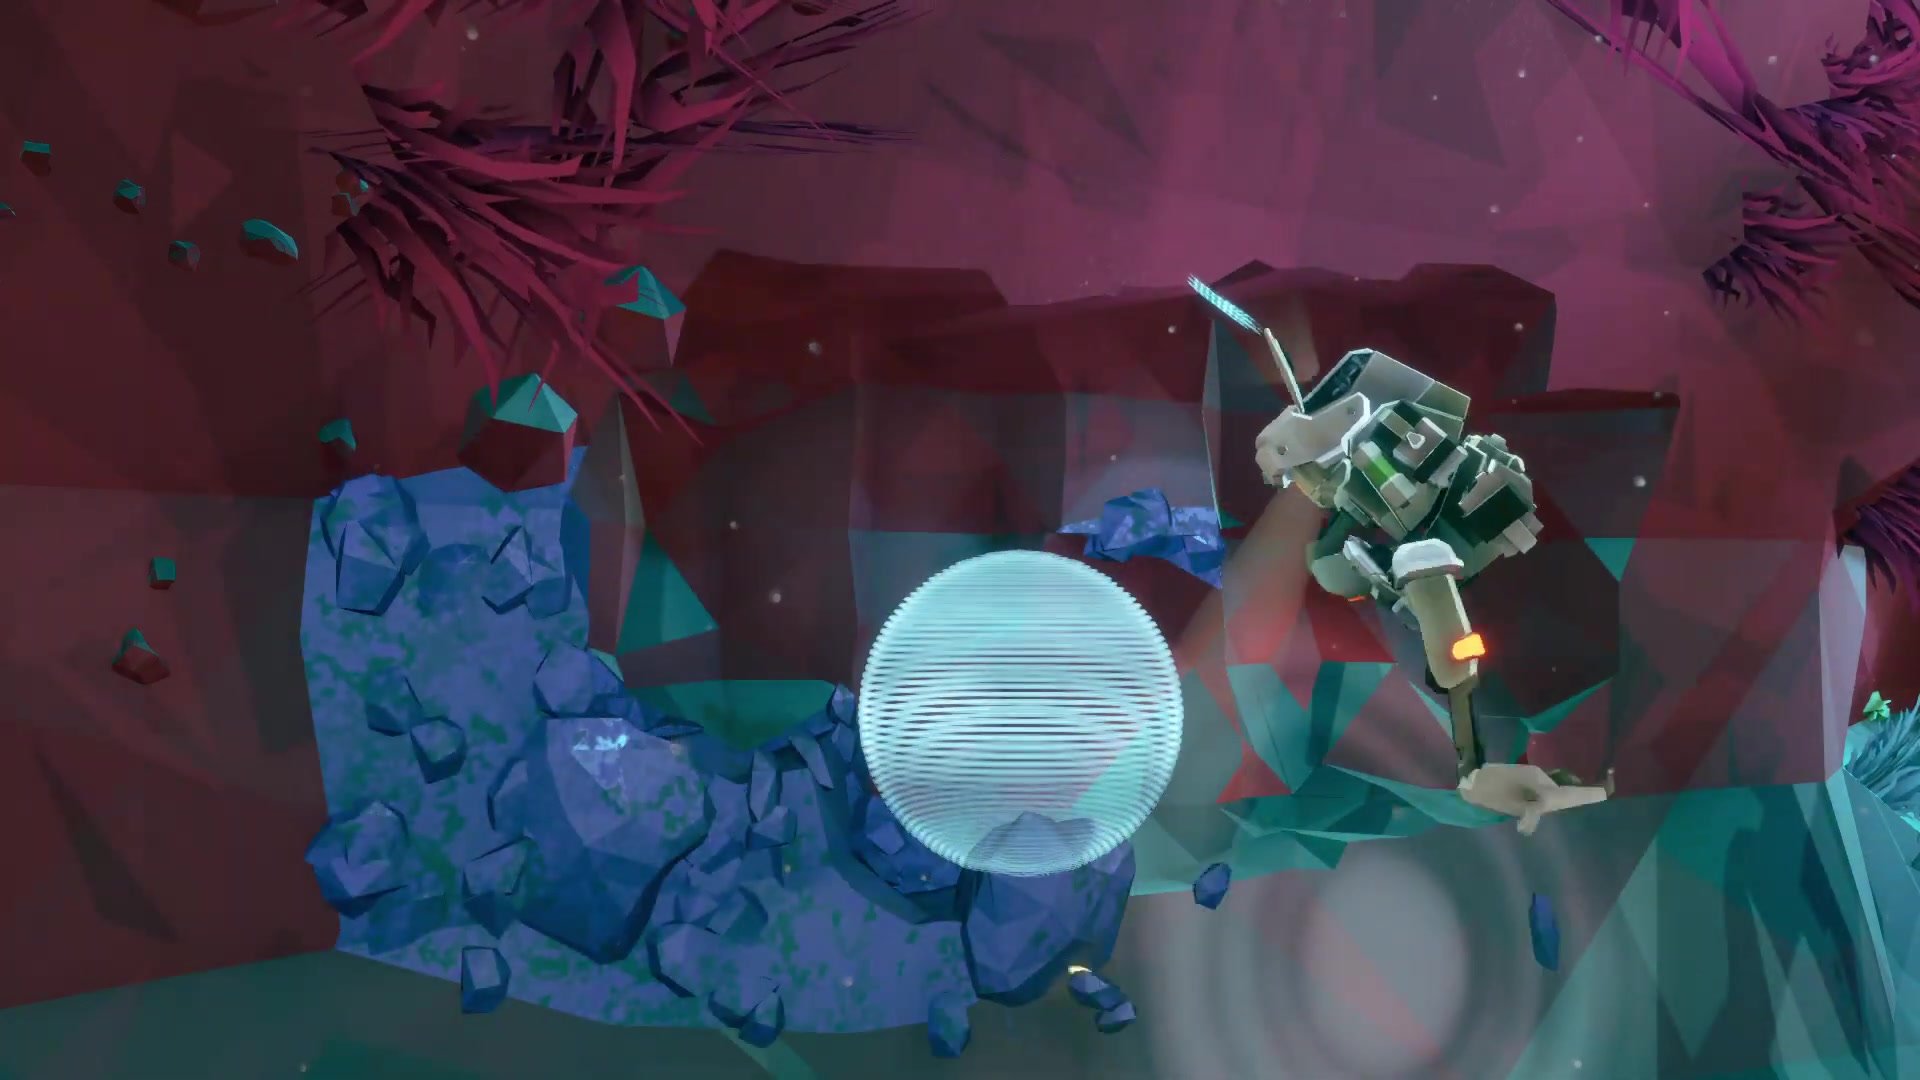
Extract Enor Pearl (Spherical, Embedded in Walls)
Why it matters: Enor Pearl is a crafting material. It’s easy to miss, so knowing the visual cue is critical.
How to find it: Enor Pearl is a spherical ball-like mineral embedded in cave walls. Look for small circular bubble formations in the rock—that’s your cue. Once you spot the formation, dig it out.
How to collect it: Mine with your laser. Enor Pearl can be carried and thrown, so you can hold it in your hands if your inventory is full.
Common mistake: Walking past bubble formations without investigating. These almost always hide Enor Pearls.
—
Dig Out Jadiz (Large Green Crystal, Glowing)
Why it matters: Jadiz is a crafting material with a distinctive visual signature.
How to find it: Jadiz is a large green crystal embedded in cave walls. Look for formations of small green crystals with a green glow—that’s Jadiz. Dig it out.
How to collect it: Mine with your laser. Like Enor Pearl, Jadiz can be carried and thrown.
Common mistake: Confusing Jadiz with other green ores. The glow and crystal cluster formation are unique—you’ll recognize it once you’ve seen it.
—
Harvest Magnite (Dark Brown with Dark Spots)
Why it matters: Magnite is a useful crafting material found in harsher regions of Hoxxes 4. It’s a mid-tier resource.
How to find it: Magnite is a dark brown mineral with dark spots. It spawns in tougher cave biomes. Scan walls and floors in dangerous areas.
How to collect it: Mine with your laser.
Common mistake: Avoiding Magnite because you’re in a dangerous region. Grab it quickly and move on.
—
Collect Umanite (Bright Green Crystal Cluster)
Why it matters: Umanite is very common and easy to spot, making it a reliable resource for upgrades.
How to find it: Umanite is a bright green crystal cluster. It’s one of the easiest ores to spot from a distance because of its color and visibility.
How to collect it: Mine with your laser.
Common mistake: None—Umanite is so obvious that you’ll naturally collect it.
—
Finding Mission-Objective-Specific Resources
These ores only appear on specific mission types. Your search strategy must adapt based on your current objective.
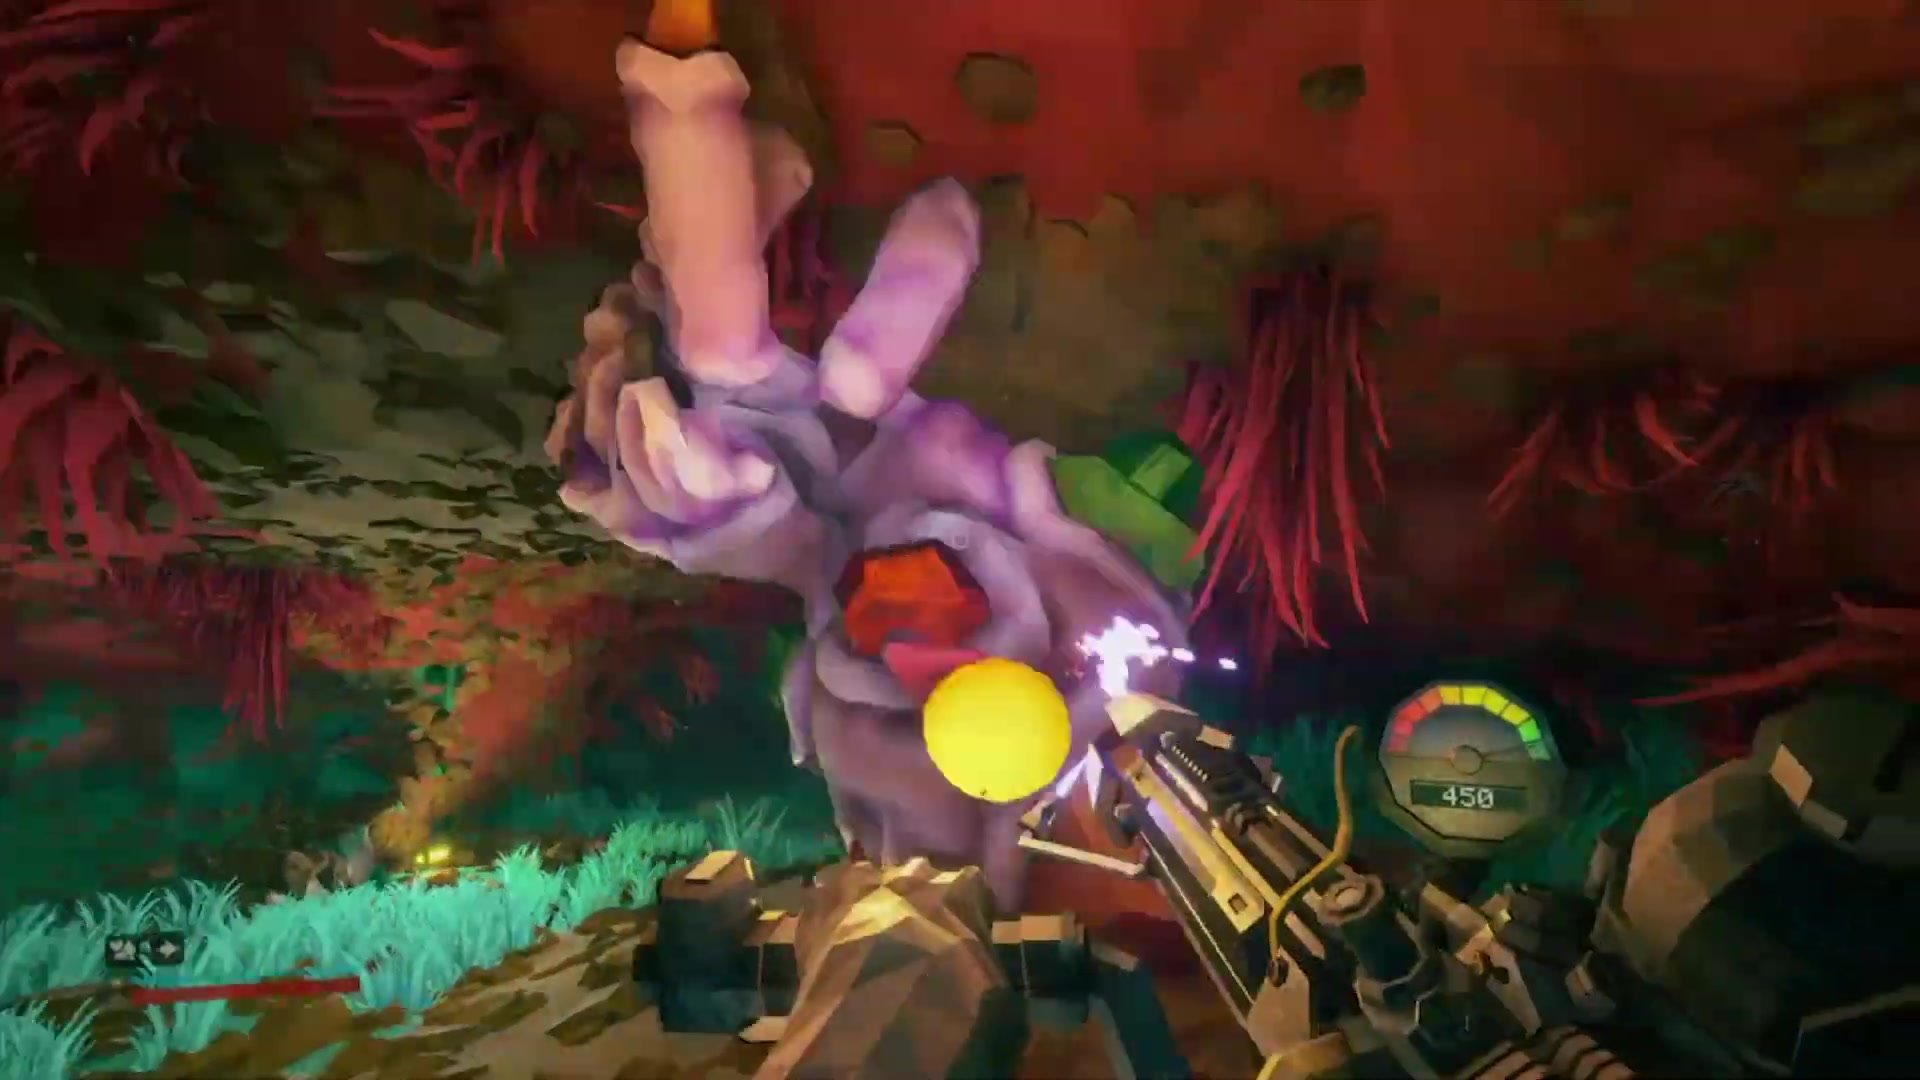
Egg Hunt: Mine Alien Eggs (Pulsing Fleshy Core)
Why it matters: Alien Eggs are the primary objective. Completing the mission requires collecting them all.
How to find them: Alien Eggs reside within a fleshy core that pulses red in the darkness. The pulsing red glow makes them very easy to spot.
How to collect them: Mine with your laser. Eggs can be carried and thrown.
Critical warning: Every time you mine an egg, an enemy wave attacks. Be prepared for combat. Don’t mine eggs when you’re low on ammo or health.
Common mistake: Mining all eggs at once without managing enemy spawns. Pace yourself and clear waves between egg collections.
—
Point Extraction: Find Quarks (Blue Lights)
Why it matters: Quarks are the primary objective. You need to extract them all to complete the mission.
How to find them: Quarks can be buried in walls, floors, or ceilings. Look for blue lights. They glow distinctly even in lit caves.
Pro tip: Turn off your flashlight when searching for Quarks. The blue glow is much easier to spot in darkness.
How to collect them: Mine with your laser. Quarks can be carried and thrown.
Common mistake: Keeping your flashlight on while hunting Quarks. It washes out the blue glow. Turn it off.
—
Mining Expedition: Locate Morkite (Dark Cyan Blue)
Why it matters: Morkite is the primary objective. You need to collect a set amount to complete the expedition.
How to find it: Morkite is a dark cyan blue mineral found on walls, floors, or ceilings. It can be tricky to spot, especially on azure-colored cave levels where the color blends with the environment.
How to collect it: Mine with your laser.
Common mistake: Struggling to find Morkite on azure levels because the color camouflages it. Scan more carefully and look for slight color shifts or glints.
—
Salvage Operation: Retrieve Mini Mule Leg (Broken Mule)
Why it matters: The Mini Mule Leg must be reattached to the broken mule to restore it and complete the objective.
How to find it: The Mini Mule Leg is lodged in the floor or walls. It’s a distinct object, so scan the cave carefully.
How to collect it: Mine with your laser. The leg can be carried or thrown.
Common mistake: Not realizing the leg must be carried back to the mule. Don’t leave it behind.
—
Escort Duty: Collect Oil Shale (Fuel for Drill Dozer)
Why it matters: Oil Shale fuels the drill dozer. Without it, the drill stops and the mission fails.
How to find it: Oil Shale grows on walls, floors, or ceilings. It usually appears in hard-to-reach areas higher up in caves.
How to collect it: Only a fuel canister with a mining laser can collect Oil Shale. You can use a pickaxe or Bosco to break off individual chunks, but those chunks won’t count toward the drill’s fuel unless collected by the mining laser in the fuel canister. This is critical—use the right tool.
Common mistake: Breaking Oil Shale with your pickaxe and expecting it to fuel the drill. It won’t. Use the fuel canister mining laser or have your team do it.
—
Escort Duty: Grab Armored Heartstone Core (Mission End)
Why it matters: The Armored Heartstone Core is a bonus reward. Grab it at the end of the mission after the drill dozer cracks it open.
How to find it: Once the drill reaches the heartstone and cracks it open, a bright orange ball appears. That’s the core.
How to collect it: Walk over it or mine it. It can be carried or thrown.
Common mistake: Leaving it behind because you’re rushing to the escape pod. Go back for it—it’s worth credits.
—
Industrial Sabotage: Recover Data Rack (After Caretaker Defeated)
Why it matters: Data Racks are the primary objective. You collect them after defeating the Caretaker boss.
How to find them: Data Racks appear only after the Caretaker is defeated. They’re distinct objects in the arena.
How to collect them: Mine or carry them.
Common mistake: Looking for Data Racks before the Caretaker is dead. They don’t spawn until after the boss fight.
—
Finding Secondary-Objective Resources
These ores and creatures complete optional objectives, rewarding bonus credits and experience.
Dig Out Alien Fossils (Walls, Reach-Based)
Why it matters: Alien Fossils are secondary objectives. Collecting 10 completes the bonus objective and grants extra rewards.
How to find them: Alien Fossils are found on cave walls. You can grab them when you’re within reach—no mining required.
How to collect them: Walk up to them and interact. They’re instant pickups.
Common mistake: Ignoring fossils because they seem minor. 10 fossils = bonus credits and XP. Worth the detour.
—
Harvest Apoca Blooms (Glowing Petals)
Why it matters: Apoca Blooms are a secondary objective. They grow on walls and floors and glow in the dark, making them easy to spot.
How to find them: Apoca Blooms have glow-in-the-dark petals. They’re very visible from a distance.
How to collect them: Mine or grab them.
Common mistake: None—these are obvious.
—
Collect Boolea Caps (Purple, Glowing)
Why it matters: Boolea Caps are a secondary objective with a distinctive purple glow.
How to find them: Boolea Caps grow on walls and floors. They have purple caps that glow in the dark and are very easy to spot.
How to collect them: Mine or grab them.
Common mistake: None—these are also very obvious.
—
Mine Thistle Drum (Metallic Blue, Non-Glowing)
Why it matters: Thistle Drum is a secondary objective found only in Point Extraction or On-Site Refining missions.
How to find it: Thistle Drum is a metallic blue mineral found in walls. It doesn’t glow when light shines on it, making it tricky to find. Scan carefully and look for the metallic blue color even without a glow.
How to collect it: Mine with your laser.
Common mistake: Assuming all ores glow. Thistle Drum is an exception. Search methodically.
—
Break Open Ebonuts (Hit 3 Times or Power Strike)
Why it matters: Ebonuts appear in any mission type and reward bonus credits and experience. They’re a pure win if you find them.
How to find them: Ebonuts grow on floors, walls, or ceilings. They look like sealed nuts or pods.
How to collect them: Hit them three times with your pickaxe or mining laser to crack them open. Alternatively, one power strike (a charged attack) opens them instantly.
Common mistake: Wasting time hitting them three times when a power strike is faster. Use power strike if you’ve got the energy.
—
Hunt Festive Fleas (Quick, Glowing Creatures)
Why it matters: Festive Fleas are passive creatures that must be killed to complete secondary objectives. They’re quick, so hunting them is time-consuming.
How to find them: Festive Fleas glow in the dark, so they’re visible. But they move fast.
How to collect them: Shoot them until they die. Use rapid-fire weapons.
Common mistake: Chasing them wildly and wasting ammo. Predict their movement and lead your shots.
—
Shoot Gunk Seeds (Ceiling-Hanging Balls)
Why it matters: Gunk Seeds are secondary objectives. Shooting them drops seeds to the ground level.
How to find them: Gunk Seeds hang from cave ceilings as round ball-like objects.
How to collect them: Shoot the outer layer. Once broken, the seed drops to ground level. Pick it up.
Common mistake: Trying to mine them instead of shooting. Use your gun.
—
Collect Holomite (Dark Blue-Purple, Shiny)
Why it matters: Holomite is a secondary objective with a distinctive shiny appearance.
How to find it: Holomite is a dark blue-purple mineral formation found in tunnels and caves. It shines when light hits it and is pretty hard to miss.
How to collect it: Mine with your laser.
Common mistake: None—it’s very visible.
—
Harvesting Beer Ingredients (Abyss Bar Hops)
These are ingredients for crafting beers at the Abyss Bar. They’re scattered throughout caves and are secondary objectives in themselves.
Gather Barley Bulbs (Pink Flower)
Why it matters: Barley Bulbs are used to craft today’s special beer or acquire beer licenses.
How to find them: Barley Bulbs have a pink flower. They grow on floors or low-level walls and are easy to spot.
How to collect them: Mine or grab them.
—
Harvest Malt Stars (Purple Stem, Turquoise Flowers)
Why it matters: Malt Stars are used to craft beers.
How to find them: Malt Stars have a purple stem with green and turquoise flowers on top. They’re distinctive and easy to identify.
How to collect them: Mine or grab them.
—
Collect Starch Nuts (Bright Pink Bulbs)
Why it matters: Starch Nuts are the most common beer ingredient and are used frequently in Abyss Bar recipes.
How to find them: Starch Nuts have bright pink bulbs, making them very easy to spot from a distance.
How to collect them: Mine or grab them.
—
Find Yeast Cone (Light Green Bulb, Rarest)
Why it matters: Yeast Cone is one of the rarest beer ingredients. Beer enthusiasts seek these out.
How to find it: Yeast Cone has a light green bulb. It’s rarer than other hops, so you won’t find it on every mission.
How to collect it: Mine or grab it.
Common mistake: Overlooking it because you don’t realize how rare it is. Grab it whenever you see it.
—

Ultra-Rare Resources (Luck-Based Spawns)
These ores are extremely rare and spawn unpredictably. They’re not essential, but finding them is a major win.
Mine Compressed Gold (150–250 Units per Chunk)
Spawn chance: 1 in 3 (33% chance per level)
How to find it: Compressed Gold is embedded in cave walls. Look for small specks of gold in a formation. When you see them, dig out the compressed gold.
Reward: 150–250 units of gold in a single hit. This is a huge payoff for a small amount of mining.
Common mistake: Passing by small gold specks thinking they’re not worth investigating. They always hide Compressed Gold.
—
Extract Bitter Gems (1,000–1,500 Credits Each)
Spawn chance: 1 in 21 (approximately 5% chance per level)
How to find it: Bitter Gems are bright pink mineral chunks found in cave walls. Look for small pink crystal clusters in the wall. Once you find one, dig it out.
Reward: 1,000–1,500 credits per gem. These are among the most valuable single ores.
Common mistake: Not knowing how rare they are and missing them. If you see a pink crystal cluster, investigate immediately.
—
Unearth Error Cubes (2,000 XP, Unknown Use)
Spawn chance: 1 in 26 (approximately 4% chance per level)
How to find it: Error Cubes are black cube-like objects that pulsate with white grooves. They’re very rare. Look for bright grey and glowing spikes in the wall—that’s your cue.
Reward: 2,000 experience points. The actual use of Error Cubes is unknown, making them more of an artifact than a functional resource.
Common mistake: Not recognizing the grey-and-white pulsating appearance. Once you’ve seen one, you’ll spot them again.
—
Harvest Tyrant Shards (From Korlok Tyrant Weed Boss)
How to obtain it: Defeat the Korlok Tyrant Weed mini-boss. When defeated, it drops three bulbs.
Reward: 350 credits and 500 experience per shard.
Common mistake: Not realizing Tyrant Shards are only available from boss drops. You can’t find them lying around.
—
Bonus Resource Sources (Non-Ore Methods)
Deep Rock Galactic offers several ways to obtain resources beyond mining.
Kill Loot Bugs (Gold or Nitra Drops)
How to get it: Loot Bugs are passive creatures. Kill them, and they drop gold or Nitra.
Why it matters: Free resources without mining. Always kill Loot Bugs when you encounter them.
—
Hunt the Huli Hoarder (Friendly but Fast Creature)
How to get it: The Huli Hoarder is a friendly creature that drops lots of loot when killed. But it moves fast, so you need to be quick.
Why it matters: Large resource payoff, but requires speed and accuracy.
Common mistake: Letting it escape. Focus fire and don’t miss.
—
Activate Cargo Crates (If You Find Batteries)
How to get it: Find batteries and use them to activate cargo crates. Crates give you cosmetic items and mineral resources.
Why it matters: Bonus rewards for exploration.
—
Follow Mining Masks (Pink Map Icons)
How to get it: Mining Masks mark your map with a pink icon and lead you to more minerals and a special cosmetic item.
Why it matters: Guaranteed resource and cosmetic bonus.
—
Hunt Special Detonators (Explosive Gold Spawns)
How to get it: Special variant Detonators, when they explode, create a circle of gold around them.
Why it matters: Free gold without mining.
Critical warning: Make sure they don’t explode next to you. You will die. Keep your distance.
Common mistake: Standing too close when they detonate. Back away before they blow.
—

Troubleshooting & Common Mistakes
- Can’t find Quarks in Point Extraction: Turn off your flashlight. The blue glow is much easier to see in darkness.
- Missing Thistle Drum on azure levels: It doesn’t glow, so scan more carefully. Look for metallic blue color shifts.
- Oil Shale chunks not fueling the drill: Use the fuel canister mining laser, not your pickaxe. Pickaxe chunks don’t count.
- Ran out of Nitra mid-mission: Prioritize Nitra collection early. Grab every vein you see, don’t wait.
- Missed Red Sugar in an emergency: Mark waypoints immediately when you find it. Don’t rely on memory.
- Alien Eggs spawning enemy waves: Pace your mining. Clear waves between egg collections. Don’t mine all eggs at once.
- Festive Fleas too fast to kill: Predict their movement and lead your shots. Use rapid-fire weapons, not single-shot guns.
- Special Detonator killed me: Keep your distance when they’re about to explode. Back away as soon as you see the warning.
—
Advanced Tips & Time Saves
Compressed Gold Farming: If you’re grinding credits, prioritize scanning for Compressed Gold formations (small gold specks in walls). One chunk = 150–250 units. Fast payoff for minimal effort.
Bitter Gem Hunting: While rare (1 in 21), Bitter Gems are the highest-value single ore (1,000–1,500 credits each). On long missions, scan walls methodically for pink crystal clusters. One gem pays for a lot of mining time.
Morkite on Azure Levels: The color camouflage is brutal. Use your scanner (if available) or scan walls in a grid pattern. Don’t rely on visual spotting alone.
Loot Bug Prioritization: Loot Bugs drop free gold or Nitra with zero mining effort. Always hunt them down when you spot them. They’re pure efficiency gains.
Risky Strat—Detonator Gold Rush: Special Detonators create circles of gold around them when they explode. If you’re confident in your positioning, you can farm these for quick credits. Just don’t get caught in the blast radius.